Globus Plus
If you would like to give other people access to content that is only accessible with Globus Connect Personal (for example, because that content lives on your laptop or desktop), you will need to create a Guest Collection. In order to create a Guest Collection with Globus Connect Personal, you will need access to a feature called Globus Plus. This page explains how to configure Globus Plus and start sharing.
The first step is to ask that Globus Plus be enabled on your account.
Enable Globus Plus
The ability to make Globus Connect Personal Guest Collections (a feature known originally as “Globus Plus”) is granted by giving you access to premium Globus features. This is implemented by adding you to a Globus Group.
You only need to do this once, even if you have multiple Globus Connect Personal endpoints attached to your Stanford Identity.
To get access to our Globus subscription, email srcc-support@stanford.edu. Send the email from your Stanford email. In the email, provide your SUNetID, and say that you would like access to Globus Plus through Stanford. You should receive a response within two business days.
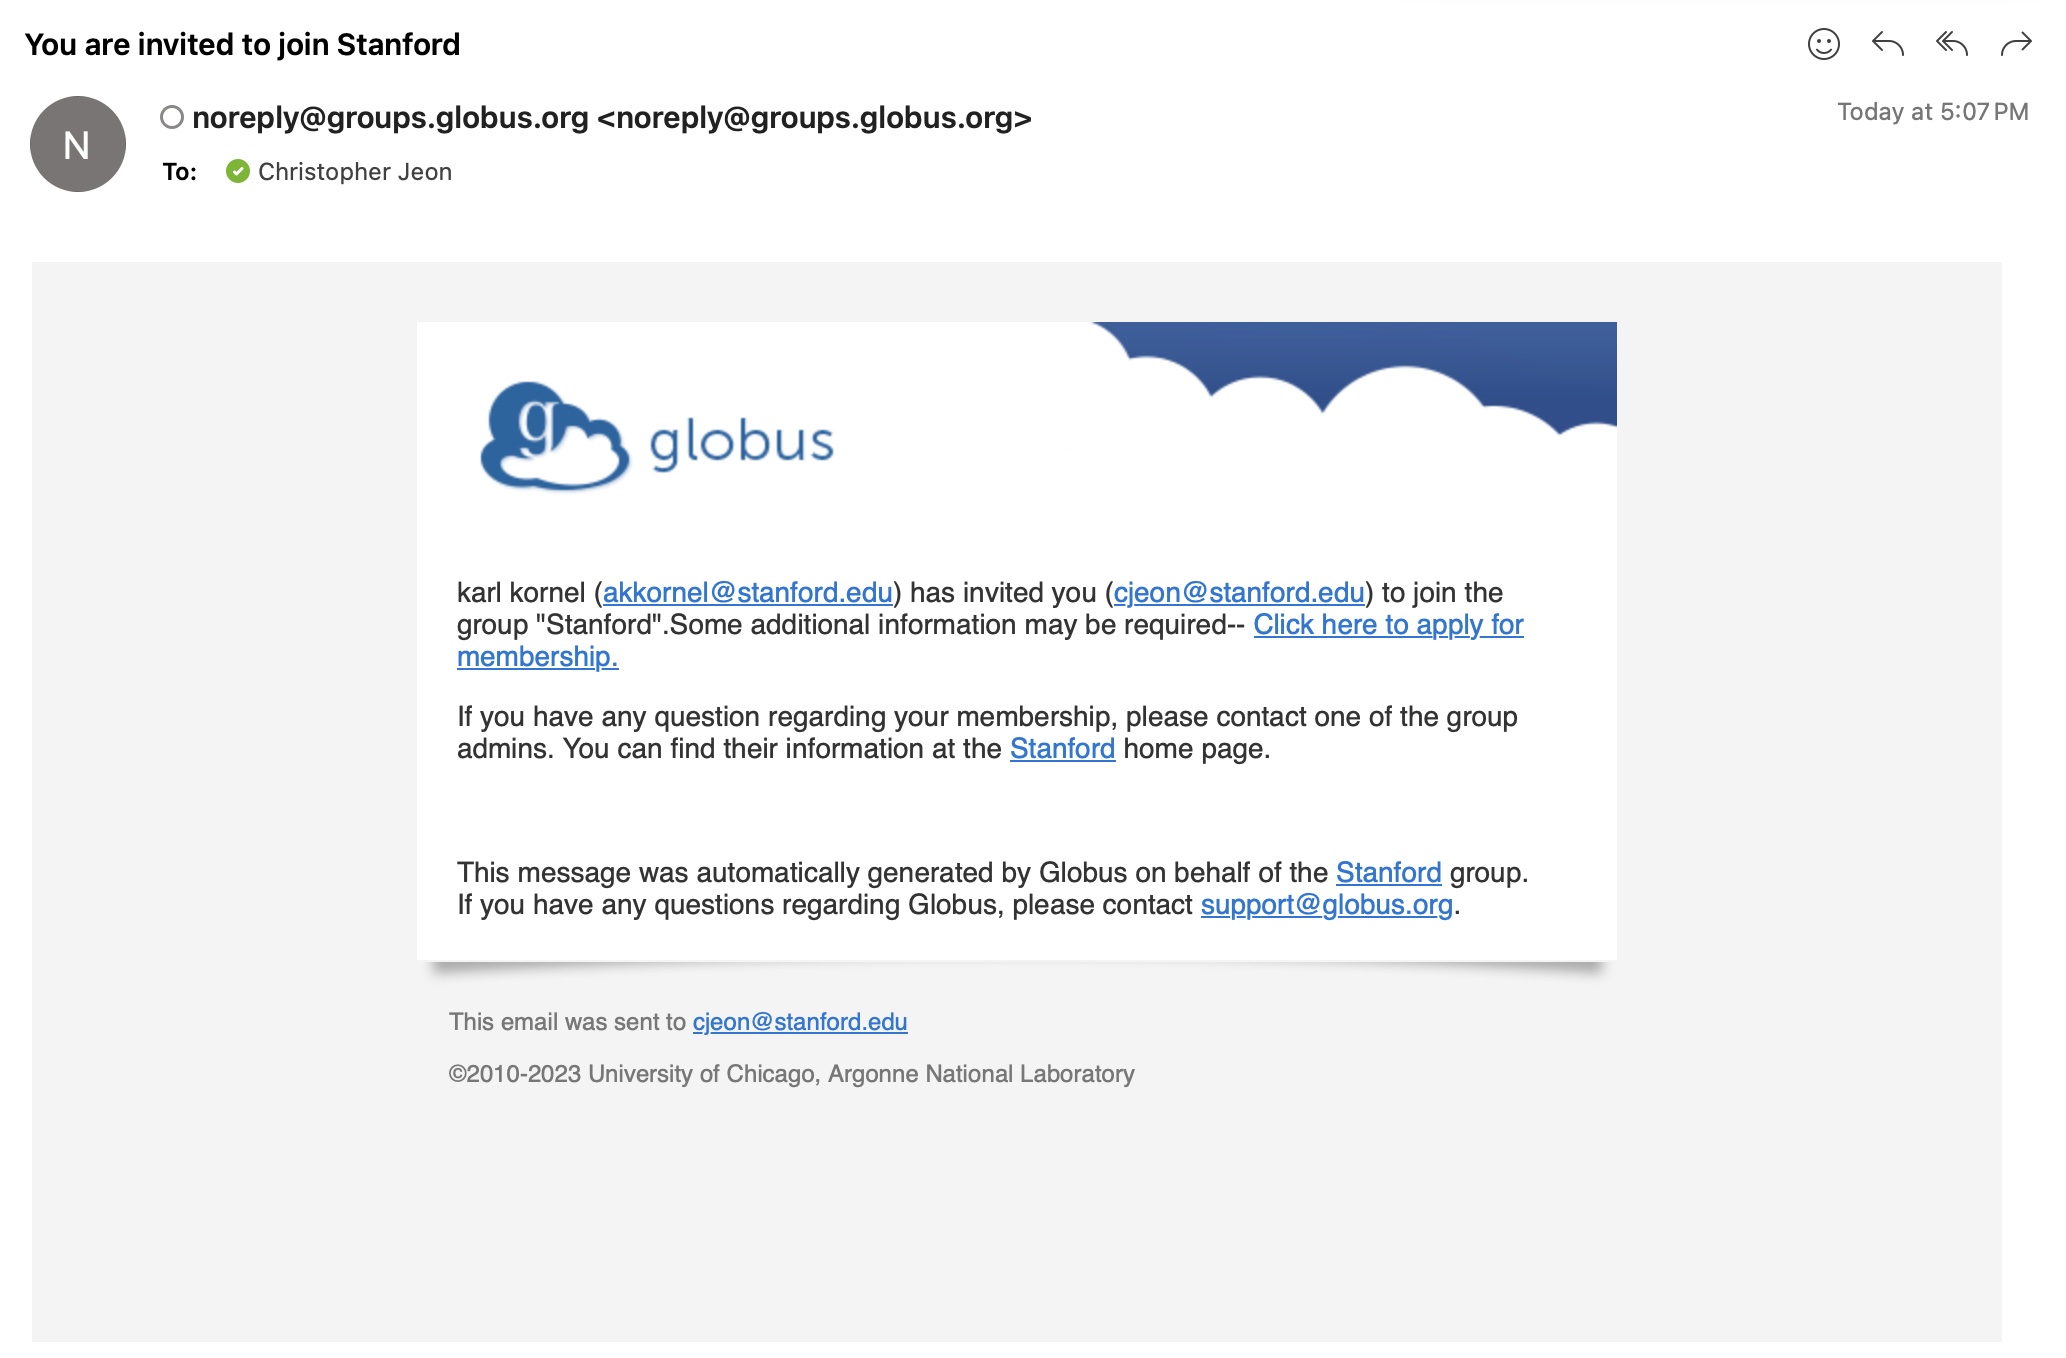
When Research Computing Support processes your request, you will receive an invitation to join the Stanford Globus Group as a member. Click on the link that says “Click here to apply for membership.”
Accepting the invitation will send you to the Globus web site (be sure to log in through Stanford University), where you will be be asked to confirm your information and read & agree to terms.
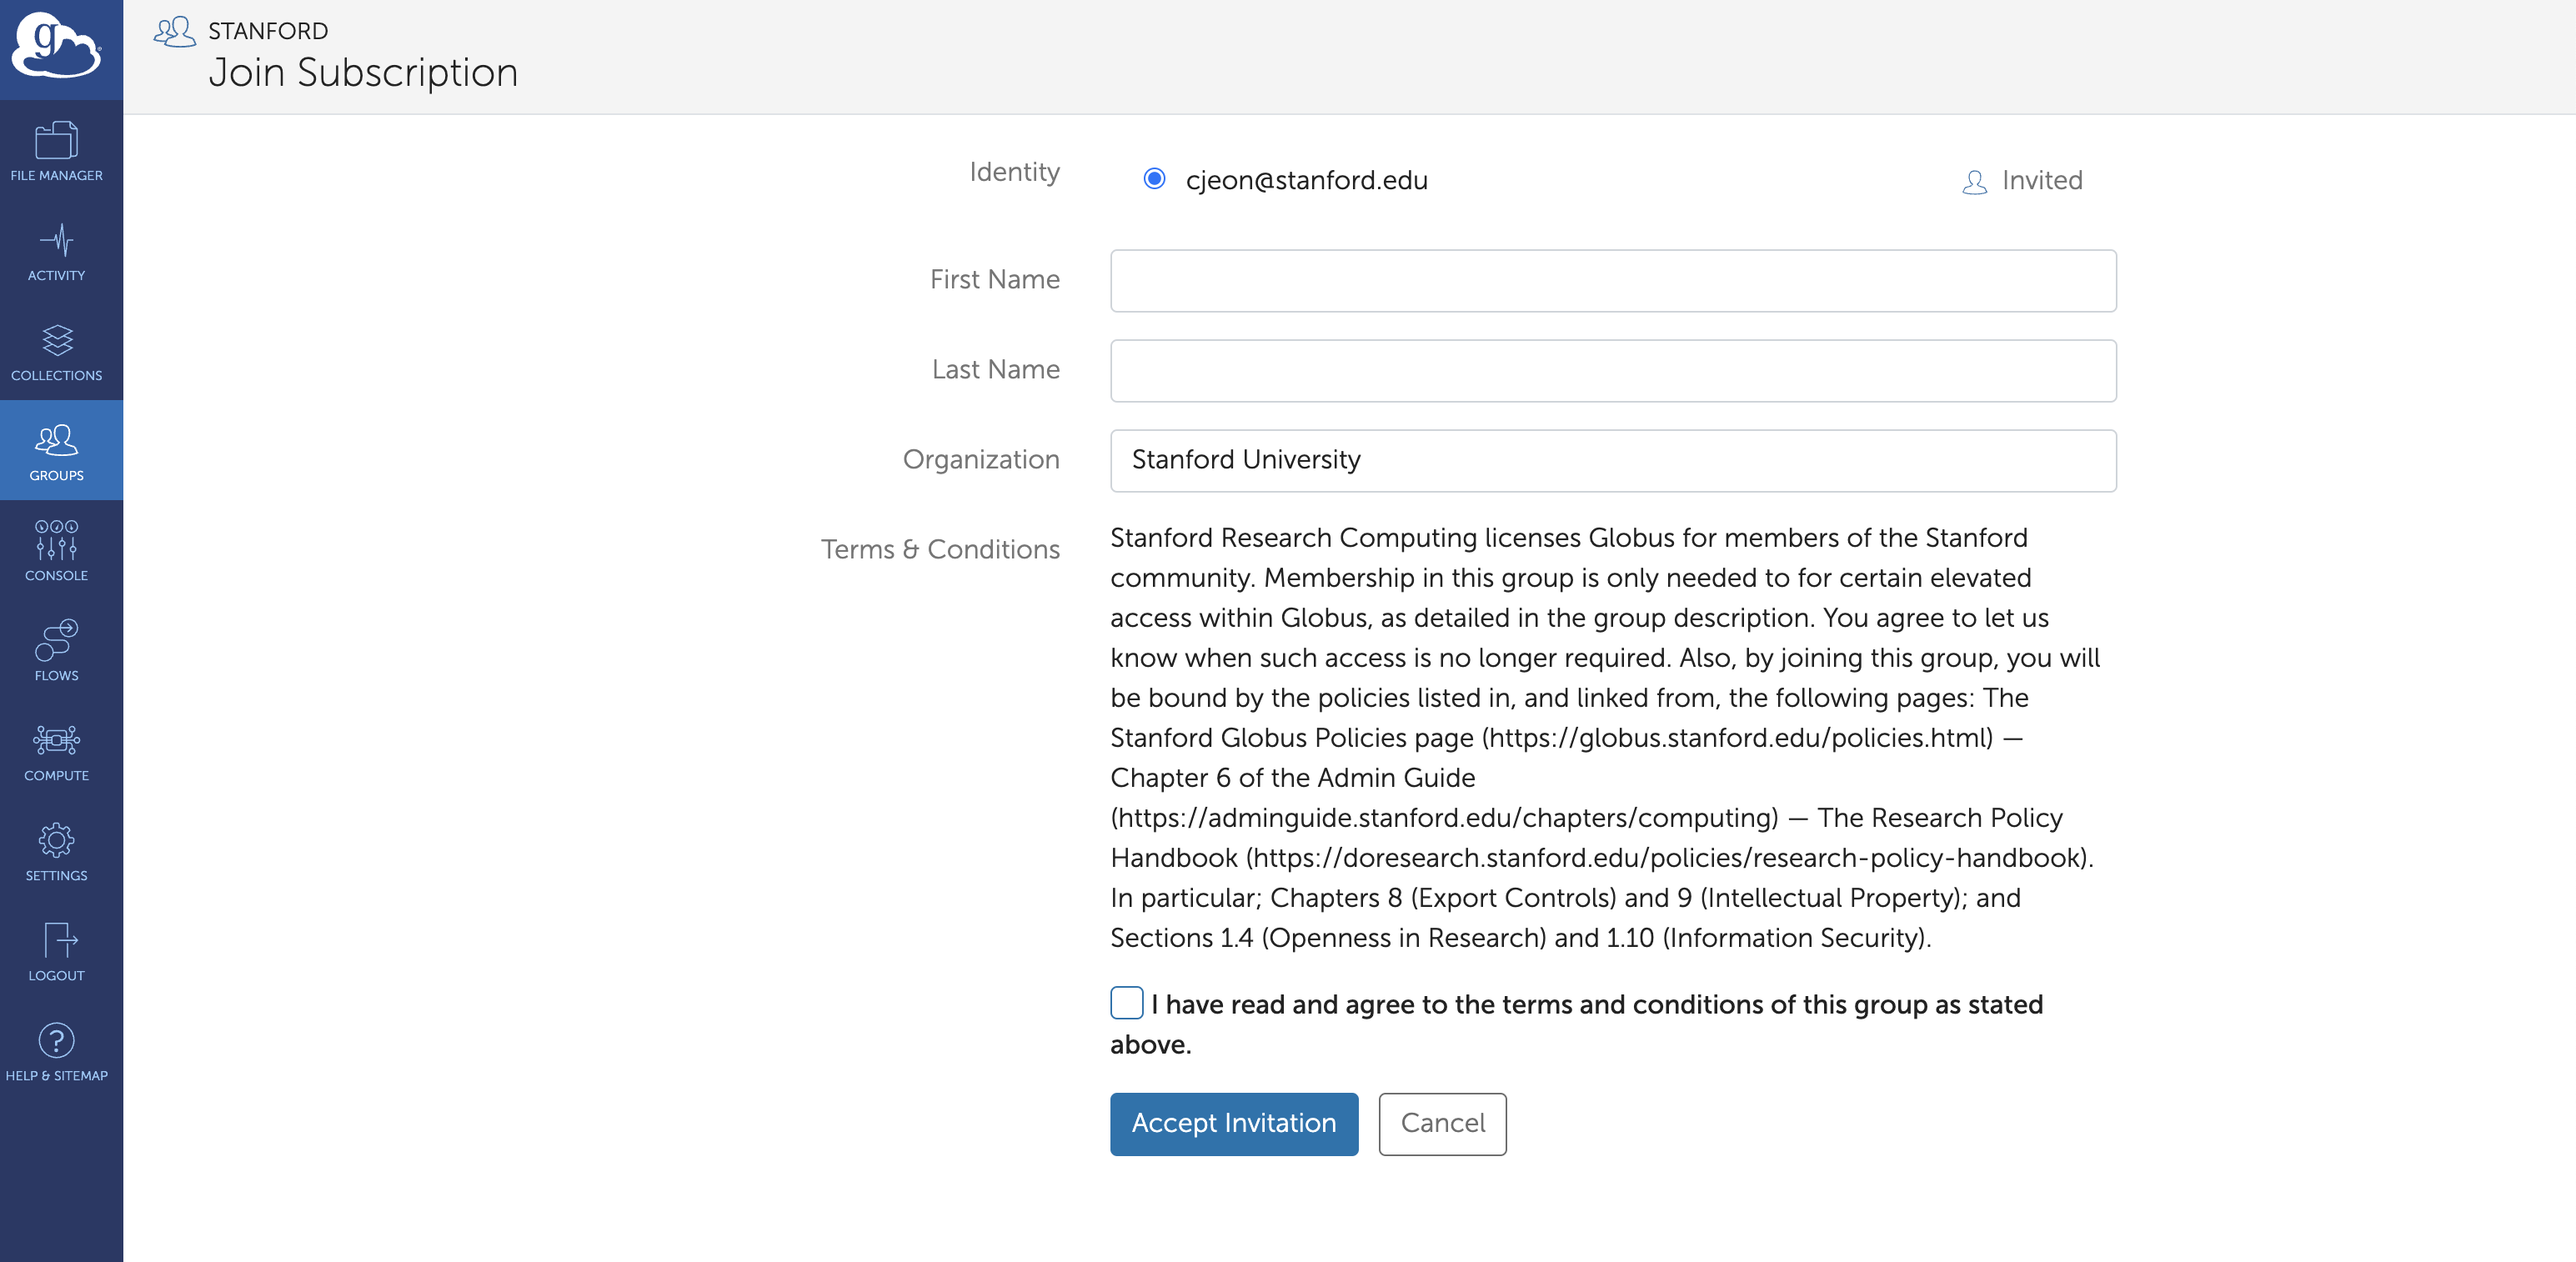
Agreeing to terms of subscription access
Once you accept the invitation, you will receive a confirmation that your membership is active.
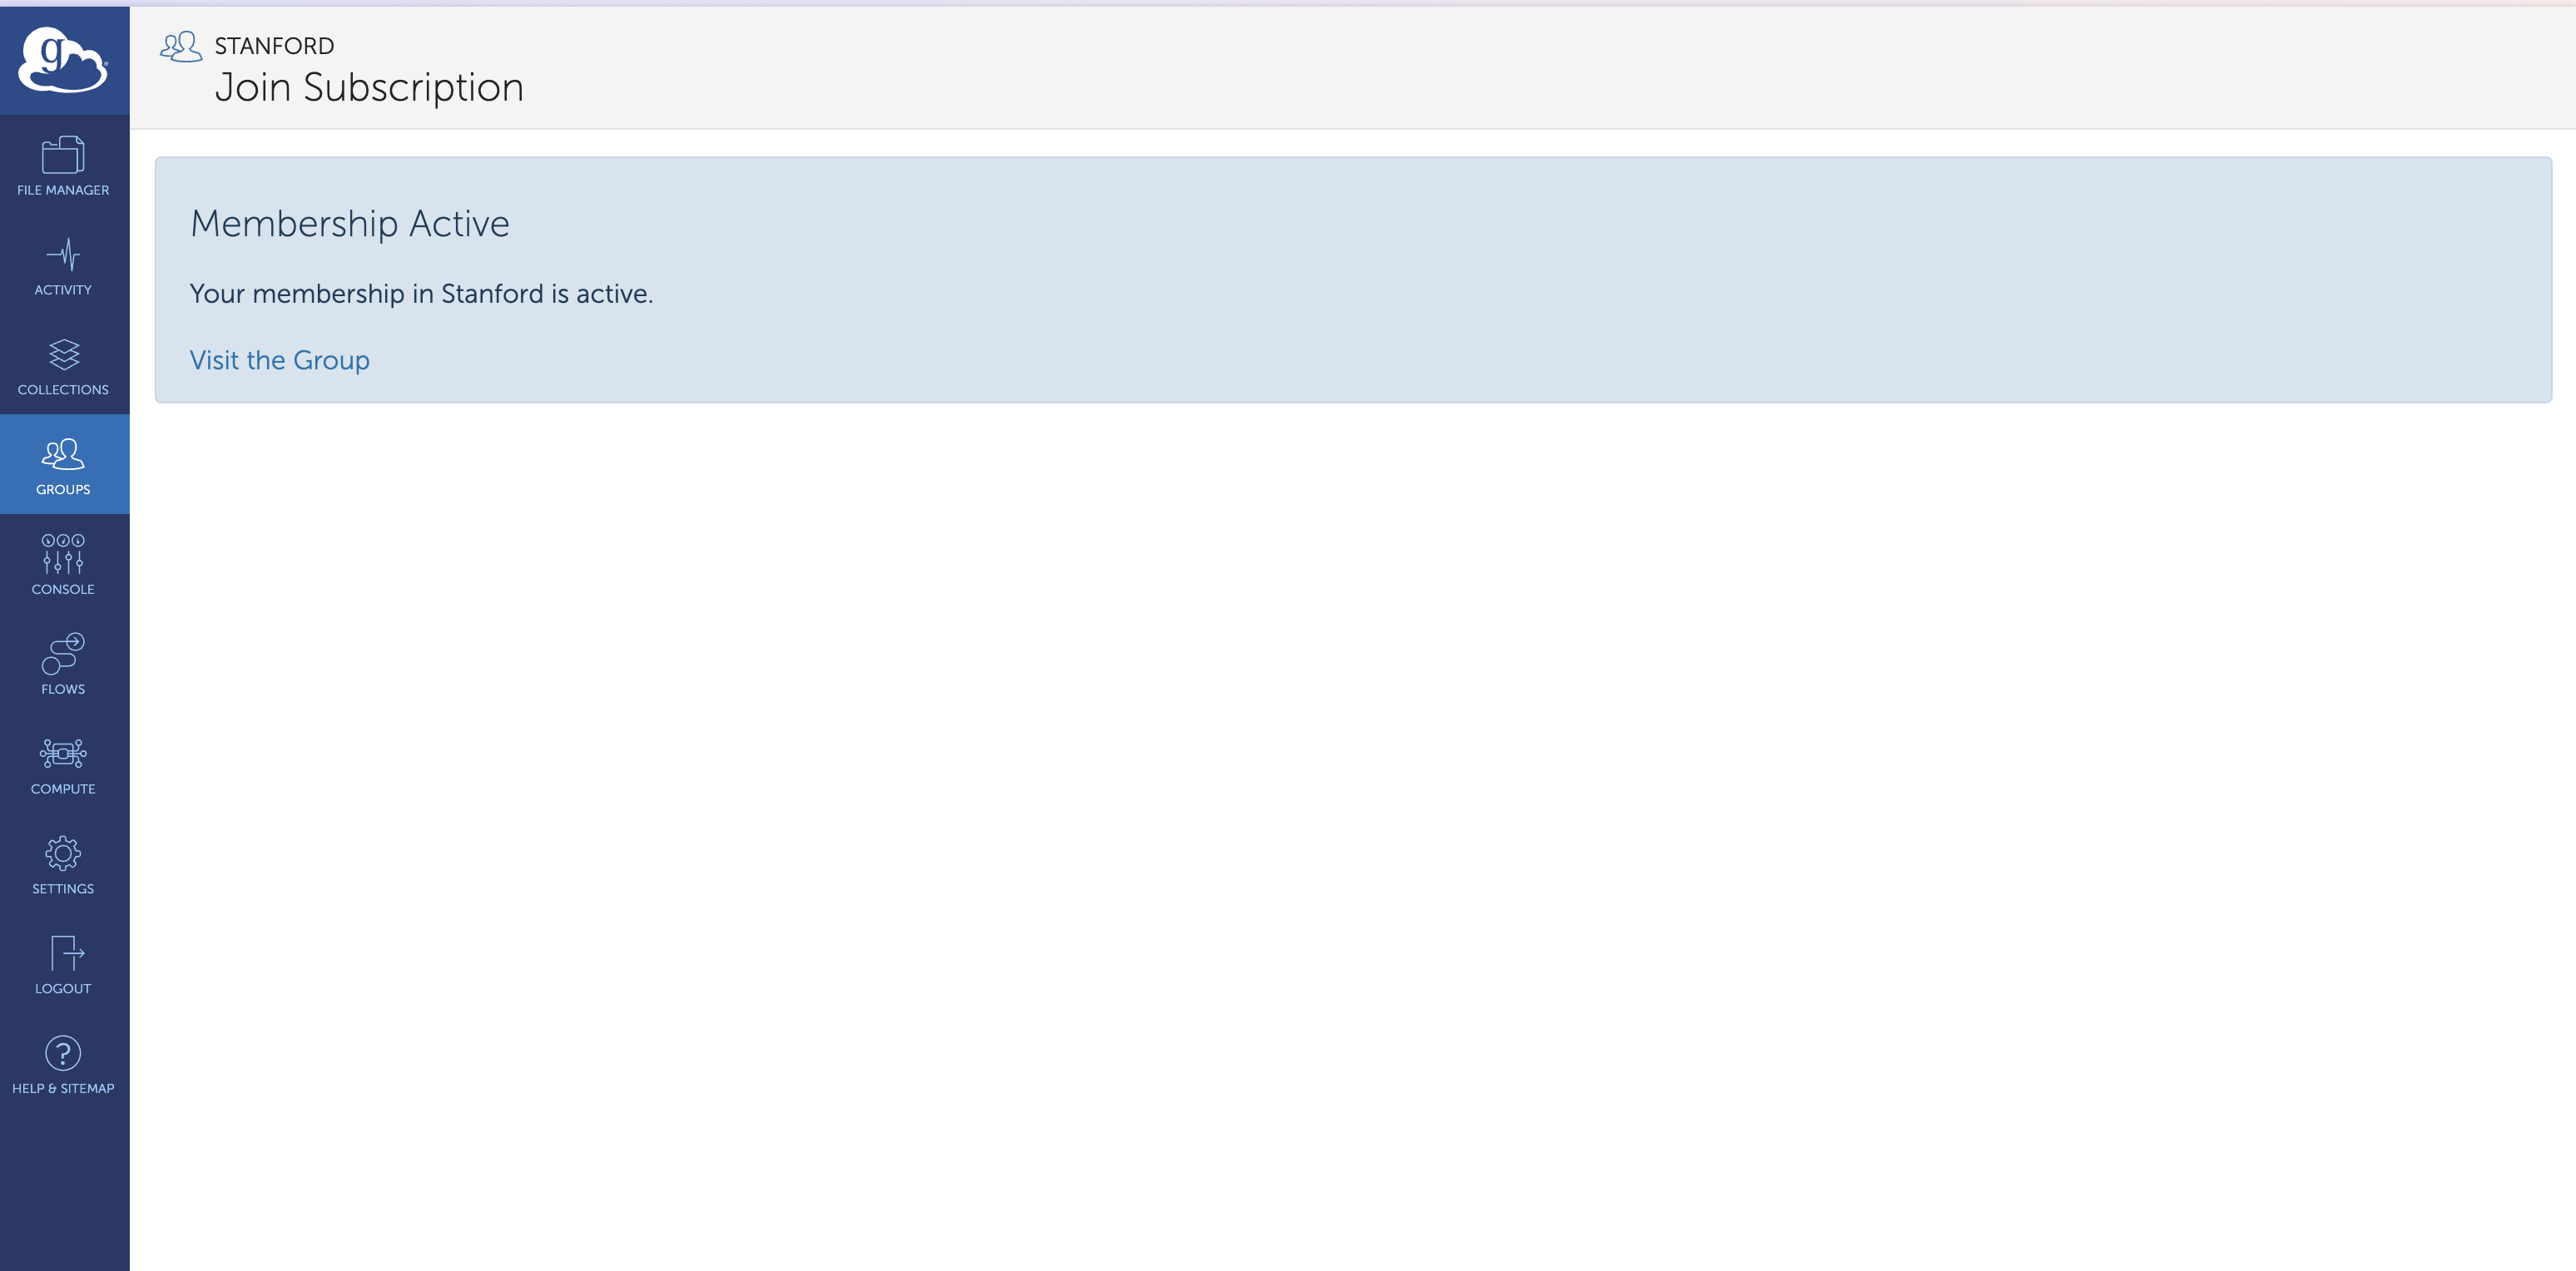
Confirming group membership—and subscription access—has been processed
Globus Plus will be active on your account as soon as you accept the invitation. Remember, you must accept the invitation in order to be added to the group, and your Globus Plus access will not start working until you join the group!
You can confirm that Globus Plus is enabled by going to the Globus File Manager, clicking on the Settings button (located on the left-side vertical bar, near the bottom), and clicking on the Subscription tab.
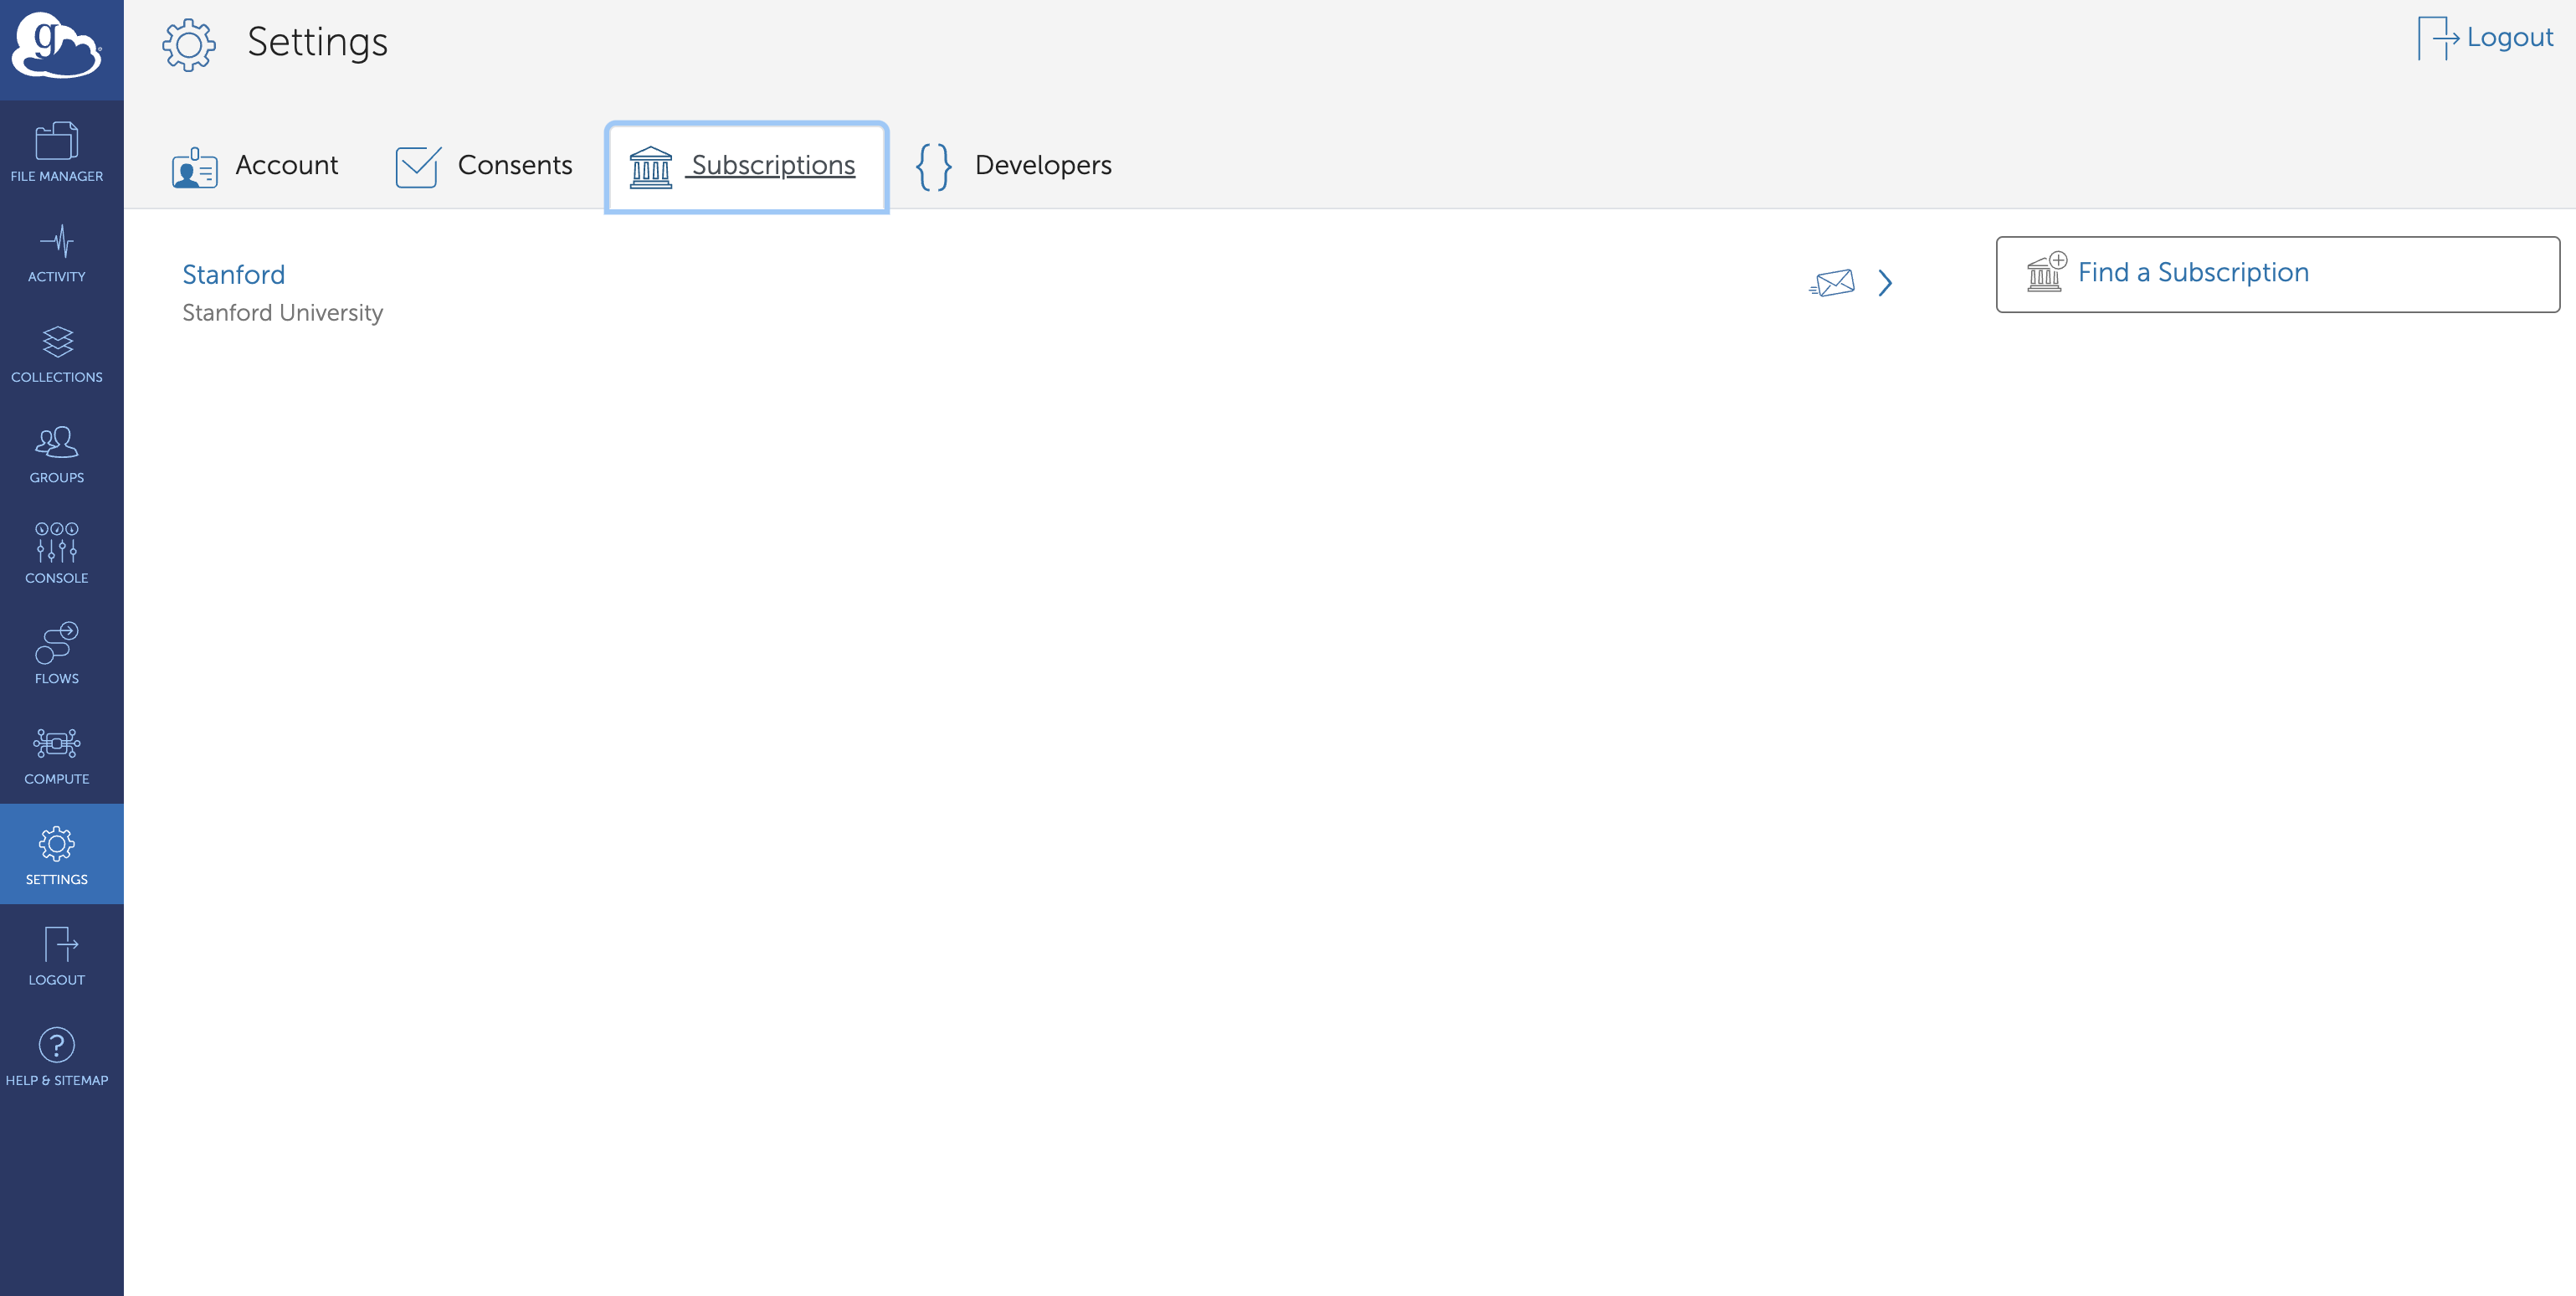
This person has access to Globus Plus.
If the person was affiliated with multiple institutions, then she might have had access to multiple Globus Subscriptions.
You now need to go to your endpoint, to decide what you want to share.
Allow Sharing
Now that Globus Plus has been enabled, you need to tell Globus Connect Personal which directories might be shared. To do this, right-click on the Globus icon in the toolbar, and choose Options from the pop-up menu.
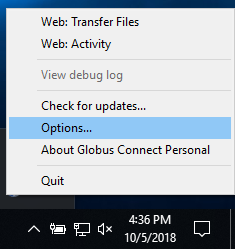
Globus Connect Personal toolbar pop-up
When you select Options from the pop-up menu, the options window opens. Go to the Access tab.
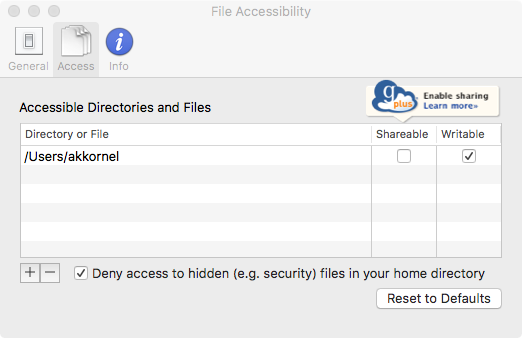
Globus Connect Personal Options
If you plan on sharing files with someone else, that directory (or its parent) needs to be listed, and the Shareable box must be selected. If the folder is not listed, or the Shareable box is not selected.
For example, let’s say that you have the following directory tree:
C:\Users\Me\Sharing
C:\Users\Me\Sharing\User1
C:\Users\Me\Sharing\User2
If you plan on sharing the User1 and User2 directories with multiple
people, you have two choices:
-
You can have separate entries for
C:\Users\Me\Sharing\User1andC:\Users\Me\Sharing\User2. This would be the safest option, but it means more entries to manage. -
You can have one entry for
C:\Users\Me\Sharing. This is the most flexible option, but it means you may accidentally grant access to other things inside of theSharingfolder.
Once you have configured the directories to allow sharing, save your changes. You are now ready to start sharing from your endpoint!
Start Sharing
To begin sharing content from your Globus Connect Personal endpoint, follow the guide How To Share Data Using Globus, part of Globus’s Guides series. Globus’ guide will step you through the process of creating a Guest Collection, which gives other people access to a limited set of directories on your Globus Connect Personal endpoint’s Managed Collection.
That’s it! You should now be sharing part of your endpoint with others.