Installing Globus Connect Personal
Before you start working with Globus Connect Personal, you will need to have logged in to Globus. Read more about Globus accounts; and, if you don’t have one already, create your Globus account.
Once you have logged in to Globus, you may begin to install Globus Connect Personal.
Install Globus Connect Personal
Globus have written a set of detailed installation guides explaining how to install Globus Connect Personal:
-
Install Globus Connect Personal for macOS
Globus Connect Personal runs on Mac OS X Mavericks (10.9) and later.
-
Install Globus Connect Personal for Windows
A recent version of Windows is required. If your version of Windows no longer receives patches from Microsoft, Globus Connect Personal may not work. Check UIT’s Service and Software Sunset Schedule to see when various versions of Windows will stop receiving support.
-
Install Globus Connect Personal for Linux
A recent Linux distribution is required. Supported distributions include CentOS, Debian, Fedora, Linux Mint, openSUSE, Red Hat, and Ubuntu. If the distributor has End-Of-Lifed your distribution, Globus Connect Personal may not work. To use the GUI frontend to Globus Connect Personal, Tcl/Tk must be installed.
The instructions linked above will walk you through downloading Globus Connect Personal, installing it, and creating a Mapped Collection representing your local machine.
Configure your Endpoint
At the end of the setup, you were shown a Setup Successful screen, with a link to “show collection details”. Click on that link.
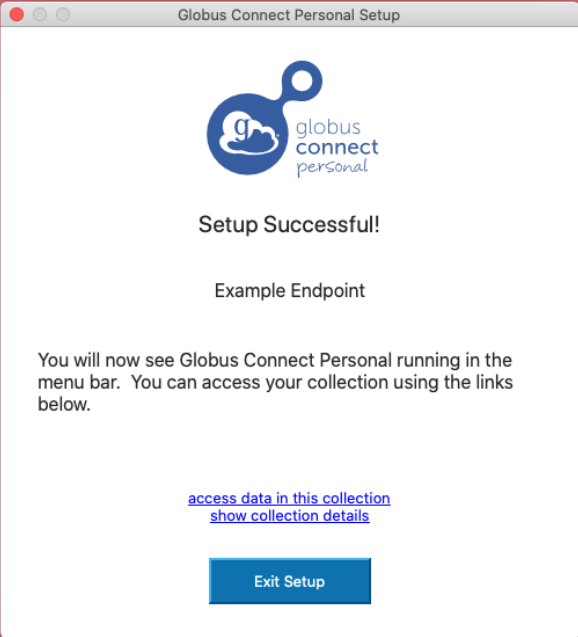
When you click on the link, you will be taken to your collection’s information page. The only things filled in will be the name and (optionally) the description you entered during initial setup, as well as your Globus identity (as the owner of the collection).
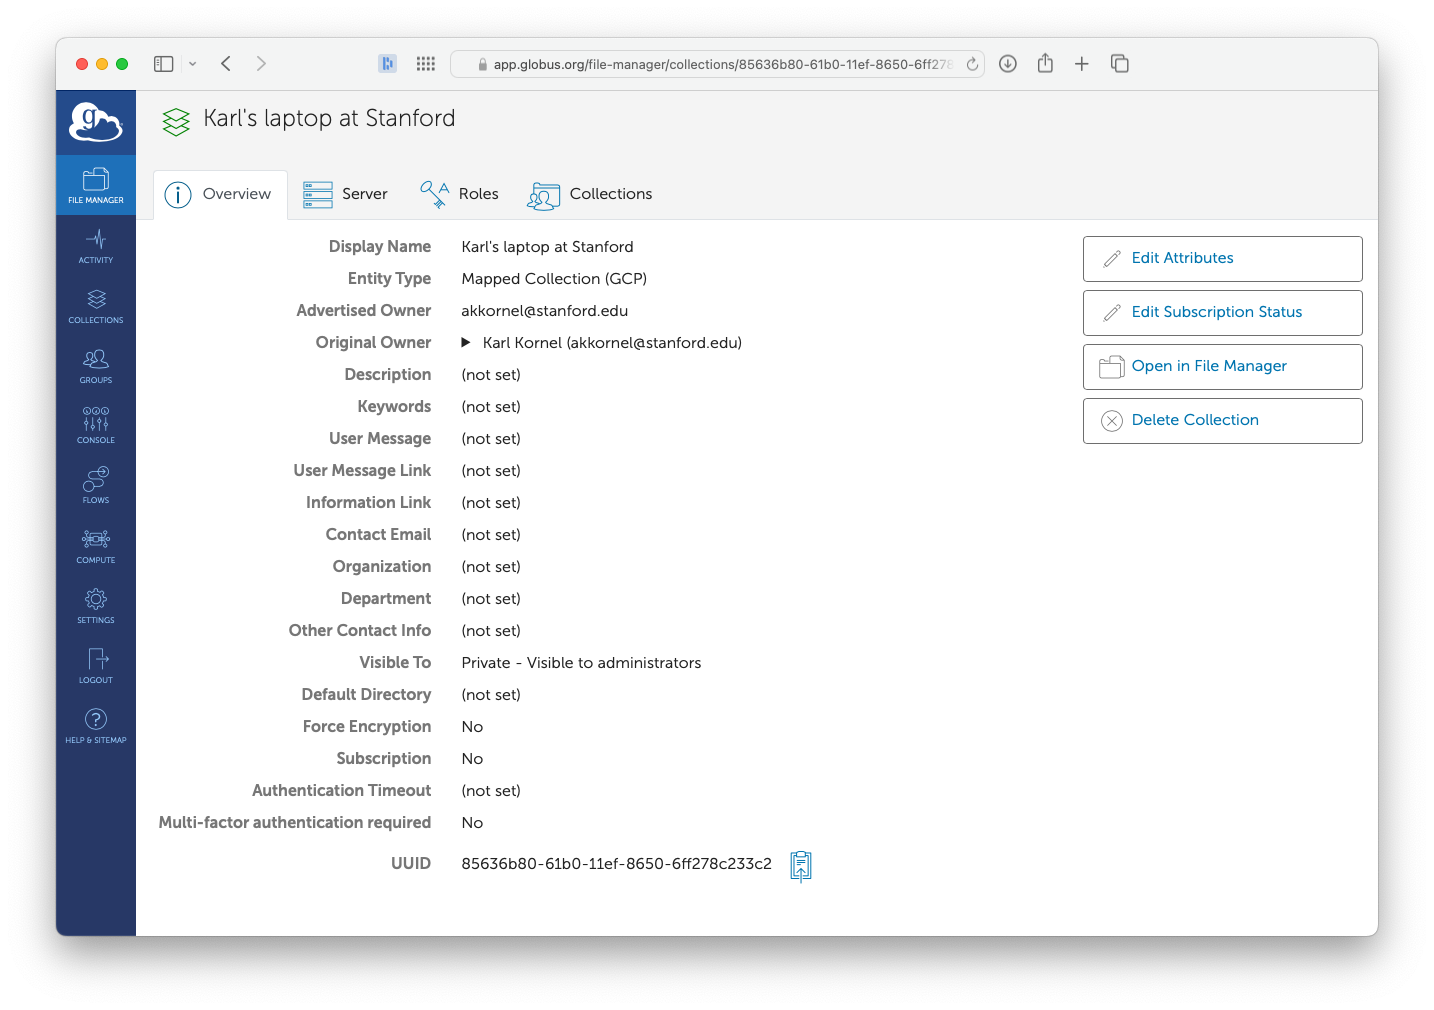
Most of the fields are empty, and a few should be filled in. Click on the Edit Attributes button, and make the following changes:
-
Change the Contact E-mail to be your email address.
-
Change the Organization to
Stanford University, and change the Department to be the name of your Group (such as your Lab), your Department, or your School. -
Change Force encryption to
Yes.
Once you save changes, then configuration is complete! Congratulations!
At this time, your Globus Connect Personal collection is configured to provide access only to you, and only to files that live in your home directory.
If you would like Globus Connect Personal to access other parts of your system, read on. If you would like to give other people access to files on your machine, first give Globus Connect Personal access to those directories, and then enable Globus Plus.
Add Allowed Paths
When Globus wants to perform an operation on your system (such as a write, or listing the contents of a directory), two security checks are performed:
-
The user running Globus Connect Personal must be allowed to perform the operation. This check is enforced by the OS, and cannot be changed by Globus.
-
Globus Connect Personal must allow access to the directory.
To change the list of allowed paths, click on the Globus toolbar (or menu bar)
icon  to bring up the Globus Connect Personal menu:
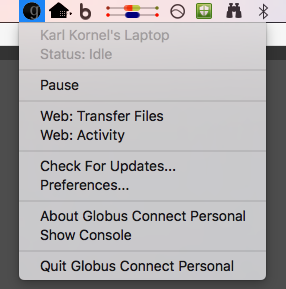
The Globus Connect Personal menu
The exact look and feel will vary from computer to computer.
In the Globus Connect Personal menu, choose Preferences; when the Preferences window appears, go to the Access tab.
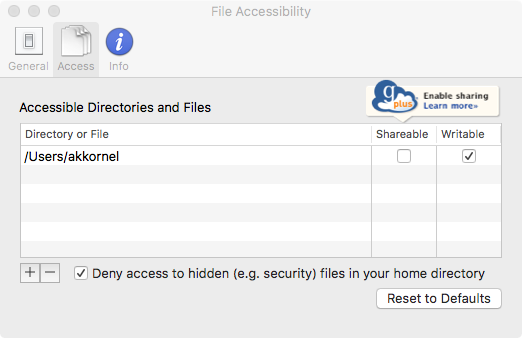
Globus Connect Personal Access Configuration
To allow access to additional directories, use the button to add an entry. Once added, use the Writeable box to give write access; if that box is not checked, the access will be read-only.
The Shareable checkbox is used to allow sharing for a directory. This feature is only available as part of Globus Plus.
To remove an entry, click on it to select the entry, and then click on the button to delete the entry.
Globus Connect Personal’s access configuration is Default-Deny: If a directory is not covered by at least one access rule, then it will not be accessible through Globus Connect Personal.
Conversely, if a directory is covered by multiple access rules, only the most-specific rule will apply. For example, let’s say you have three access rules:
-
Access to
/Users/me, read-only. -
Access to
/Users/me/Dropbox, read-write. -
Access to
/Users/me/Dropbox/X, read-only.
In the above configuration, Globus will allow write access to all of the Dropbox
directory, except for the X directory, which will be kept read-only.
That’s it! You now have Globus Connect Personal fully configured. You can now make transfers from—and, if your allowed write access, to—your collection!
If you would like to share files from your collection with other people, you should now proceed to enable Globus Plus.
On Windows, (possibly) enable Long Paths
On Windows machines, most file operations (creating files, opening them, etc.)
have a path-length limit of 260 characters. That is, the full path to the
file—from the C:\ to the end of the file’s extension—must be 260 characters
long (or less). For folks working with certain data sets with long file and
directory names, this can cause issues.
Globus Connect Personal supports paths up to 4,096 characters long, but on Windows you will need to make an OS-level configuration change (a registry change) to enable long-path support.
First, download the long-path registry file to your computer. You will get a
file named long_path.reg:
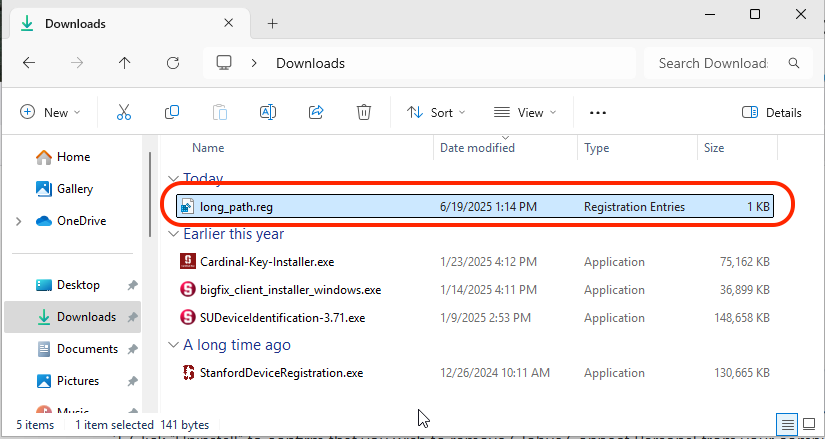
Double-click on the long_path.reg file. A warning message will appear:
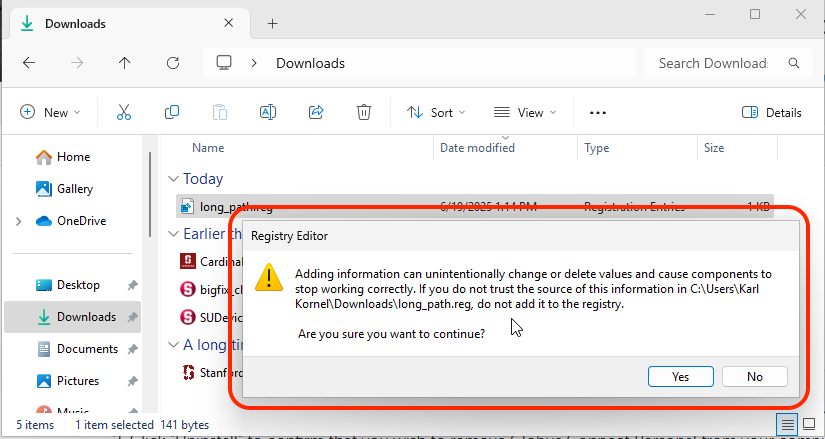
Click “Yes”. A new message will appear, confirming the change was made:
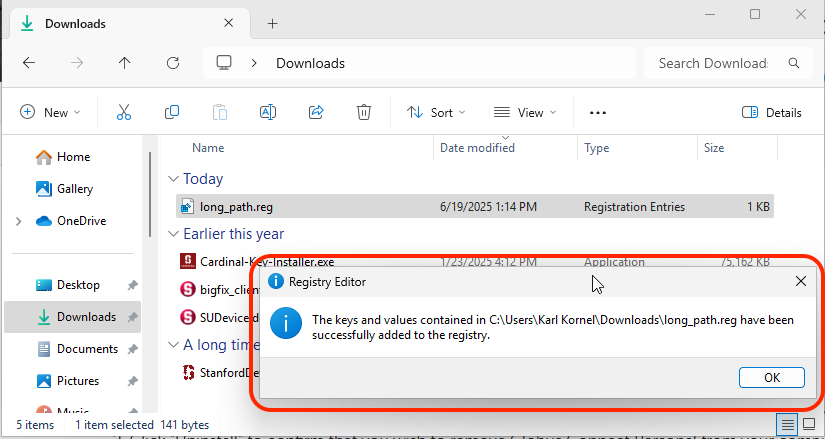
The change will not be seen by running programs, so to ensure everything
(including Globus) is aware of the change, restart your computer. You can also
delete the long_path.reg file.
Congratulations, Windows long-path support is now enabled!