Globus Account Creation
Your Globus account is created automatically when you first log in to Globus.
To begin, go to app.globus.org. You will be presented with the login page:
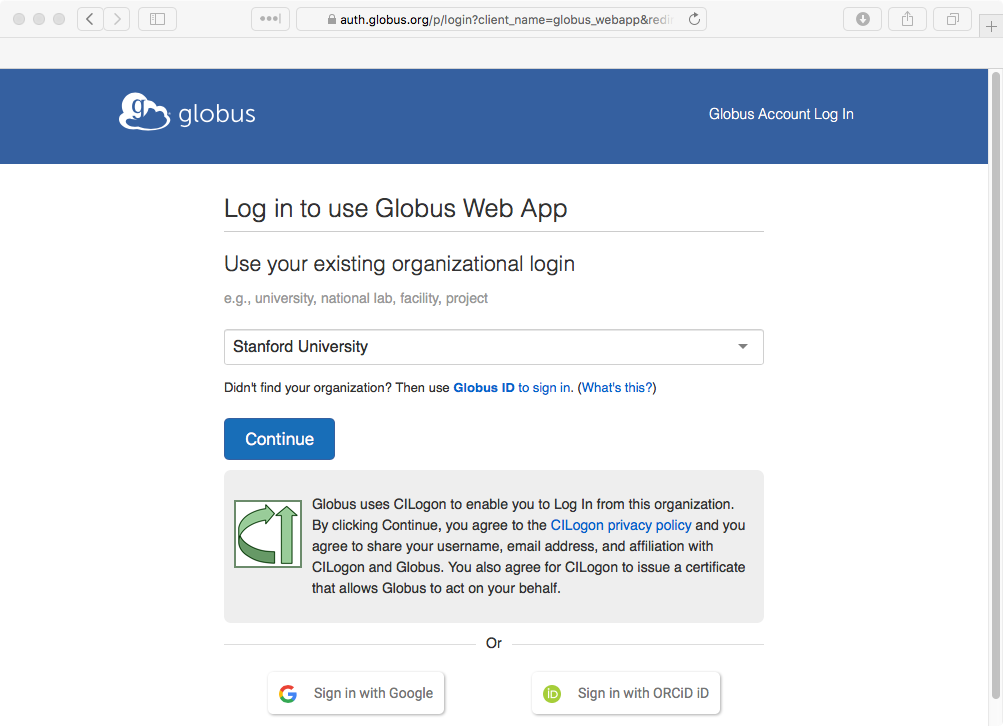
The Globus login screen
Select Stanford University from the list, and click the Continue button.
When you click on the Continue button, you will be taken to the normal Stanford University login page. If you have not logged in today, or on this browser, you may be prompted to log in and/or two-step.
After logging in, you will be asked if this will be used as a primary identity, or if you want to link this login to a different identity.
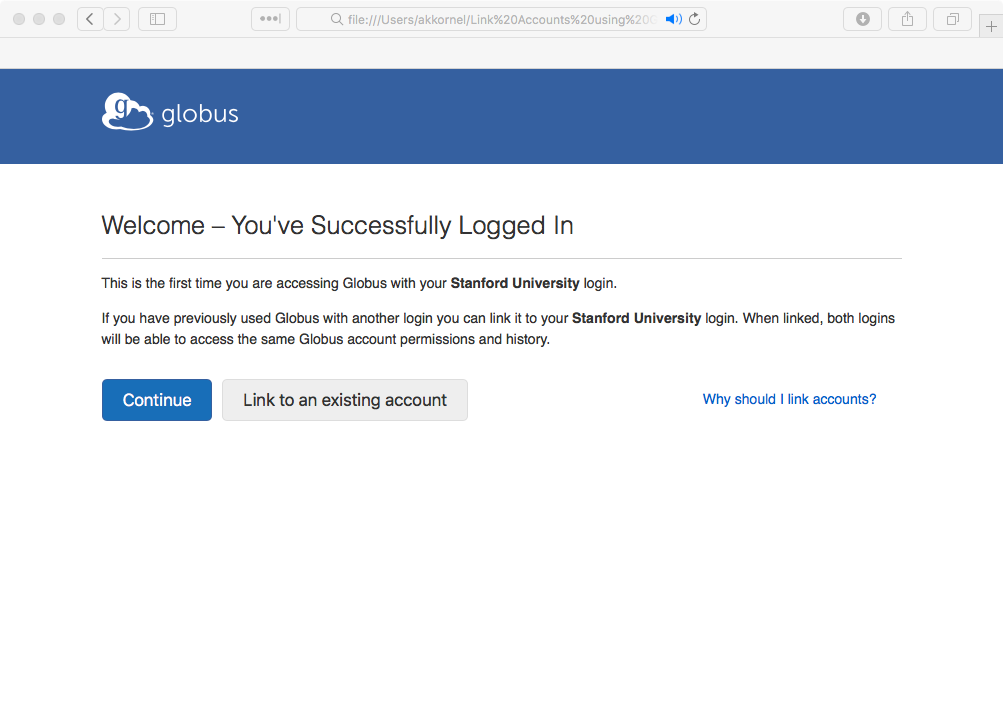
First-Time login confirmation
If you are part of Stanford, then you will likely be using your Stanford identity as your primary identity, and so you should click on the Continue button. If you are primarily affiliated with another institution, then your first-time login should be with that instituion’s credentials, and instead you will want to add your Stanford identity as a linked identity.
After clicking the Continue button, you will be asked for some more information (such as if you plan on using the service for commercial purposes.
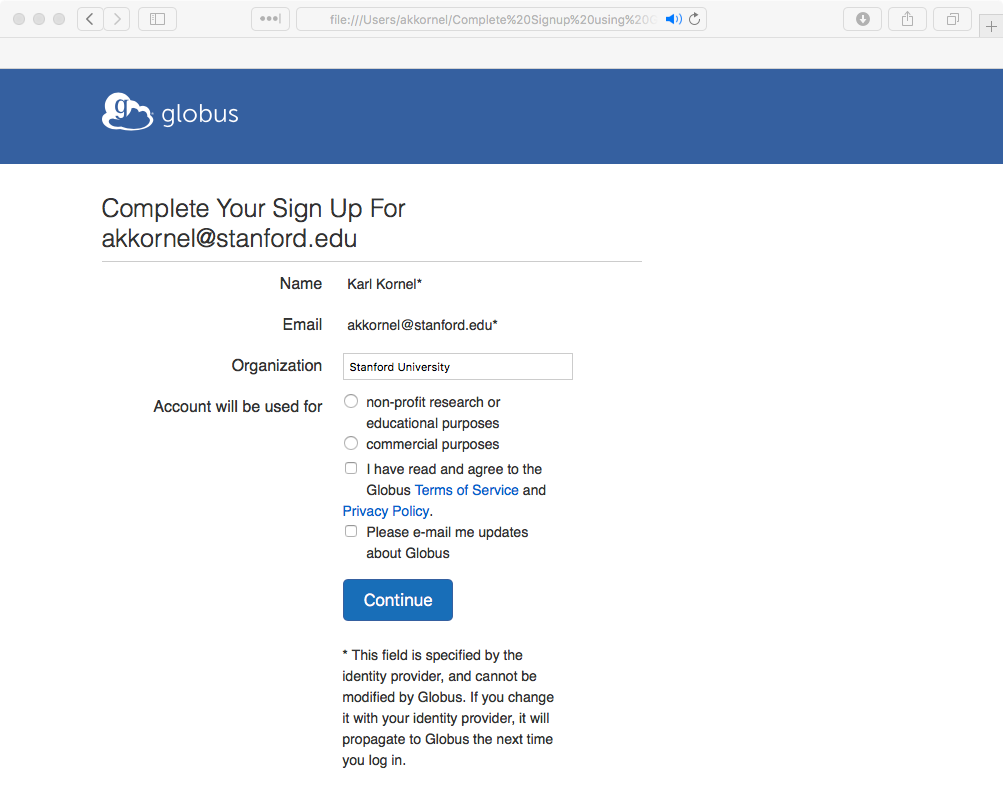
First-Time user information collection
Complete the form and click on the Continue button.
The final first-time user page will now appear. The first time you access any site using Globus authentication, Globus’ authentication site will want to confirm that it is OK to share your information with the site.
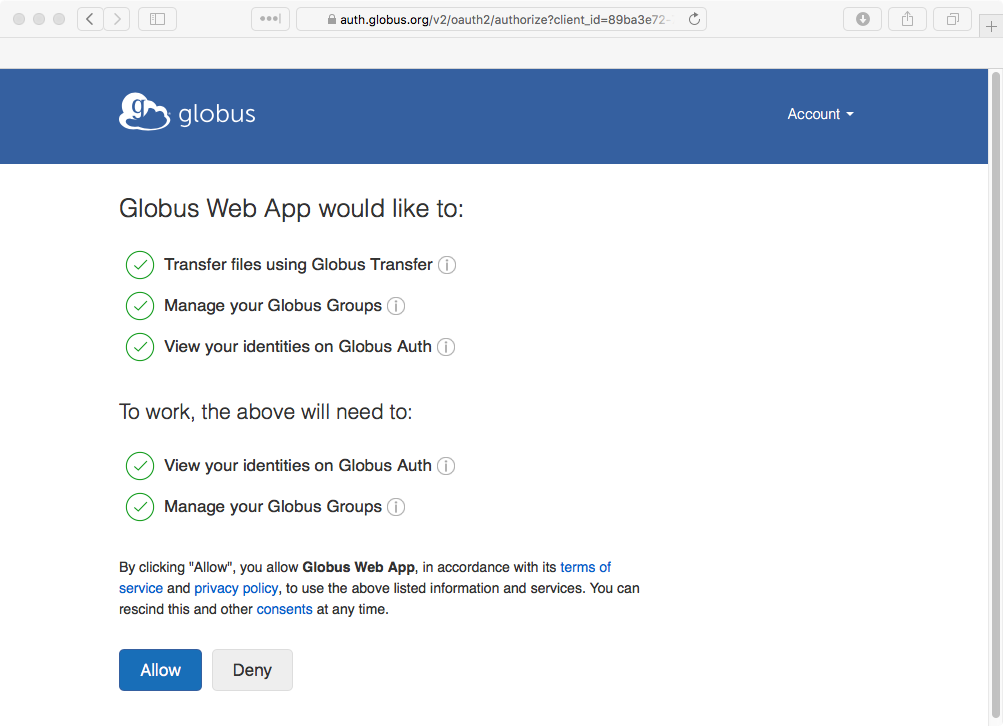
Asking permission
This is a little confusing, because a Globus-run authentication service is asking your approval to provide information to another Globus service, but this is also a good example of how web services should ask for consent before providing information to any other service.
Click the Allow button, and you will be taken to the Globus transfer page.
The Globus 'Transfer Files' screen
Congratulations! You have successfully logged in to Globus, and your Stanford account has been associated with an identity.