Globus and Elm
Elm may be accessed through the Stanford Elm Storage (project: campus) collection.
Before continuing, you may need to do some one-time setup work. You will need to…
-
Review the service limitations, to see if they will affect your usage. If you are still OK using Globus, your next step will be to…
-
Create an Access Key, which will give you an access key (officially an “Access Key ID”) and a secret key (officially a “Secret Access Key”). Once your access key is created, you will need to…
-
Load the credentials into Globus. This gives Globus access to Elm, with the credentials you provide.
Once the one-time setup work is complete, you should proceed to access your files on Elm.
Each step is described in detail below.
Service Limitations
Globus has a number of limitations when working with Elm. These limits might affect your use case—especially when dealing with research data or shared content—so you should review them before starting to use Globus with OneDrive.
Elm Limitations
Even though Elm is accessed through the S3 protocol, it has a number of limitations compared to Amazon S3. In particular…
-
Big Data is Best: Elm works best with large files (hundreds of megabytes and larger). If you are thinking of uploading smaller files, you may wish to combine them into a larger
.taror.zipfile before you copy them to Elm. -
Be Aware of Quotas: Elm rentals come with both a storage quota—a limit on how much data (TiB) you can store—and an objects quota—a limit on how many objects (files) you can store. If you exceed either quota, you will start seeing “Permission Denied” errors on all uploads.
Even though Globus transfers do have the “Fail on quota errors” option, it has no effect here: The S3 protocol does not have a way to represent “Quota Exceeded”, so the Elm developers instead represent the error as “Permission Denied”.
If you suddenly start seeing “Permissions Denied” errors on transfers to Elm, check to see if you have exceeded quota. To see your current storage & inode usage, check your Elm Grafana Dashboard. To get a link to your Elm Grafana Dashboard, go to Elm’s Getting Started guide and enter your bucket name. If you get your quota increased before a transfer’s deadline, once quota is added, the transfer will continue automatically.
-
Expect Slow Restores: Data on Elm are eventually sent to tape. Directory listings will be fast, but downloads from Elm will be much slower than expected, and you will see timeouts. The workaround is to leave the transfer alone: Elm will continue restoring files to disk in the background, and files will slowly transfer.
For the same reason, you should avoid using the “where the checksum is different” type of sync transfer in Globus: In order to perform the checksum, Elm must have your files on disk. If the files have already been sent to tape, this will result in a restore from tape. There is one exception: A checksum-sync transfer is OK to perform immediately after you upload data to Elm.
-
Workgroups Rule: Even if you give Globus full read, write, and delete access, your workgroup membership will limit what Globus can do. Specifically…
-
You must be a member of your bucket’s main workgroup to have read access. If you are in either the “Uploader” or the “Editor” workgroup, you are automatically part of this workgroup.
-
You must be a member of your bucket’s “Uploader” workgroup to have read/write access.
-
You must be a member of your bucket’s “Editor” workgroup to have full read/write/delete access.
-
-
No Cross-Account Access: Elm does not support S3 cross-account bucket access. Instead, you should add users to the appropriate workgroup, so they can create their own access keys.
Globus Limitations
If you are planning on a large (or long) transfer to Globus, we strongly recommend that you enable the “Skip files on source with errors” option. This will keep the transfer moving, even in the face of “File not found” or “Permission denied” errors on the sending side.
If you turn on the “sync” option for your transfer, expect to see a long delay at the start of the transfer. This is due to how Globus structures sync transfers internally.
Globus for Elm does not support the following S3 features:
-
Custom Metadata / Tags: Custom Metadata and tags on existing objects are ignored when those objects are downloaded, and new objects do not have custom metadata or tags set.
-
Versions: When downloading a file from an S3 bucket, Globus will always access the latest version.
-
ACLs: ACLs on existing objects (and the bucket) will influence what you can download through Globus, but those ACLs are not copied out of S3. When uploading new objects, ACLs are not explicitly set, and so inherit any bucket-level ACL that is set.
-
Additional Checksum Algorithms: At this time, if an object in Elm needs to be verified, Globus will re-download it in order to compute the checksum.
These limitations are present because Globus supports only a common set of features between storage platforms, to make file transfers as portable as possible.
If you are OK with the limitations above, you should move on to creating an Access Key, which Globus will need to interact with Elm.
Creating an Access Key
Once your Elm bucket is created, and you have been given access to the appropriate workgroup, you should log in to the MinIO Console URL provided on Elm’s Getting Started guide (enter your bucket name to get the MinIO Console URL). After going through Stanford Login, you will see your buckets.
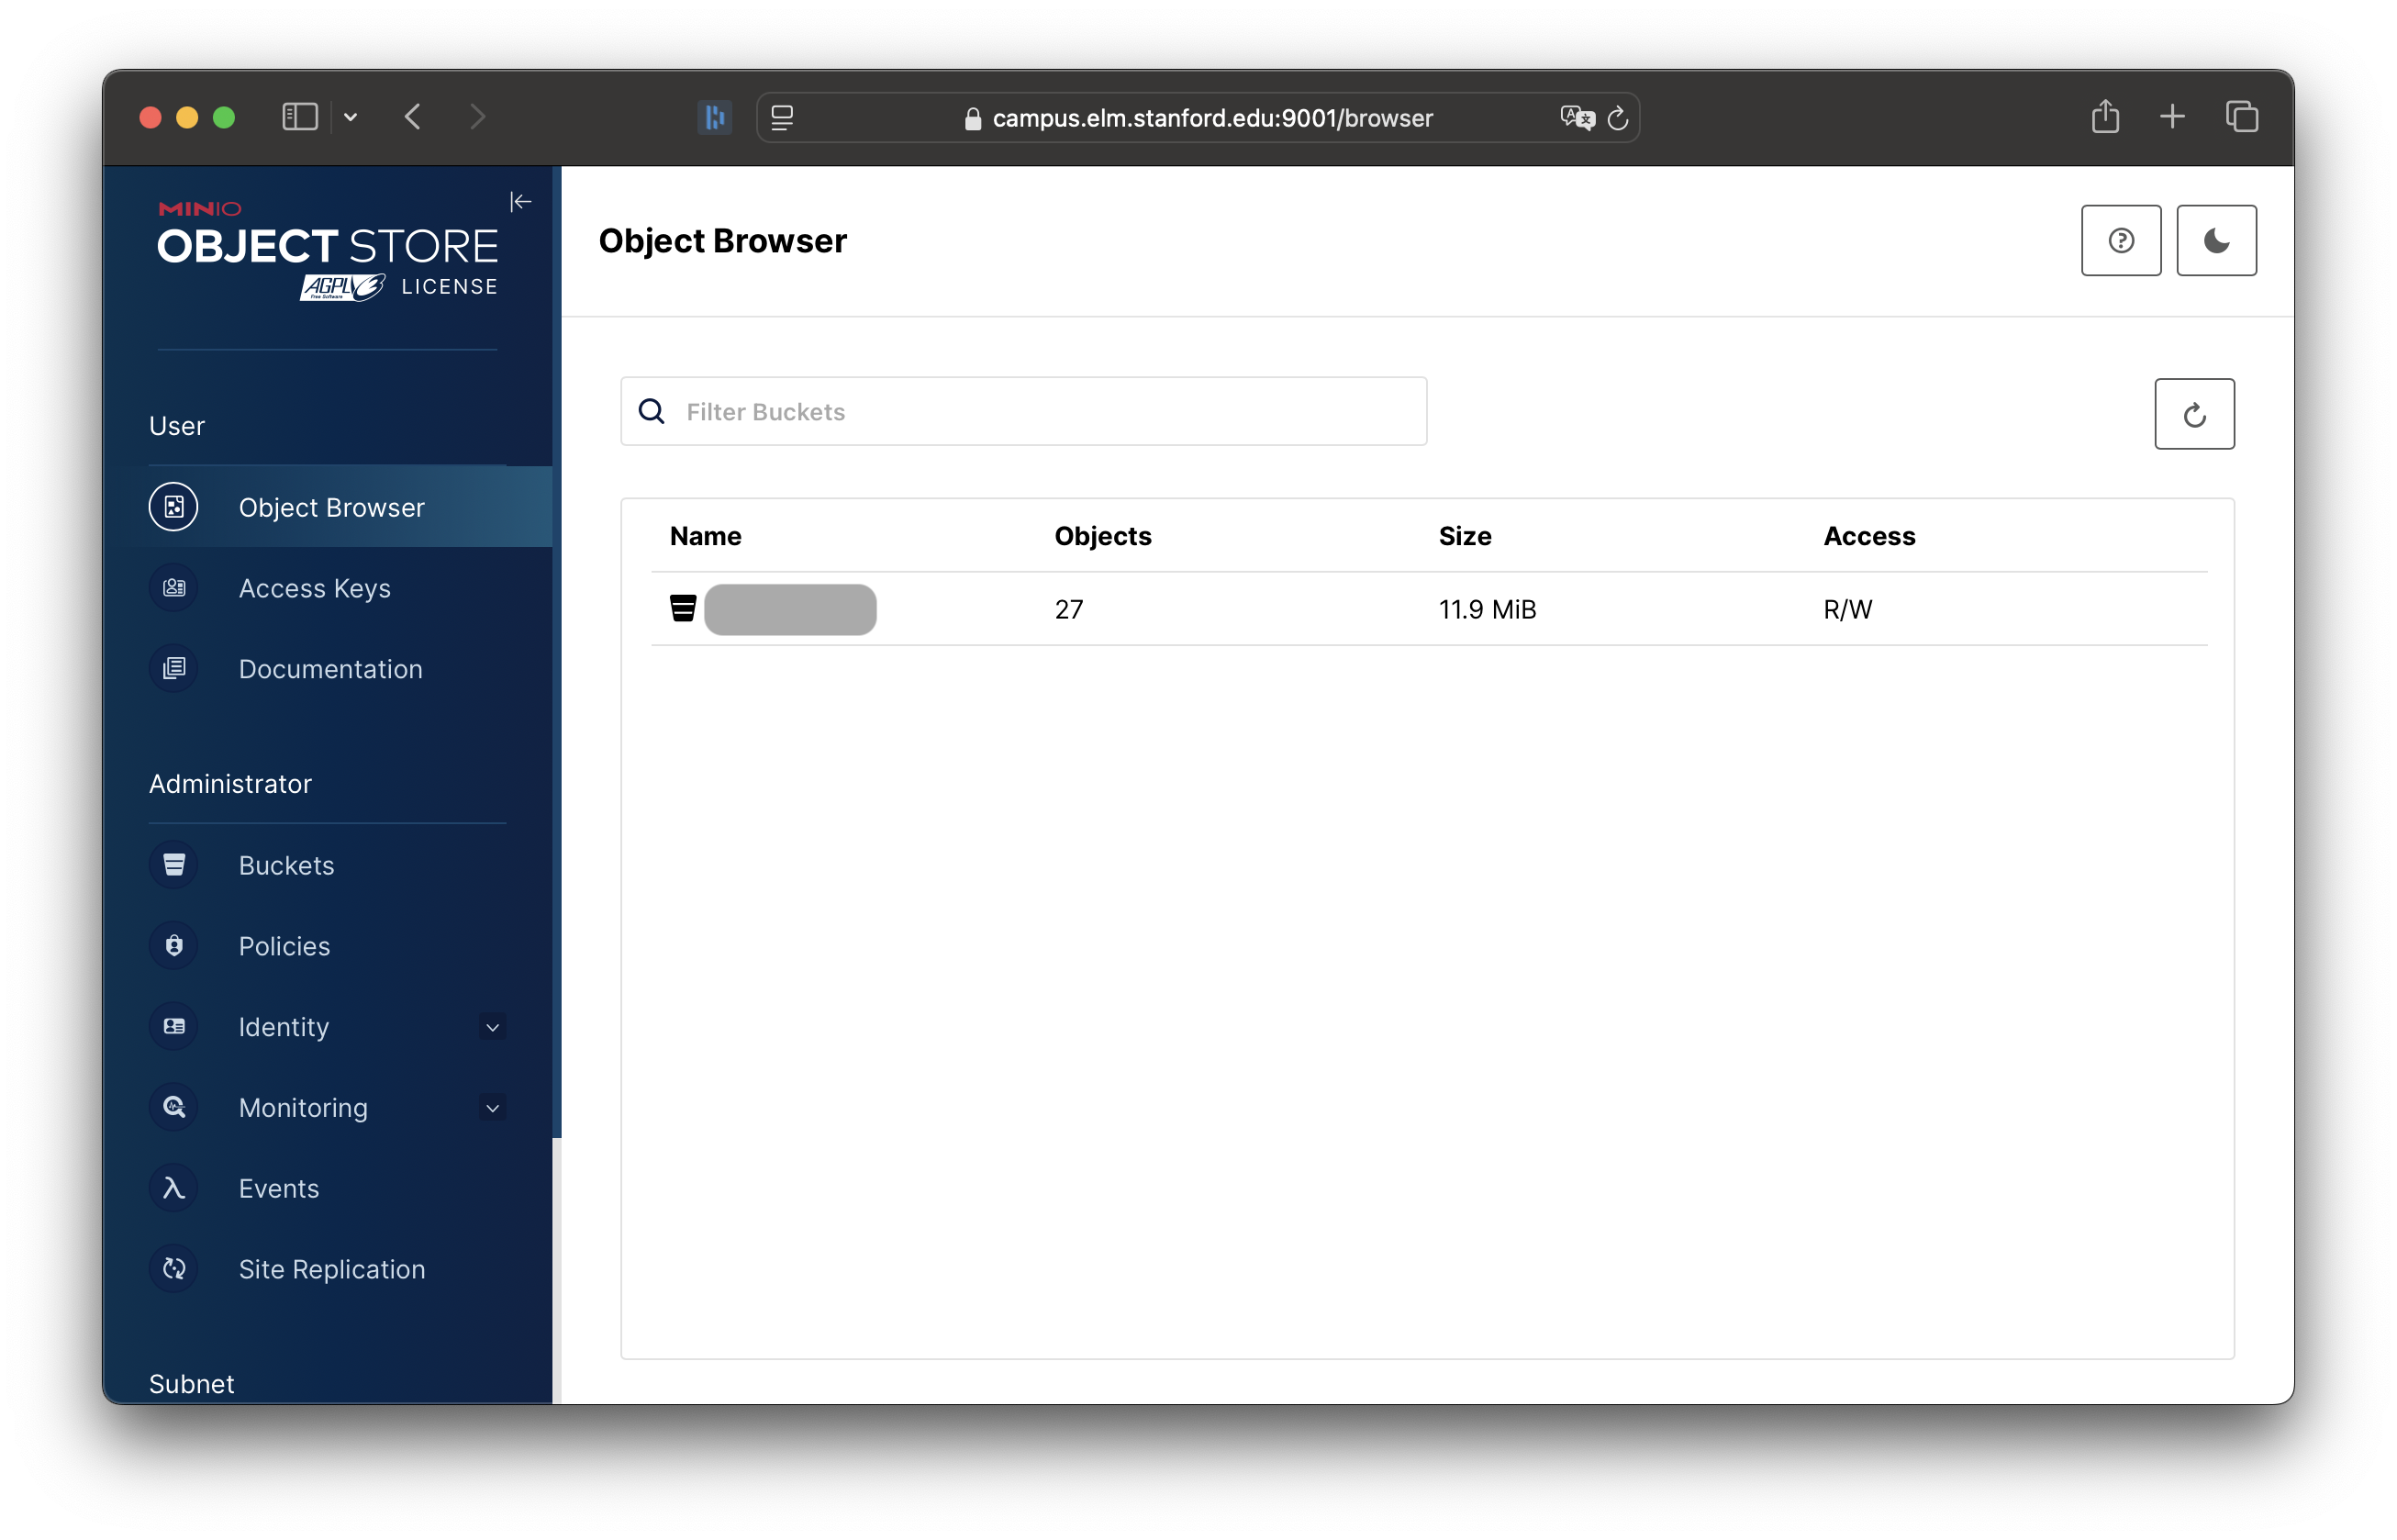
Select the “Access Keys” option:

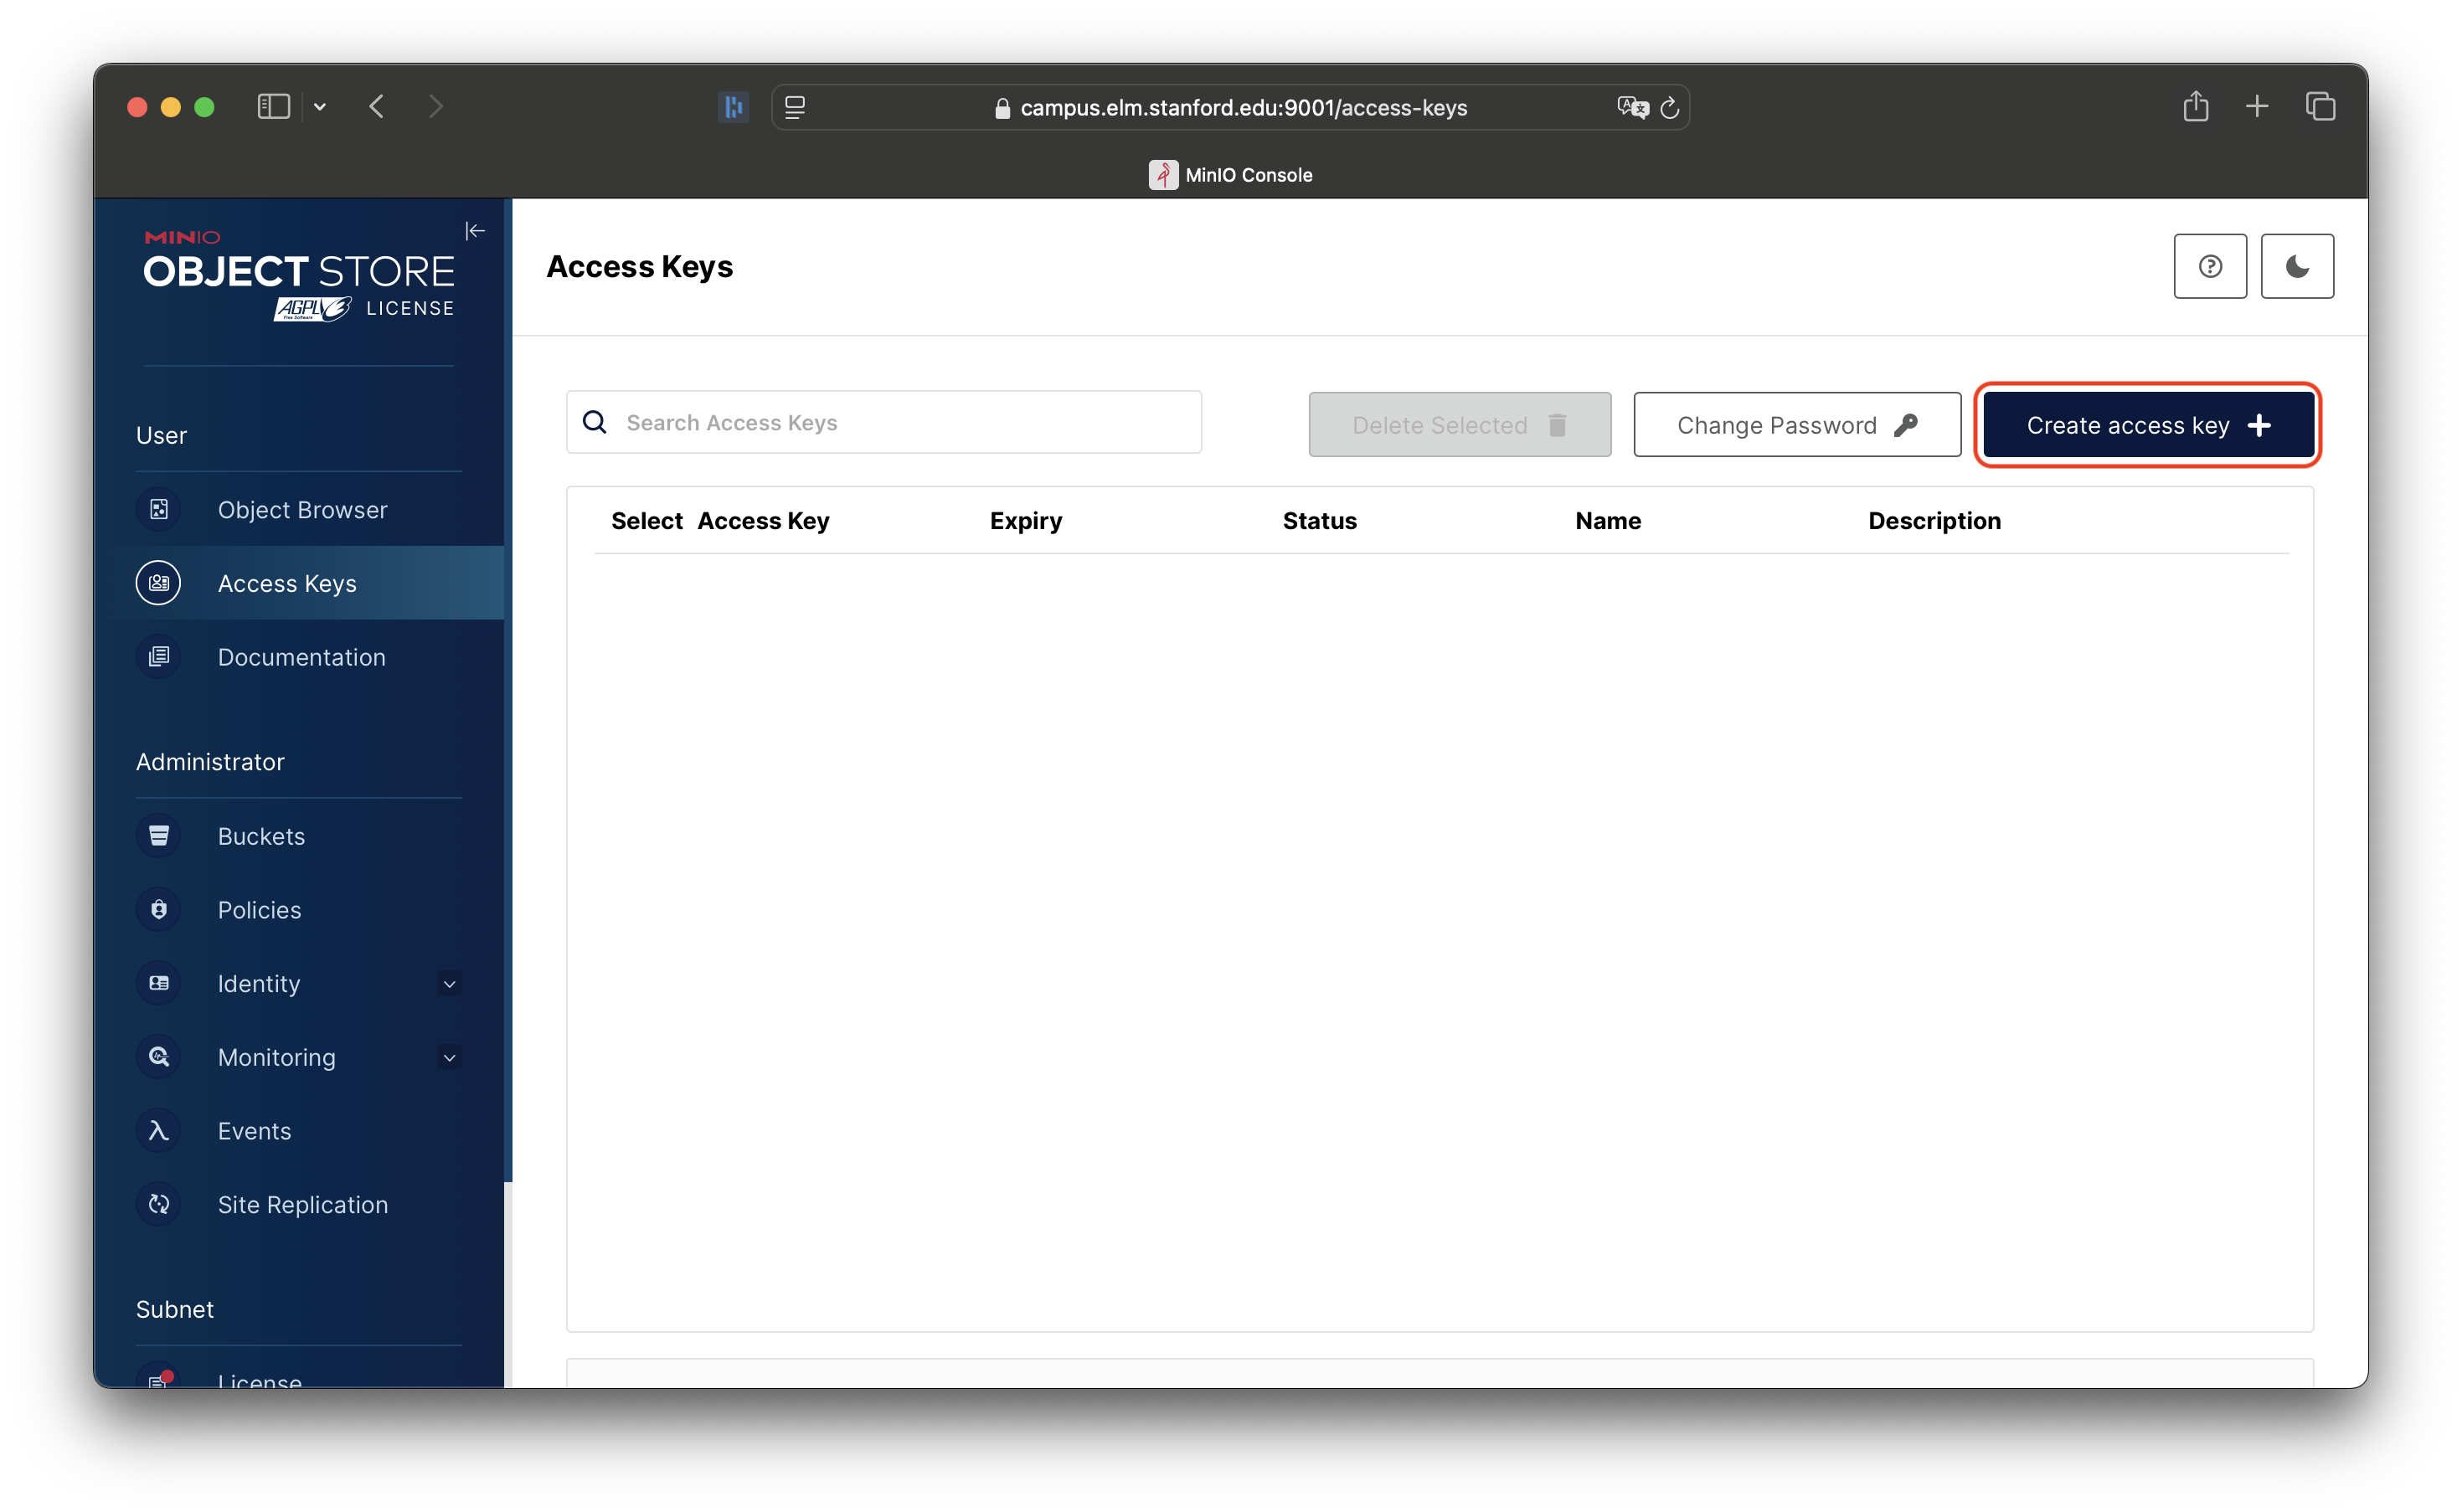
You will see the list of access keys. Click “Create access key”:
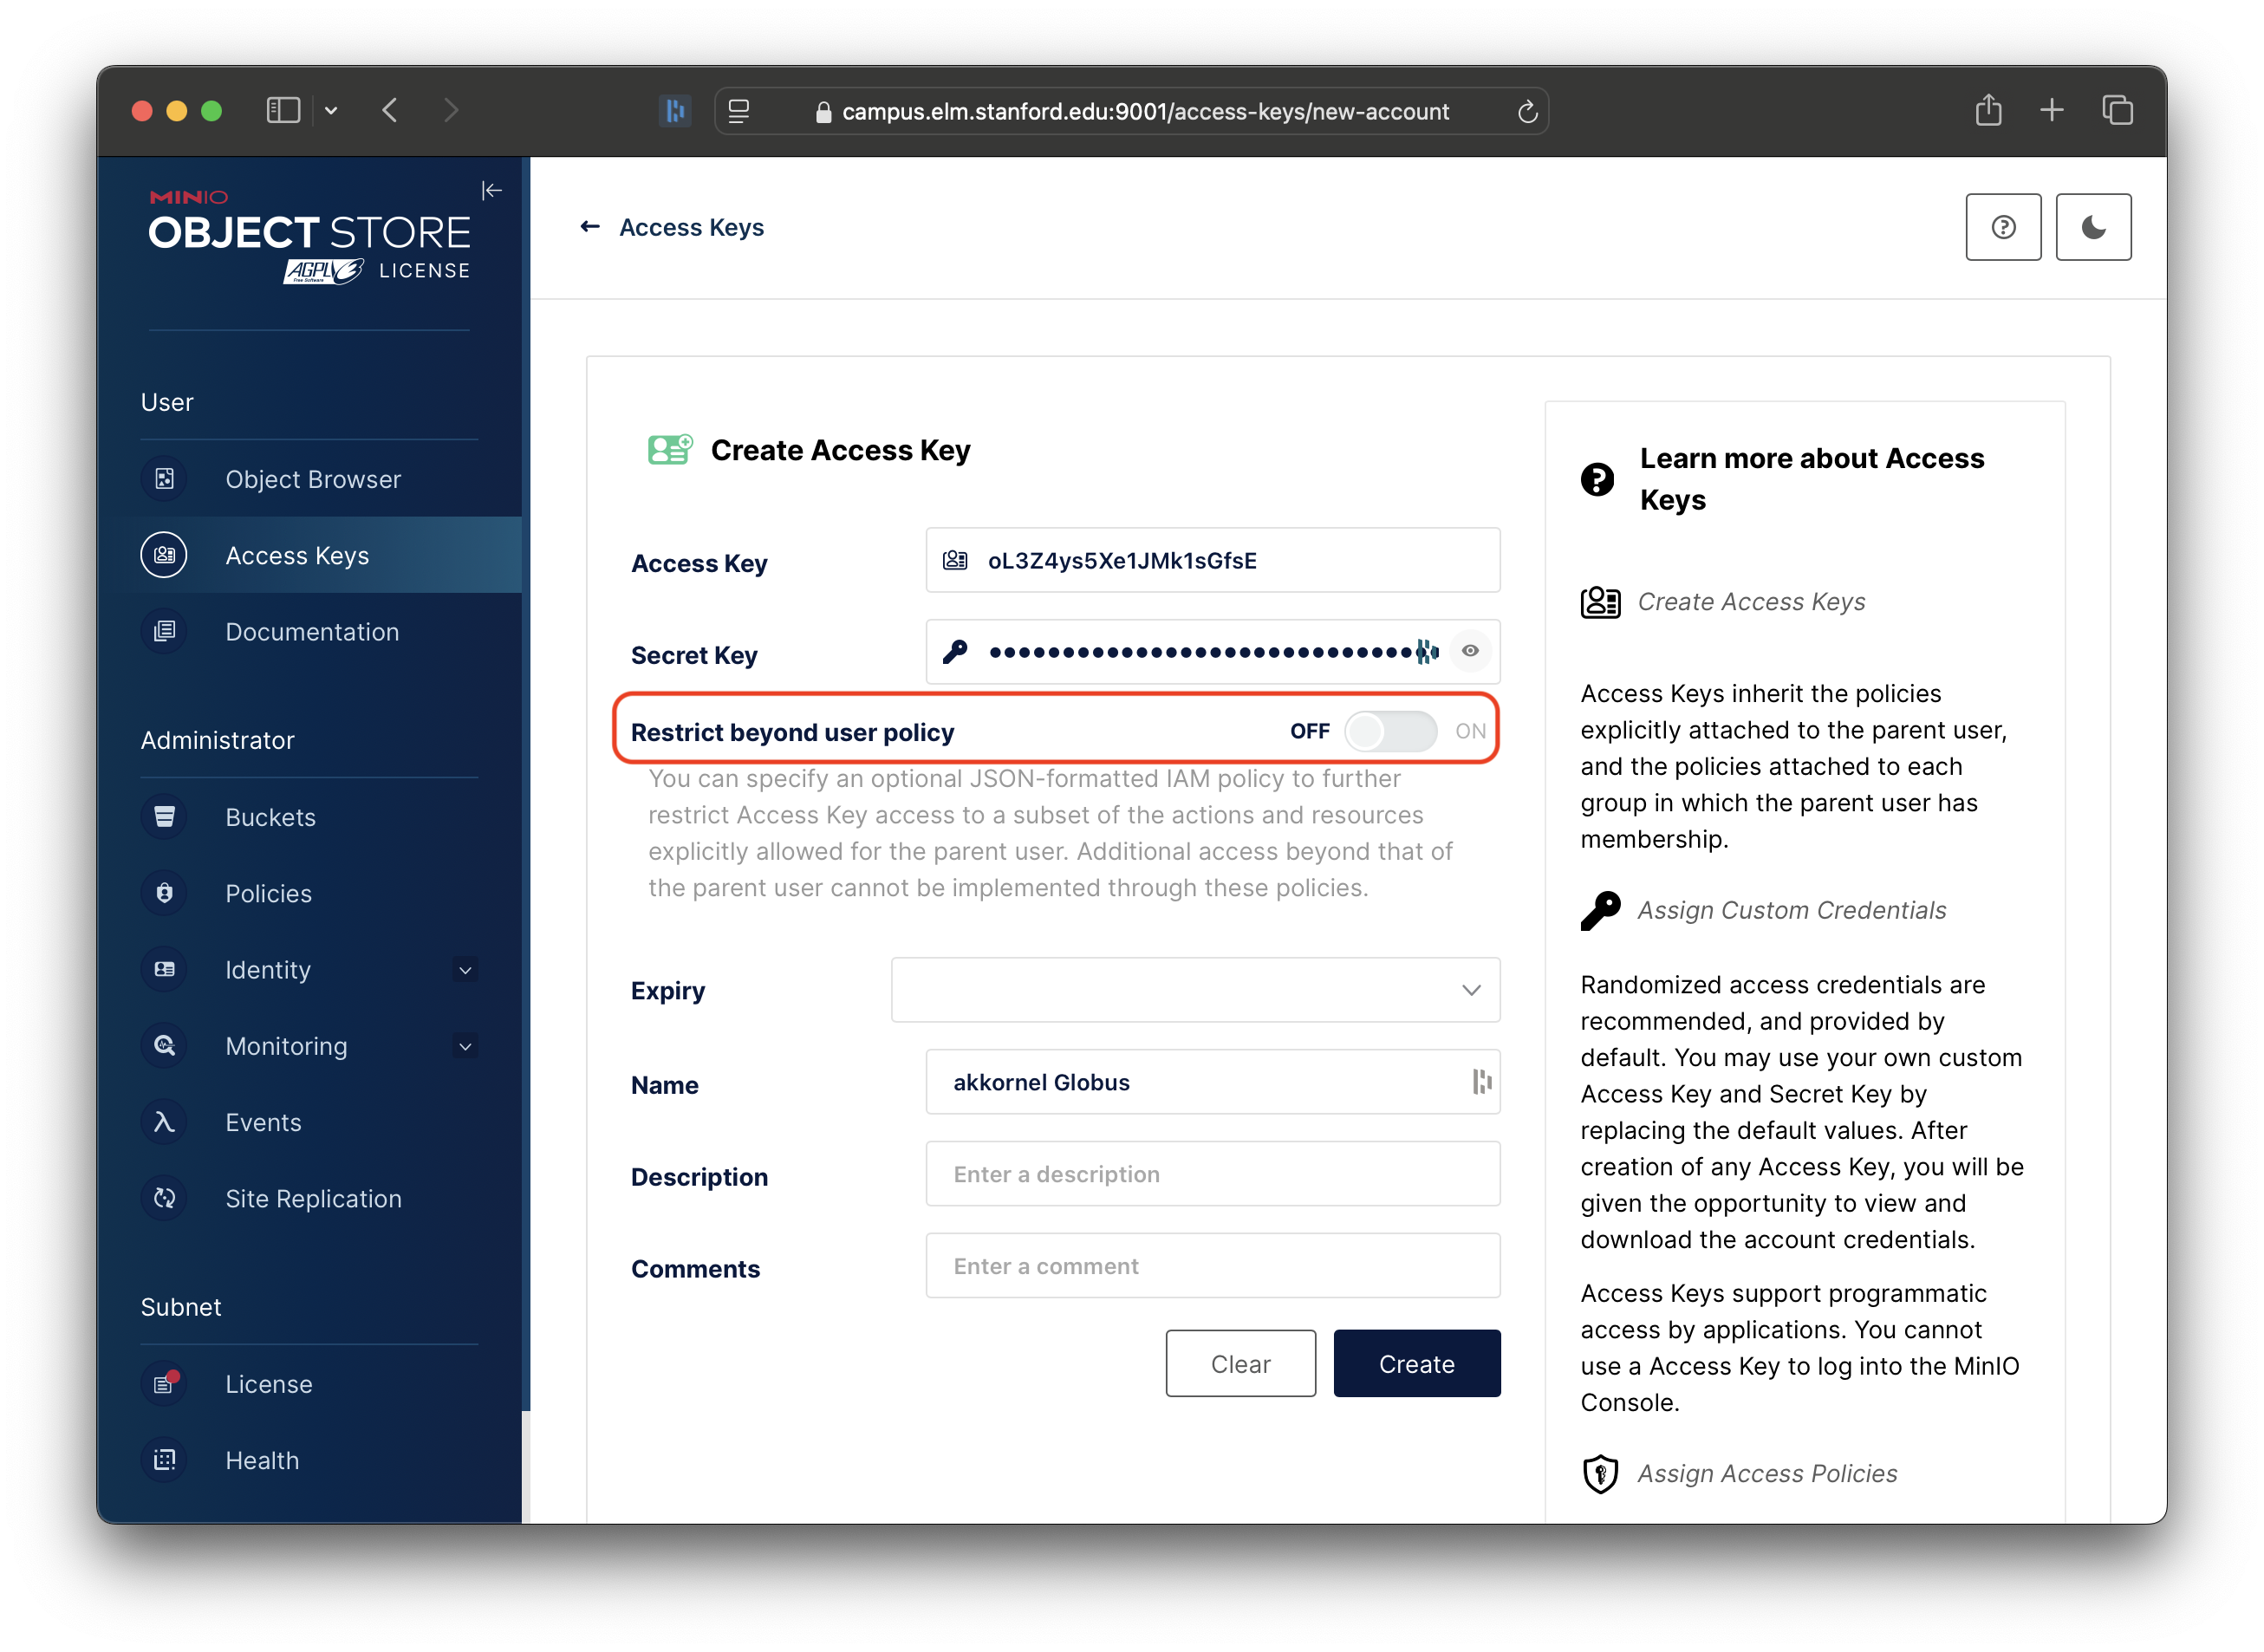
You’ll now be presented with the screen to configure the new access key.
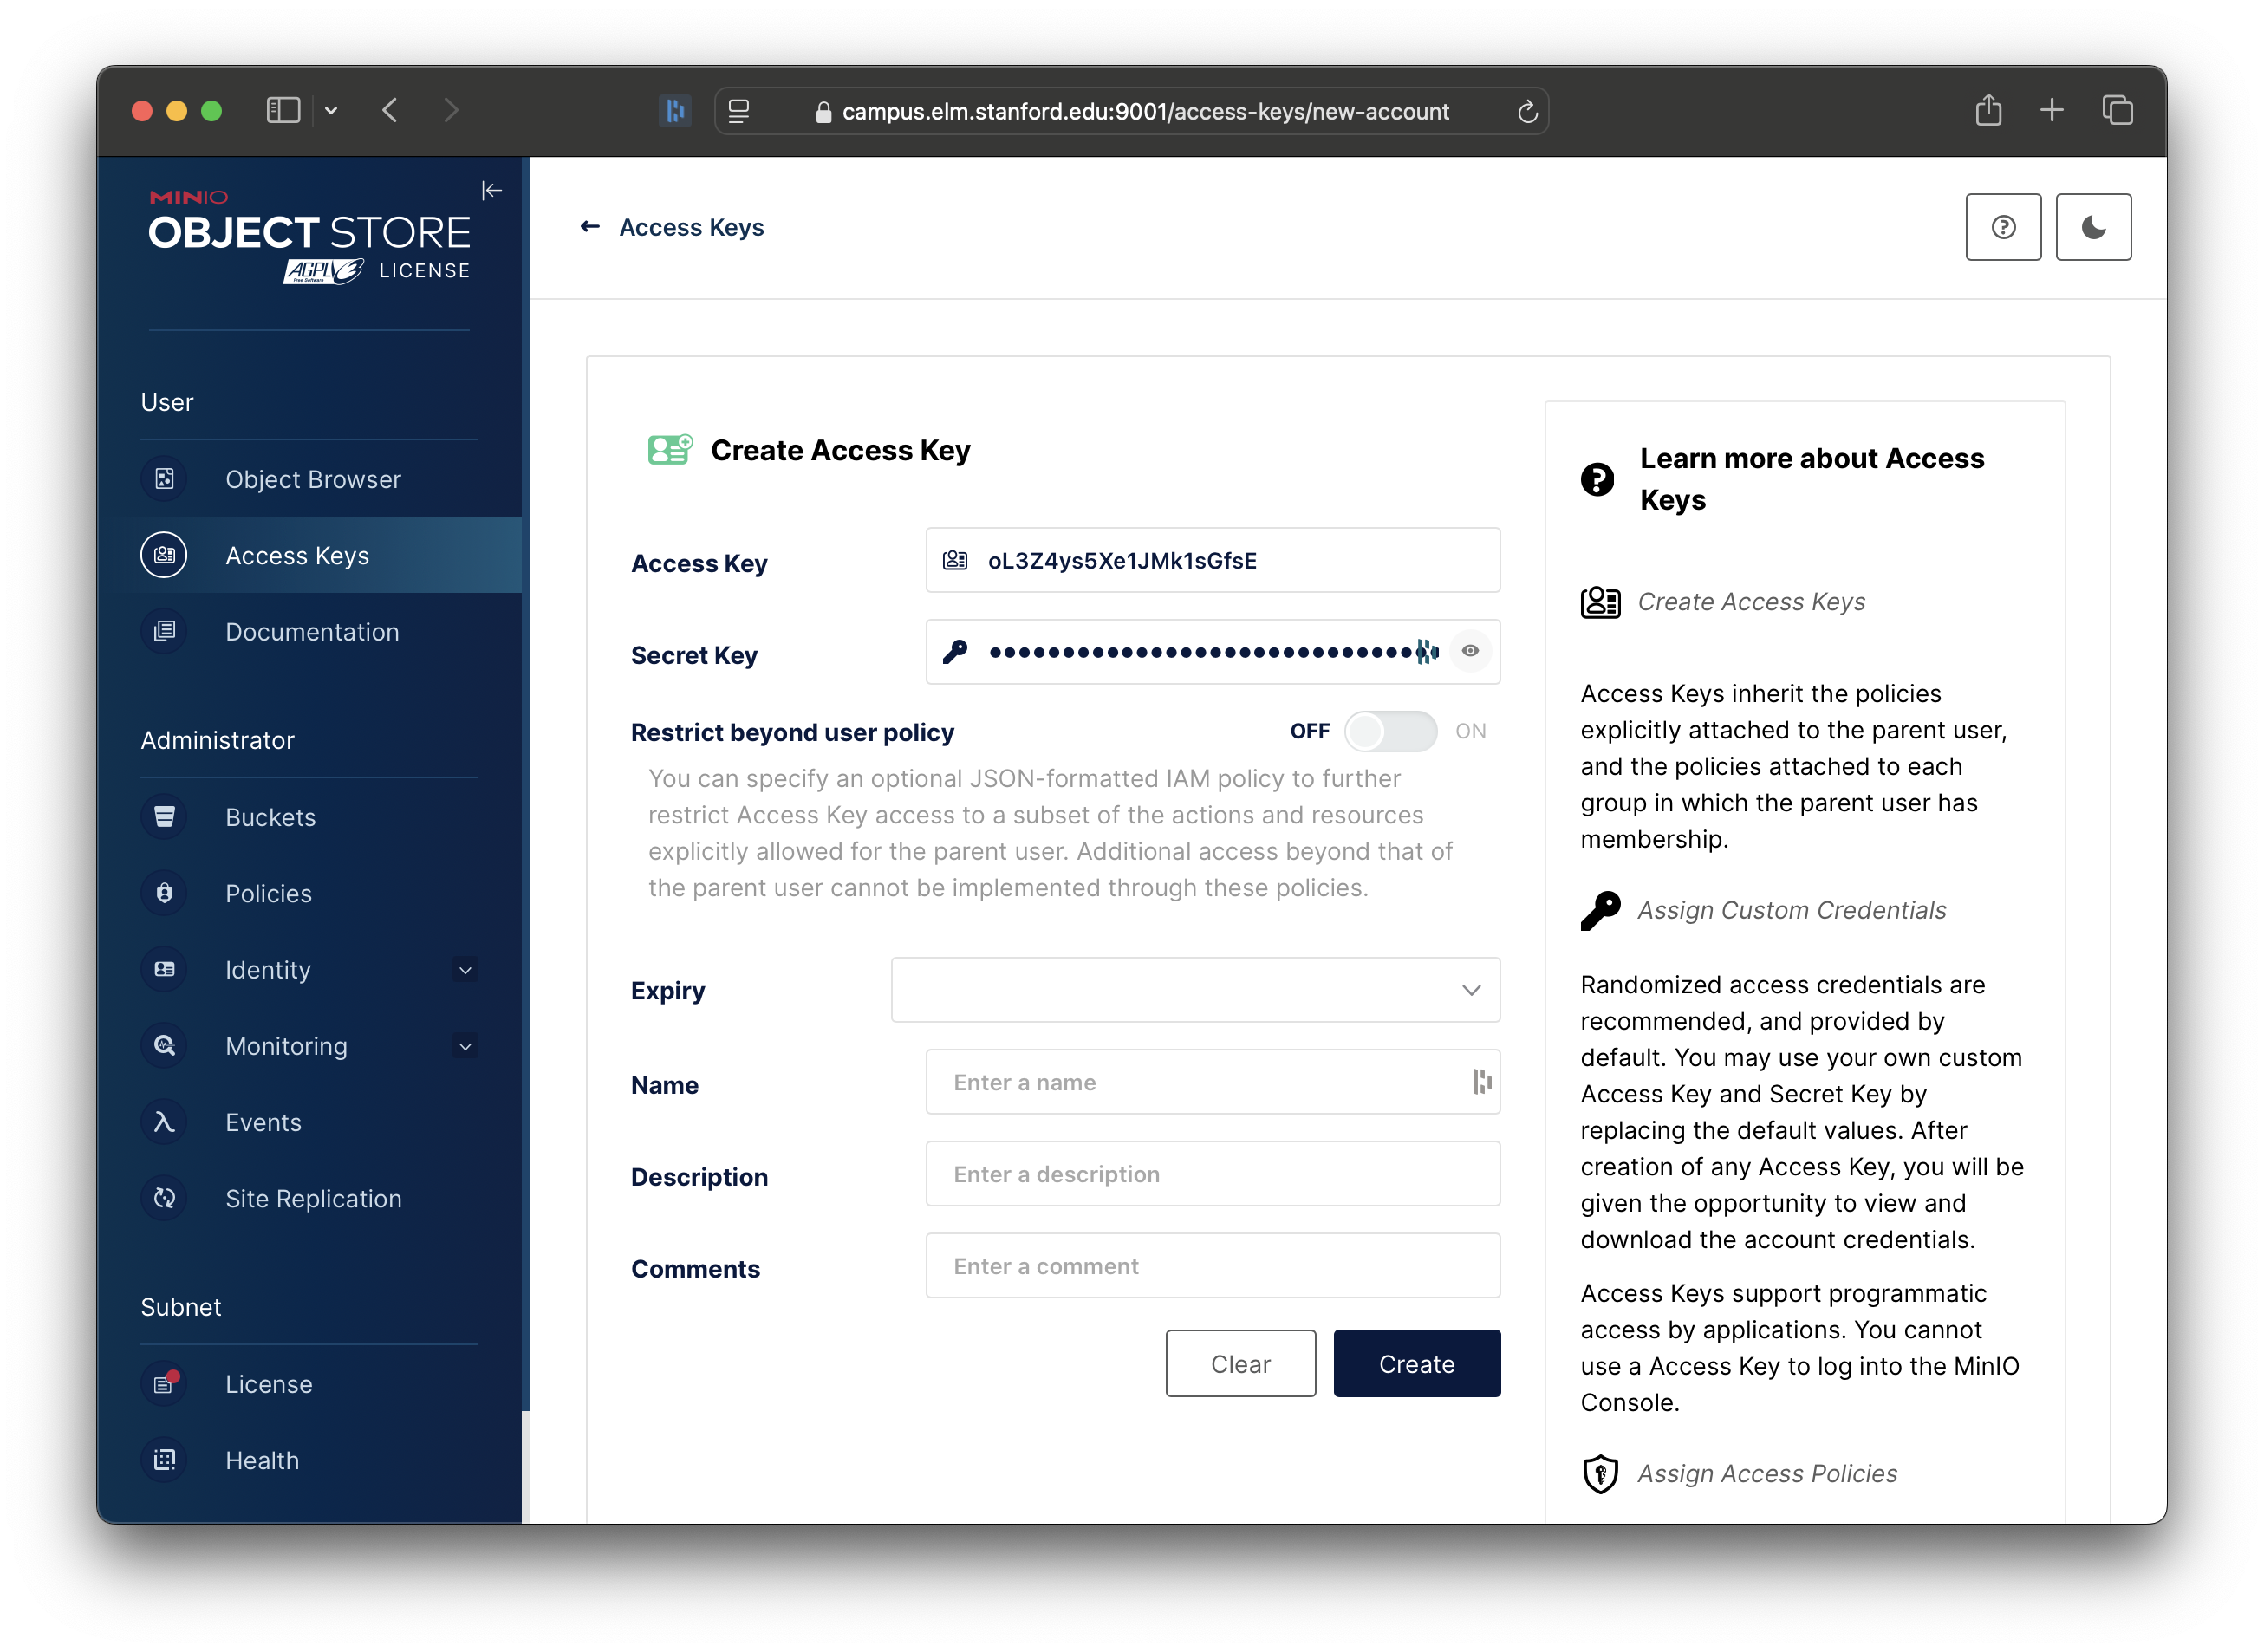
To start, in the Name field, enter your name and the word “Globus”, so that others will know what you are using the Access Key for:
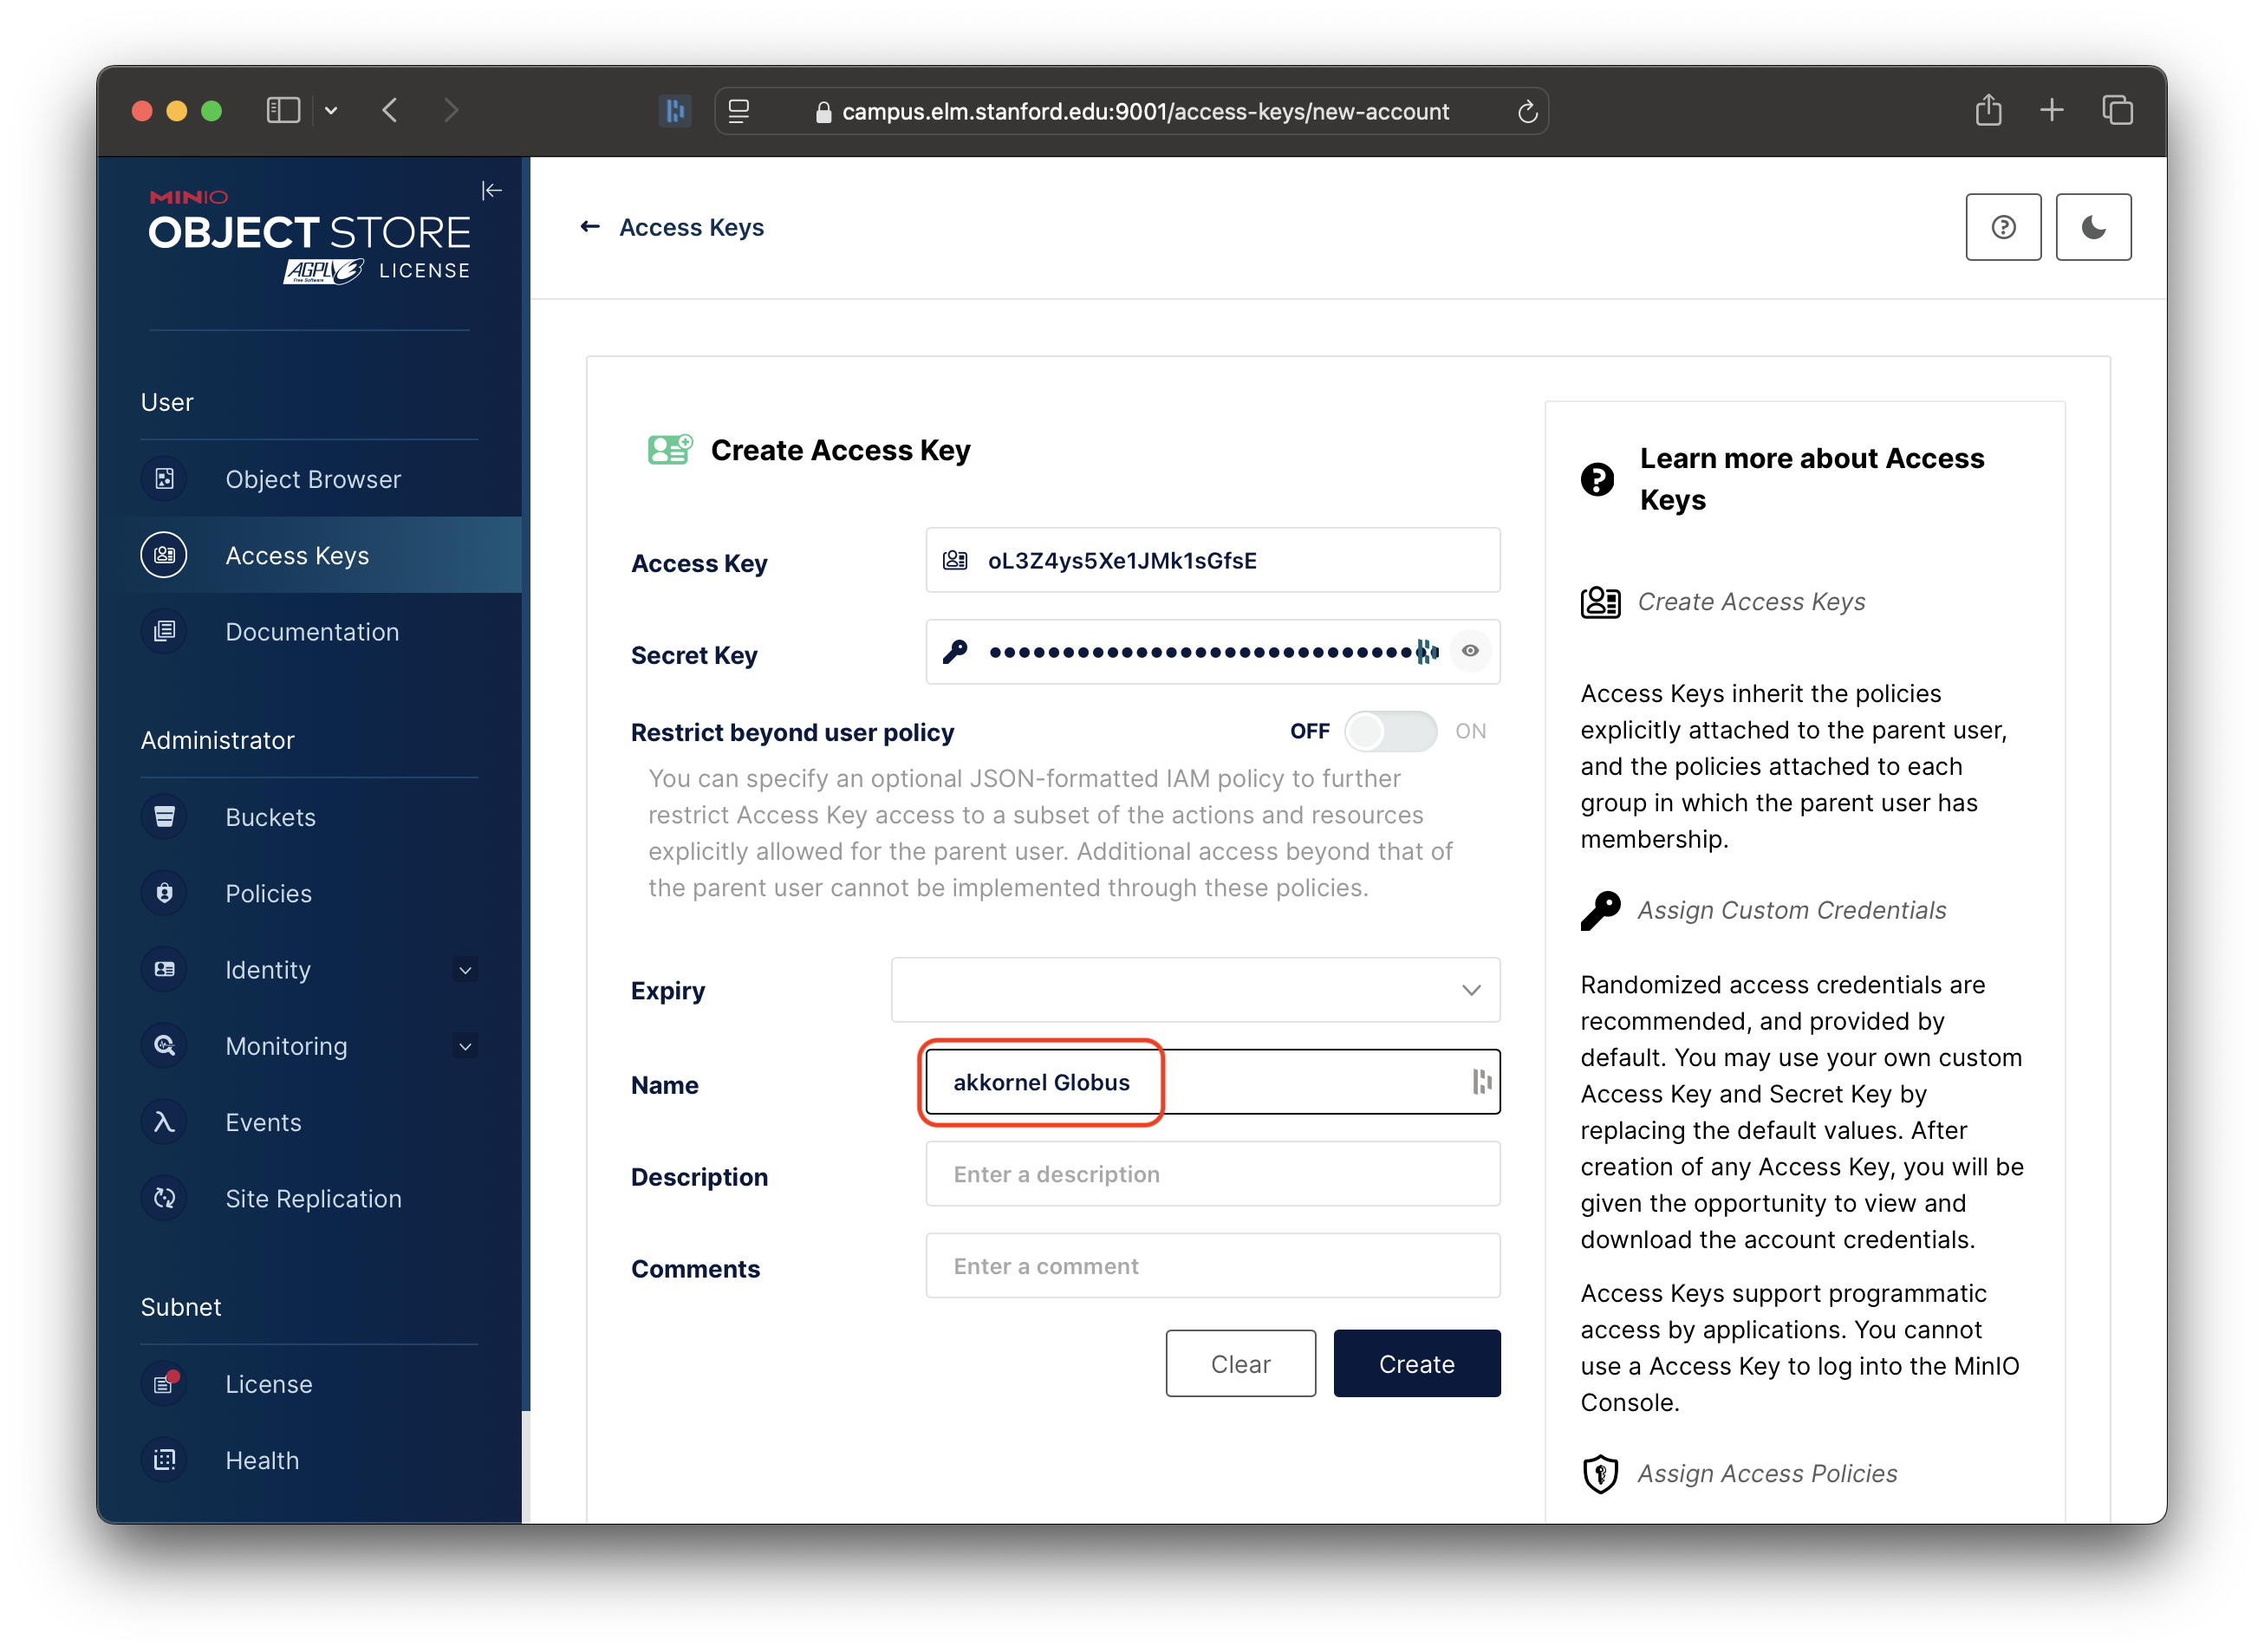
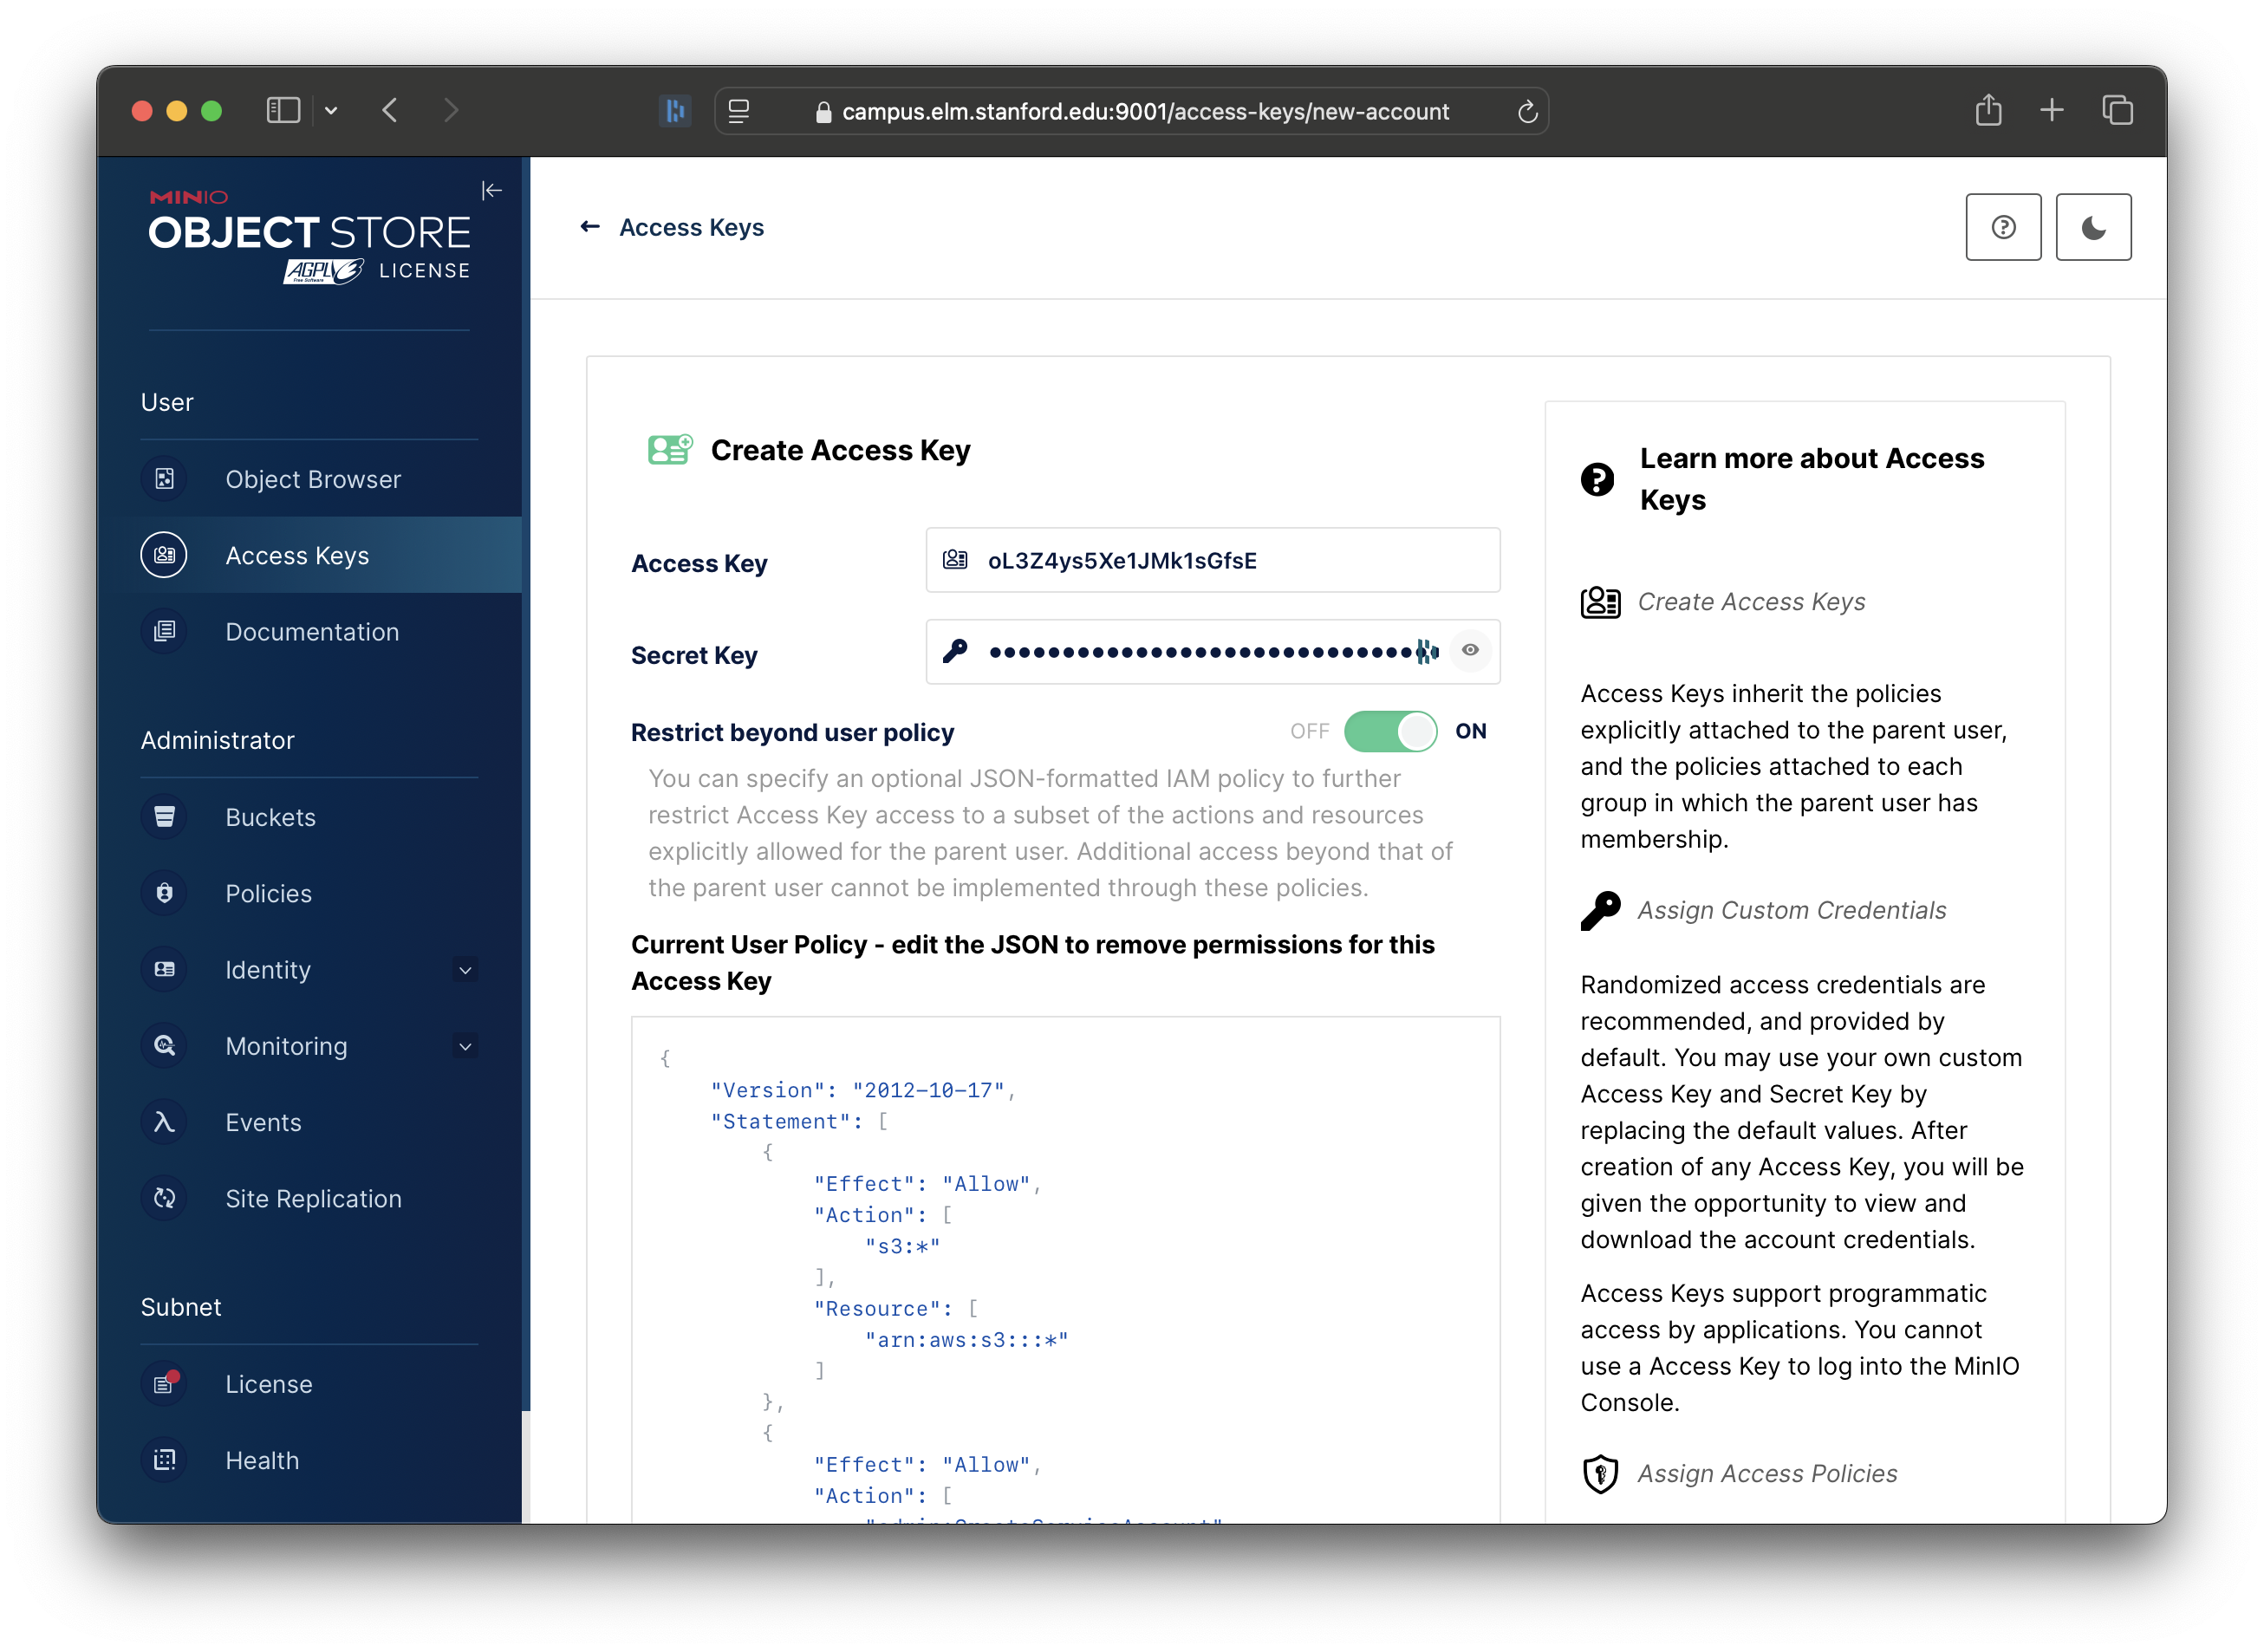
Next, turn on the “Restrict beyond user policy” setting:
You will now be presented with the current User Policy, allowing you to change it.
Setting a User Policy
The default User Policy allows more access than Globus needs. So, you should change it to a policy that restricts Globus to just the buckets, and actions, that you want to allow.
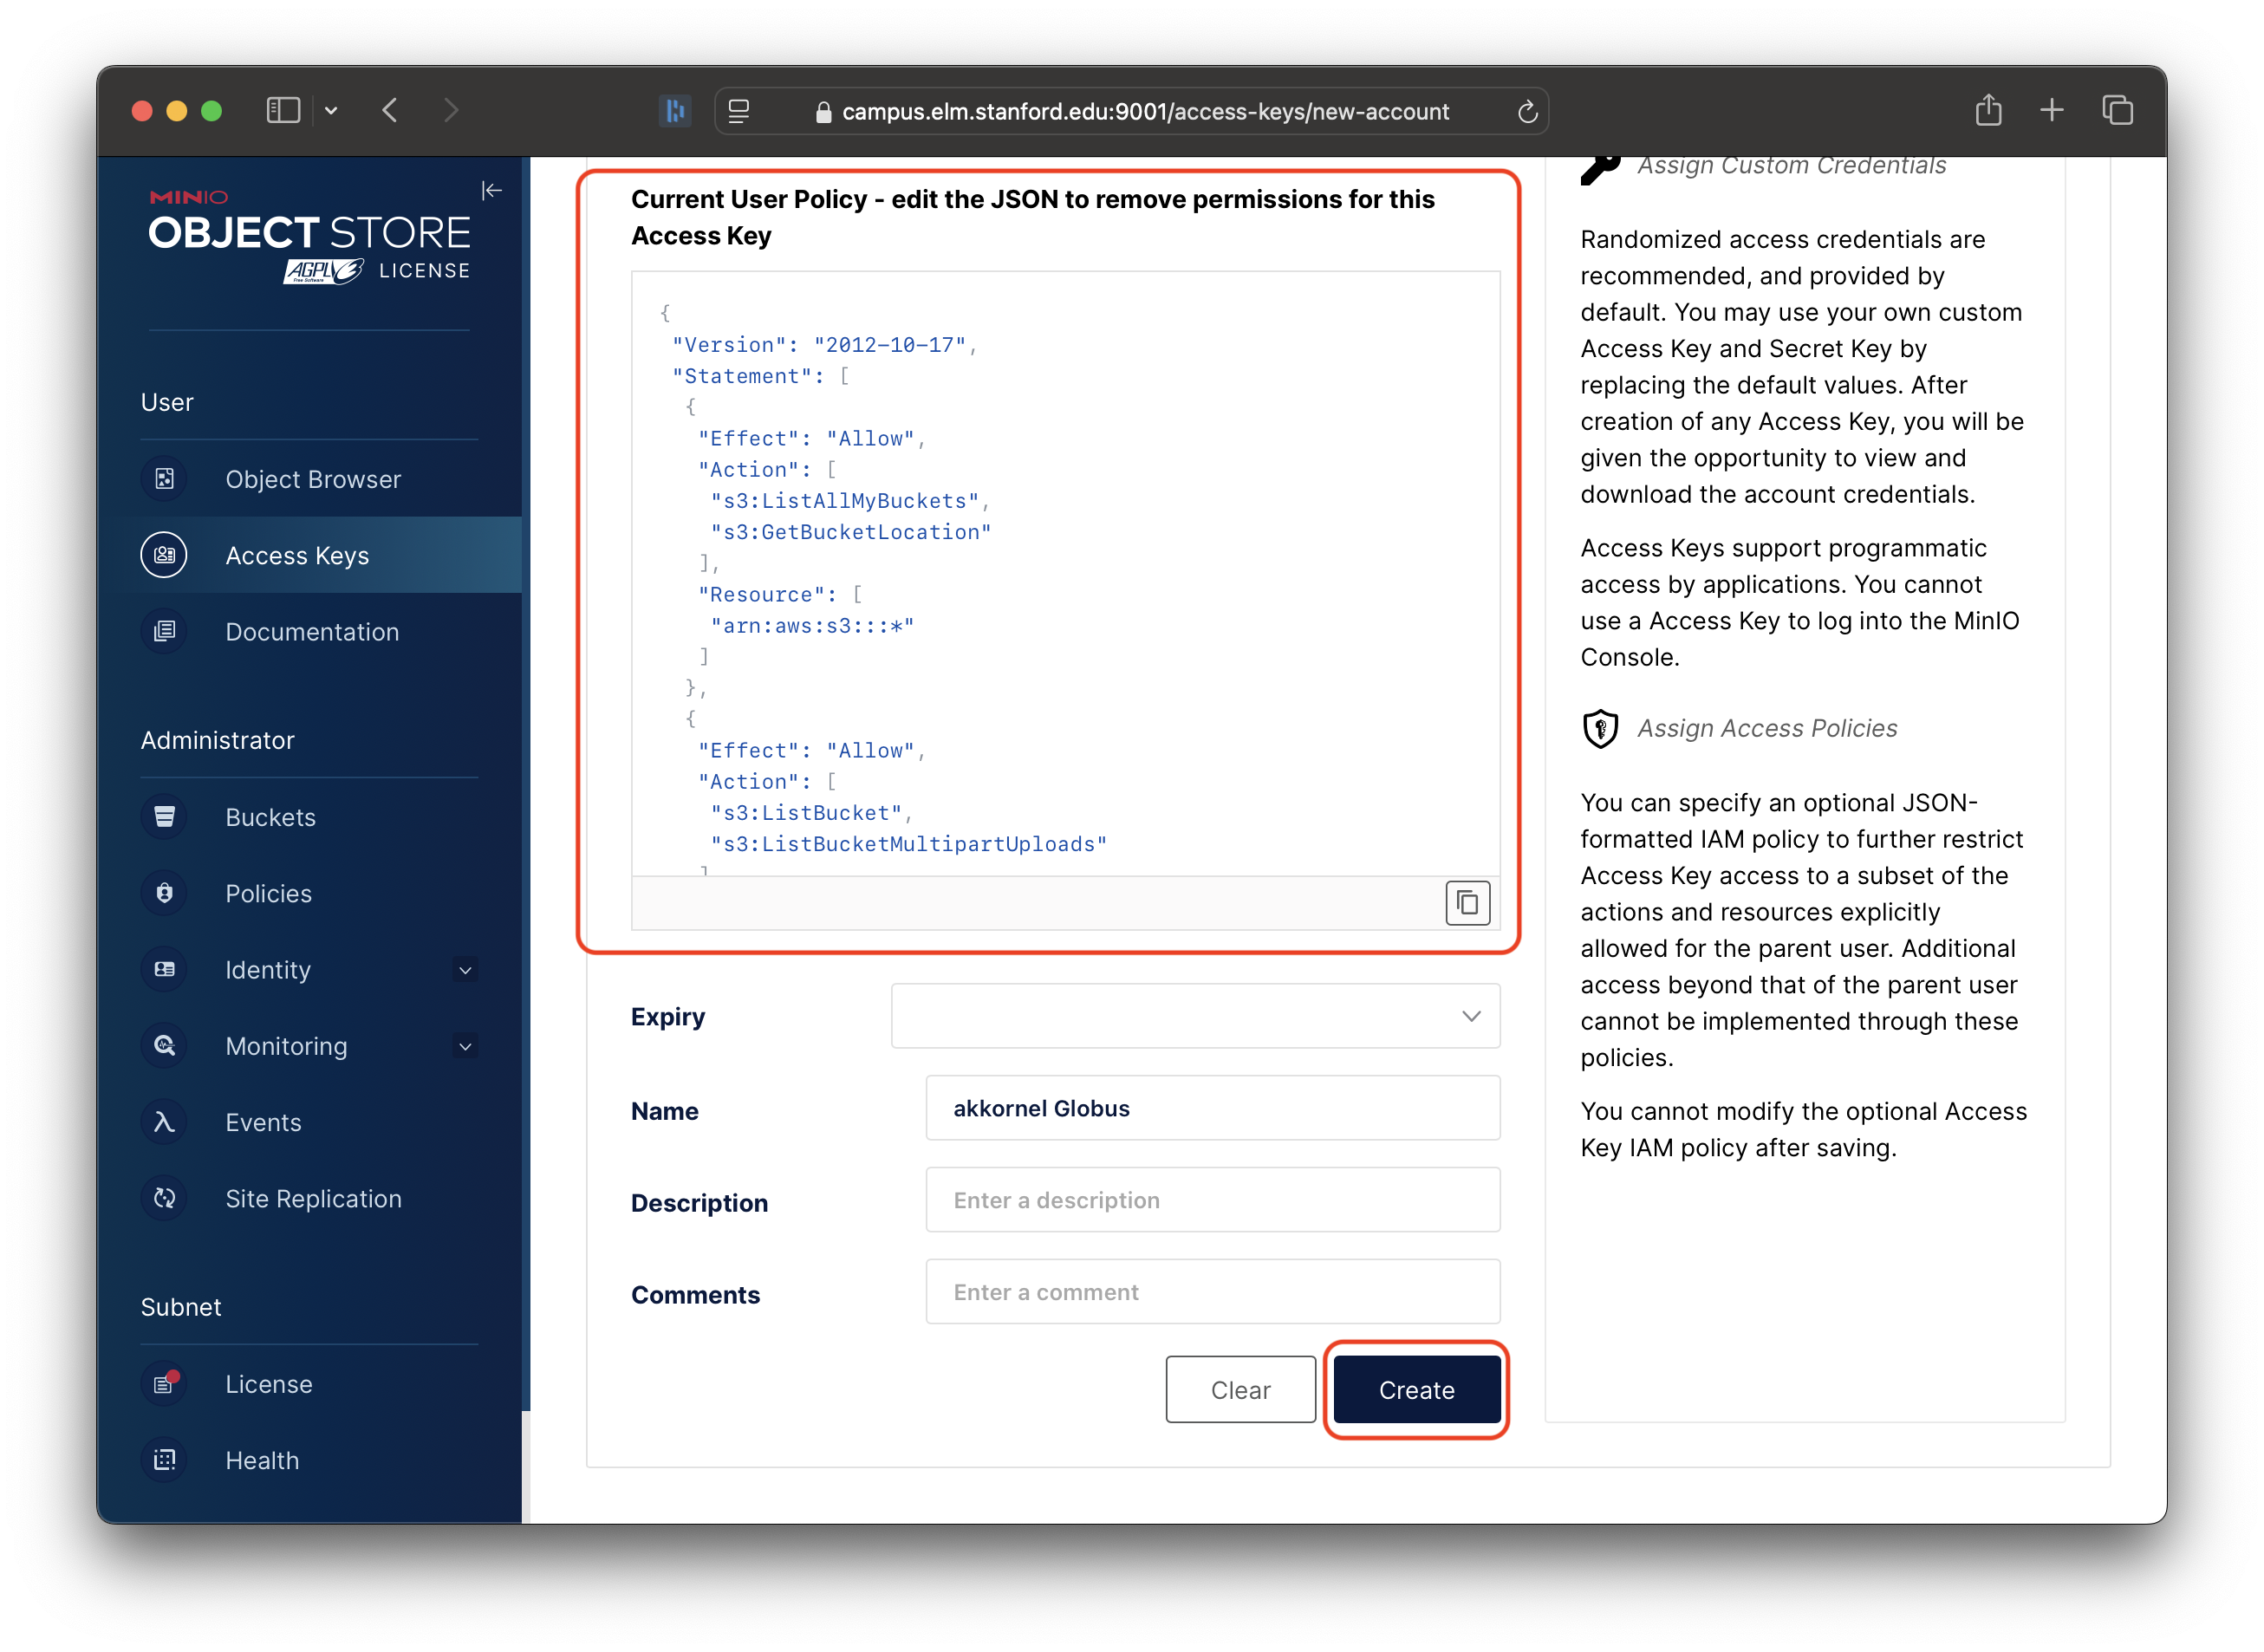
On the Create Access Key page, MinIO will provide a default policy in the Current User Policy box:
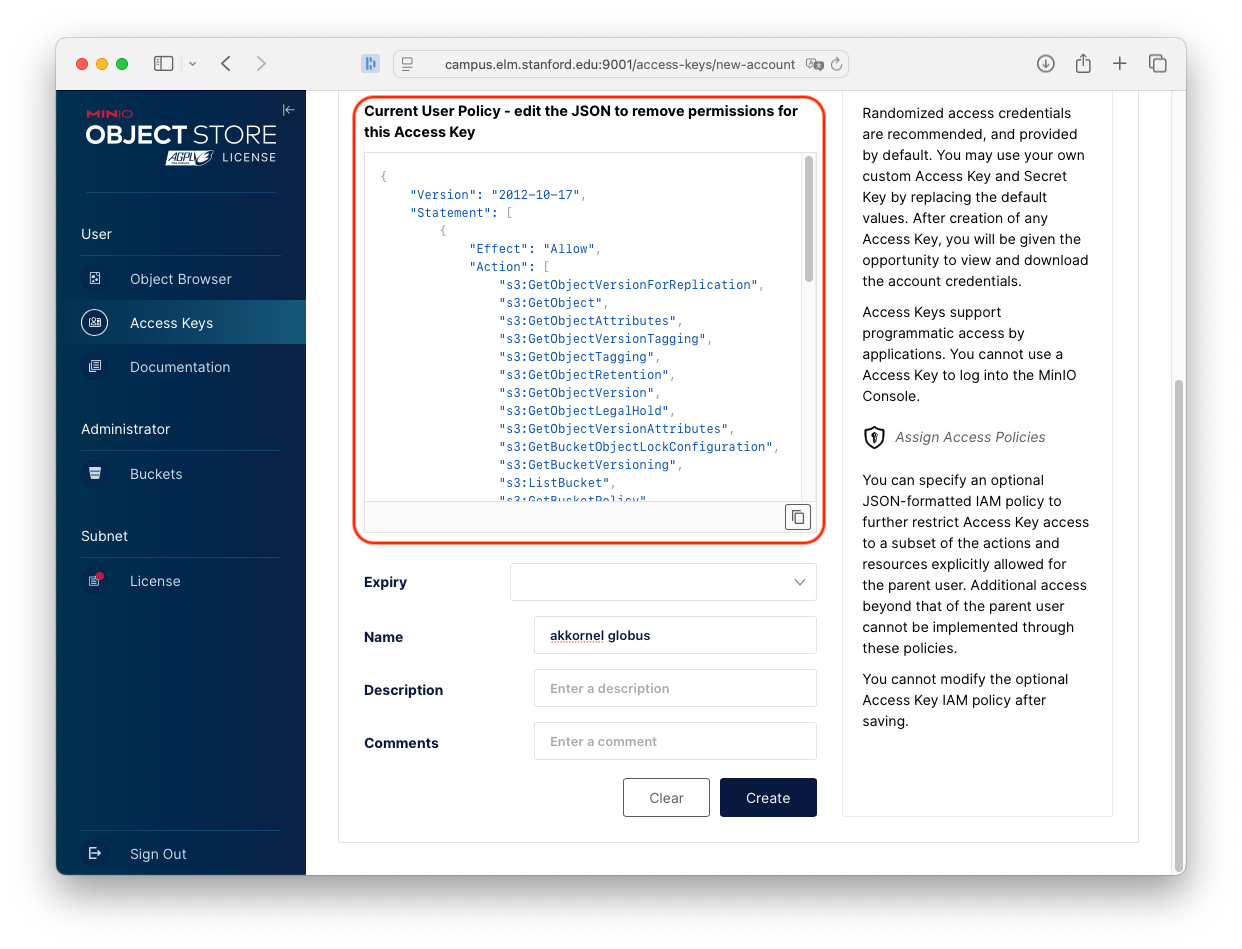
A default policy (in red) will be provided. You need to delete this.
To start, delete that default policy, so that the Current User Policy box is empty.
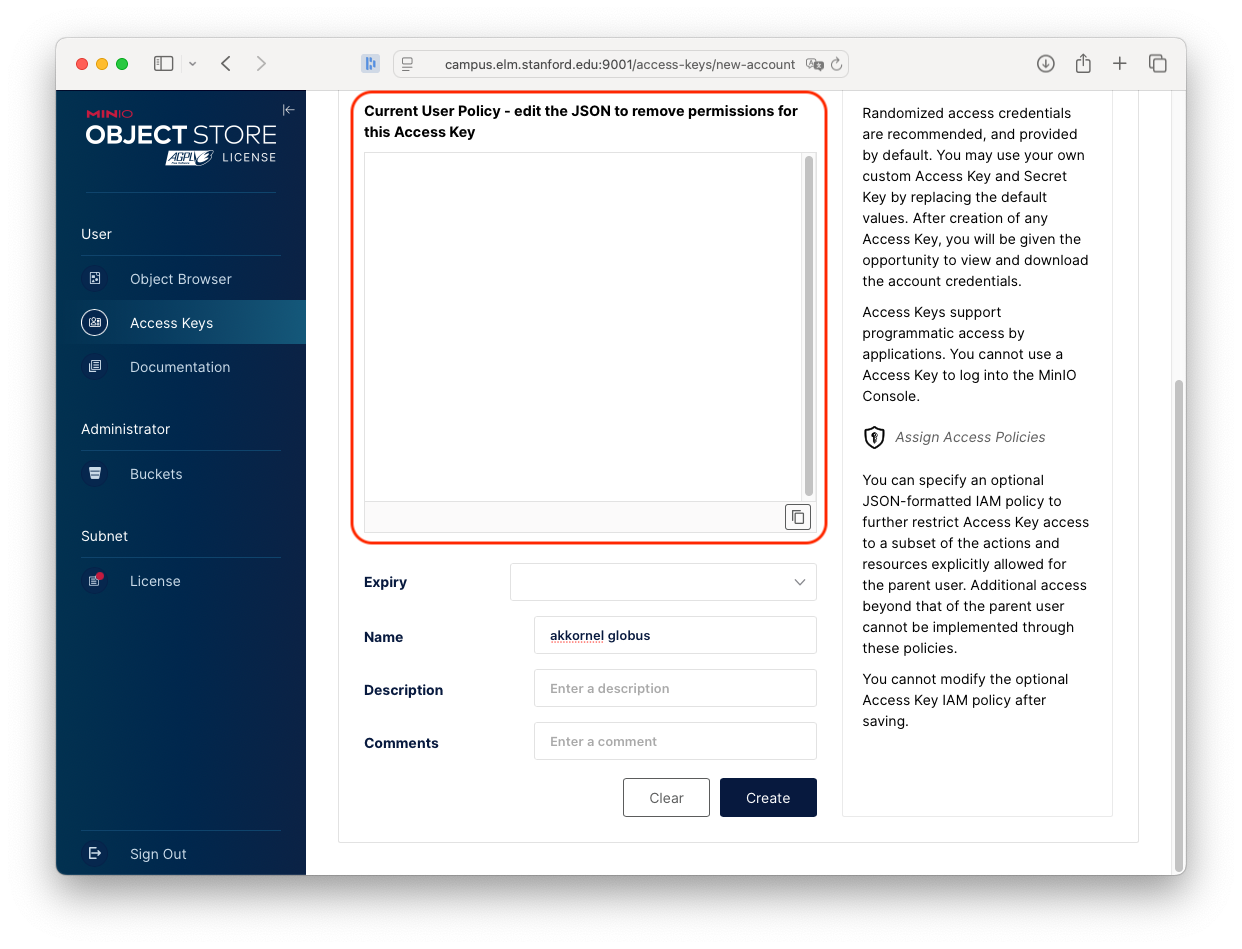
Next, you will need to provide a policy that allows Globus to do only what you want it to do.
User Policy Generator
Below, fill in the names of the buckets you want to access through Globus. Read-Only means that Globus can access and copy from your bucket, but cannot make changes to any objects/files.
You can choose to allow Globus to alter your bucket’s contents by uploading or deleting objects.
This tool does not confirm that a listed bucket exists; please enter bucket names carefully.
Take the policy you created above, copy/paste it into the Current User Policy box, and then click “Create”:
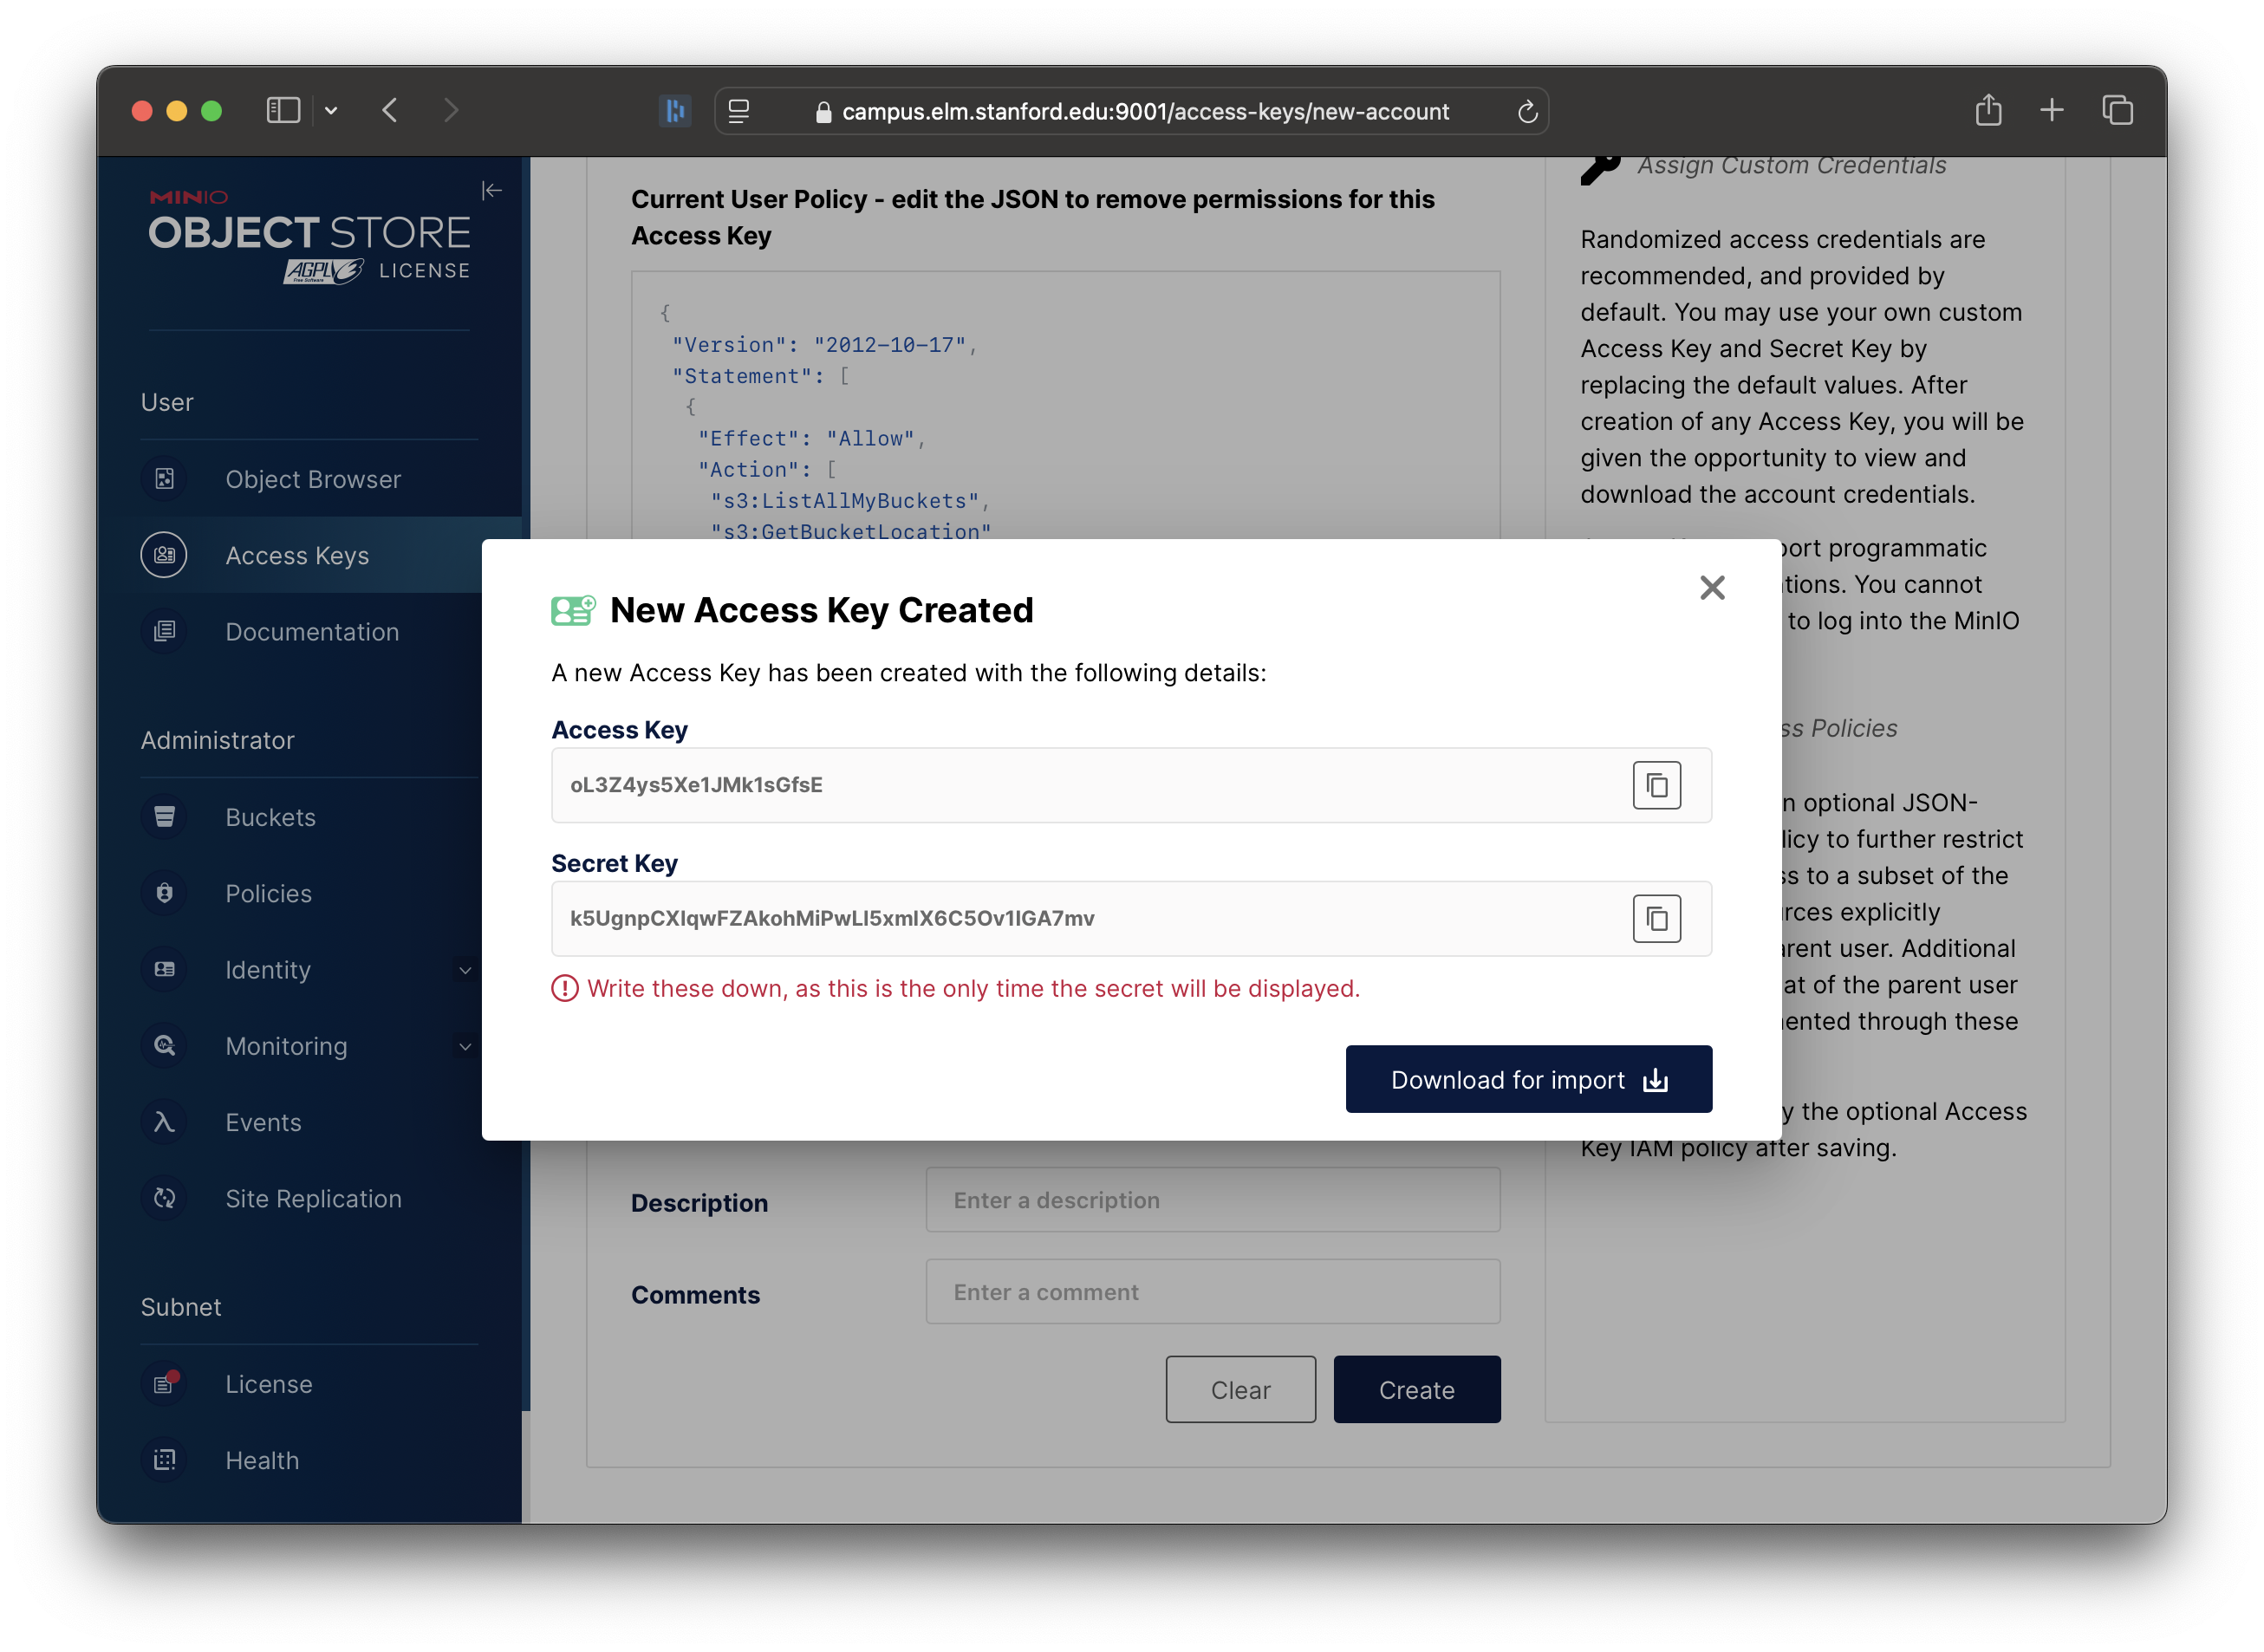
Once created, you will be given your new Access Key and Secret Key. Make a note of these, to load into Globus.
Loading Credentials into Globus
With an Access Key configured, you can now upload your credentials to Globus.
Using the link at the top of the page, access the Elm collection. You might be asked to log in; if so, log in through Stanford University.
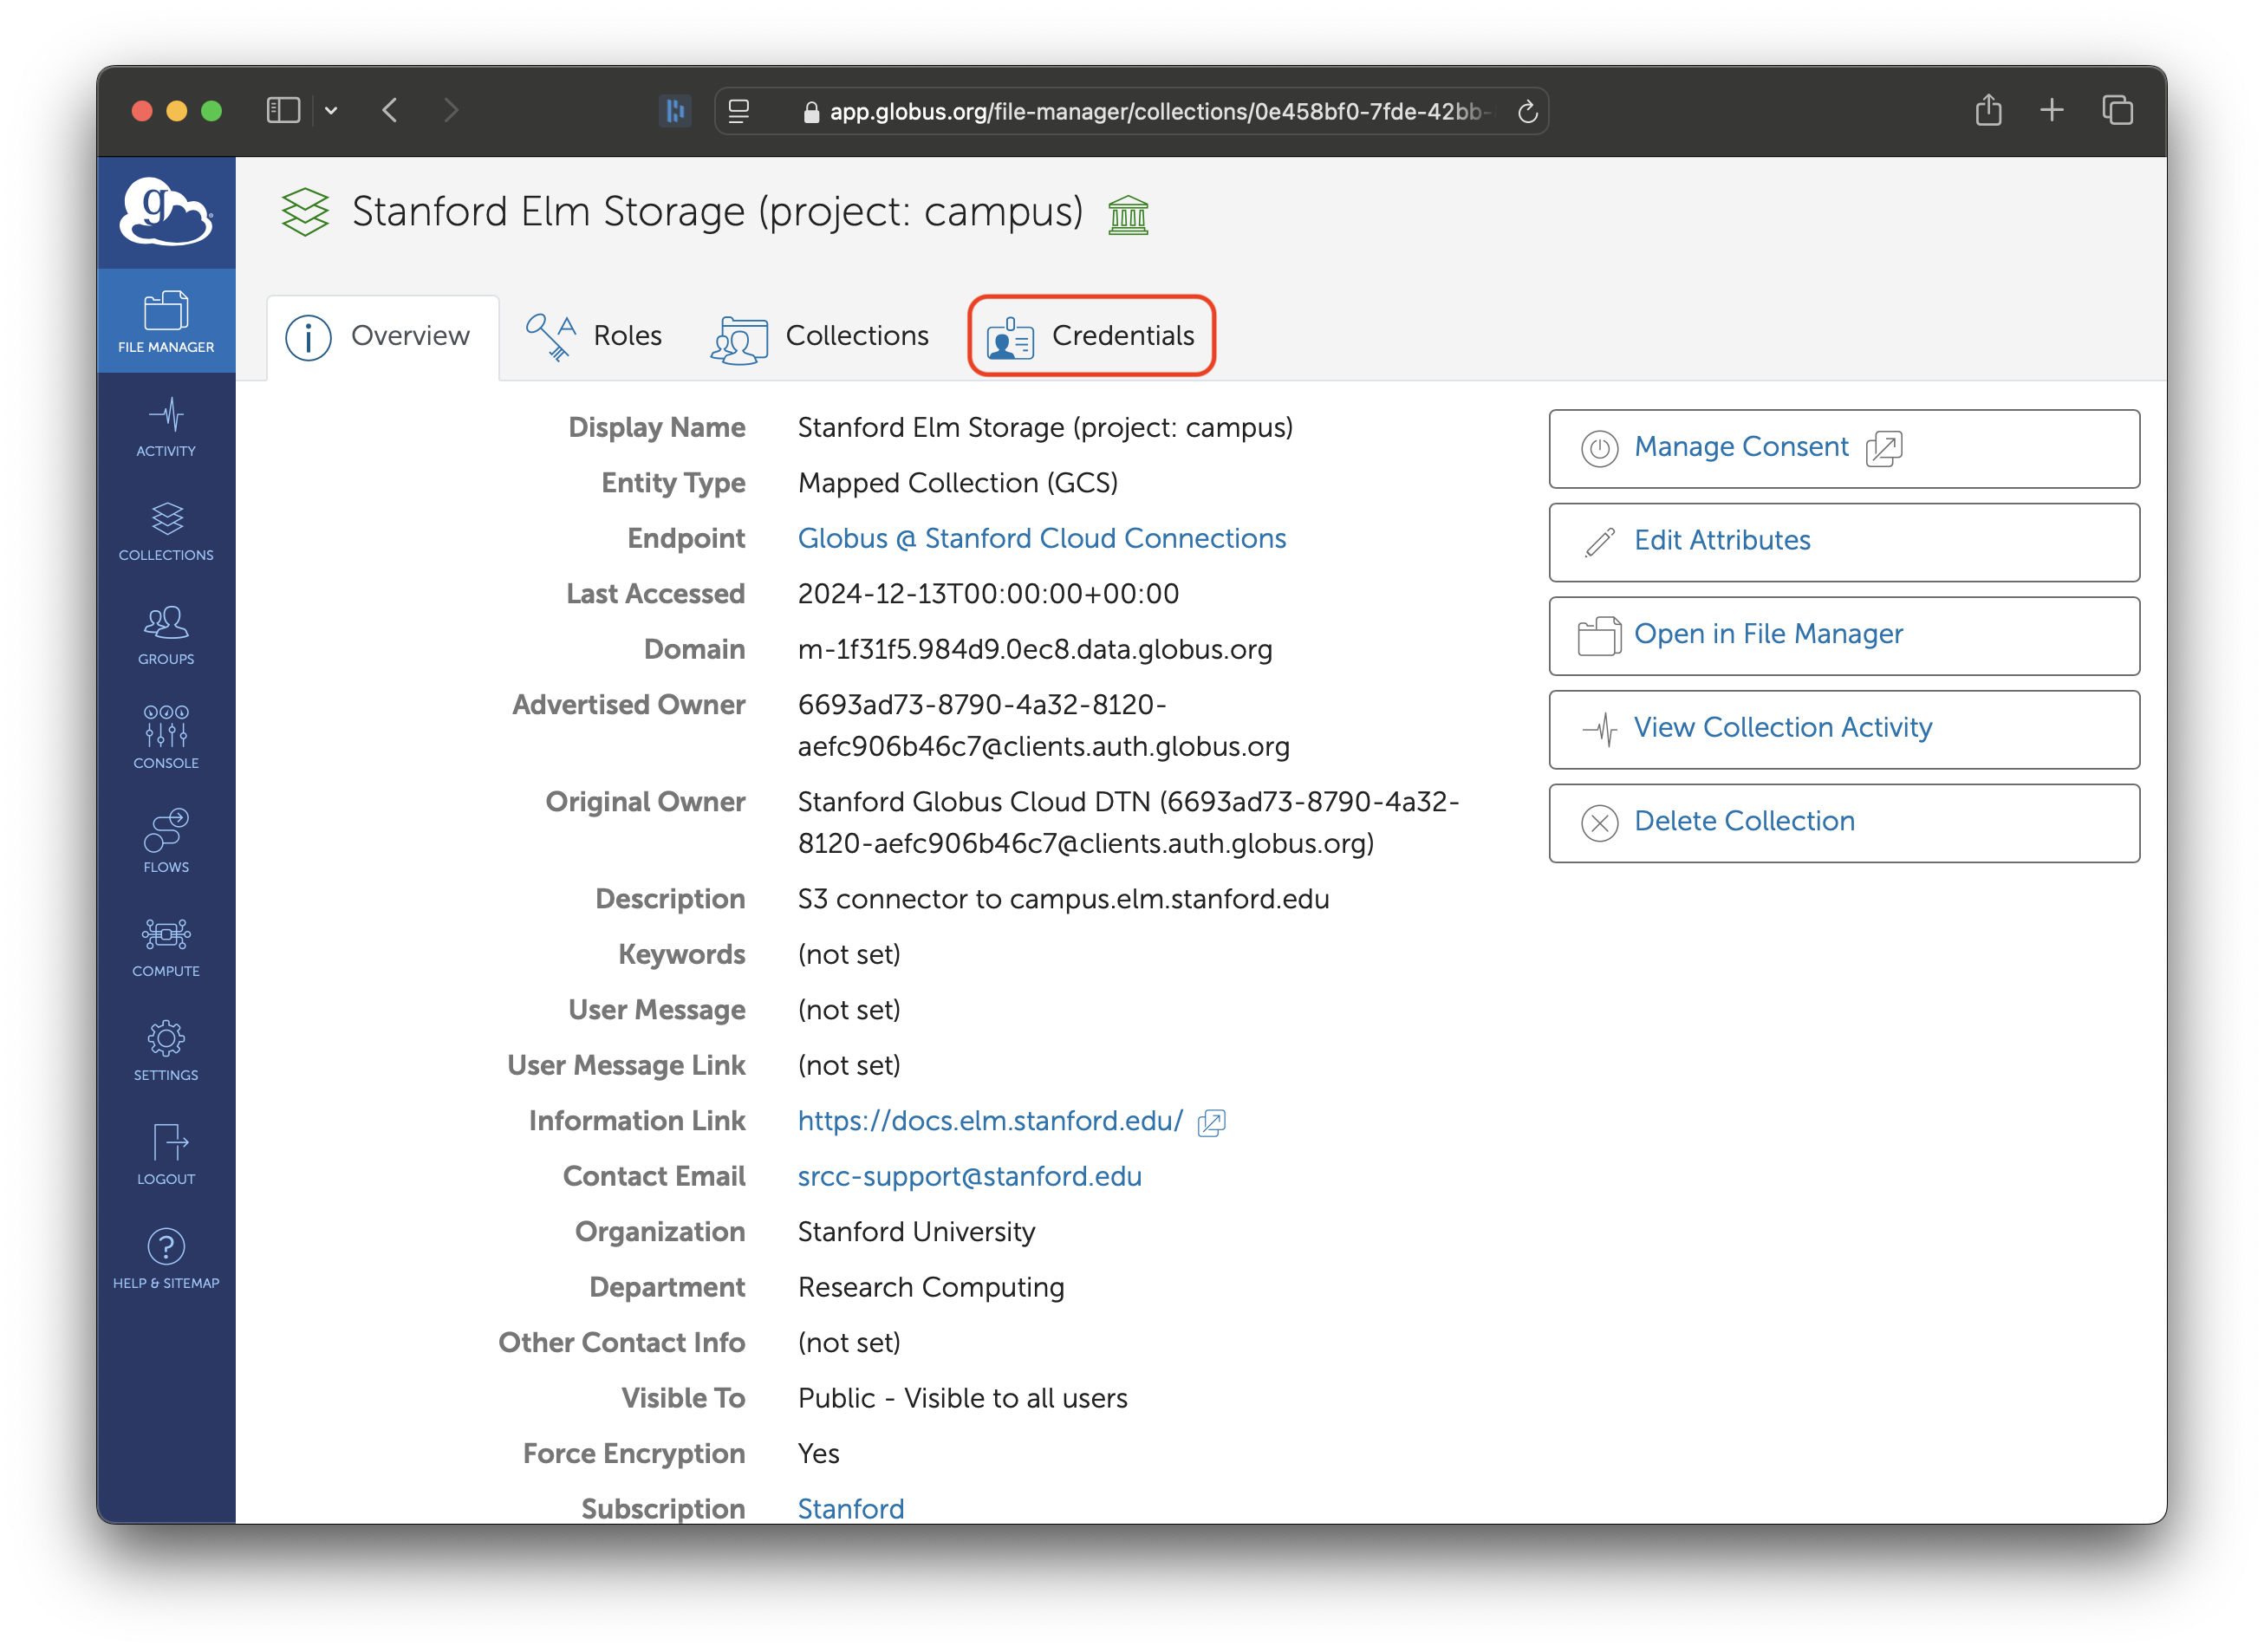
You will be taken to the main page for the collection. Click on the ‘Credentials’ tab.
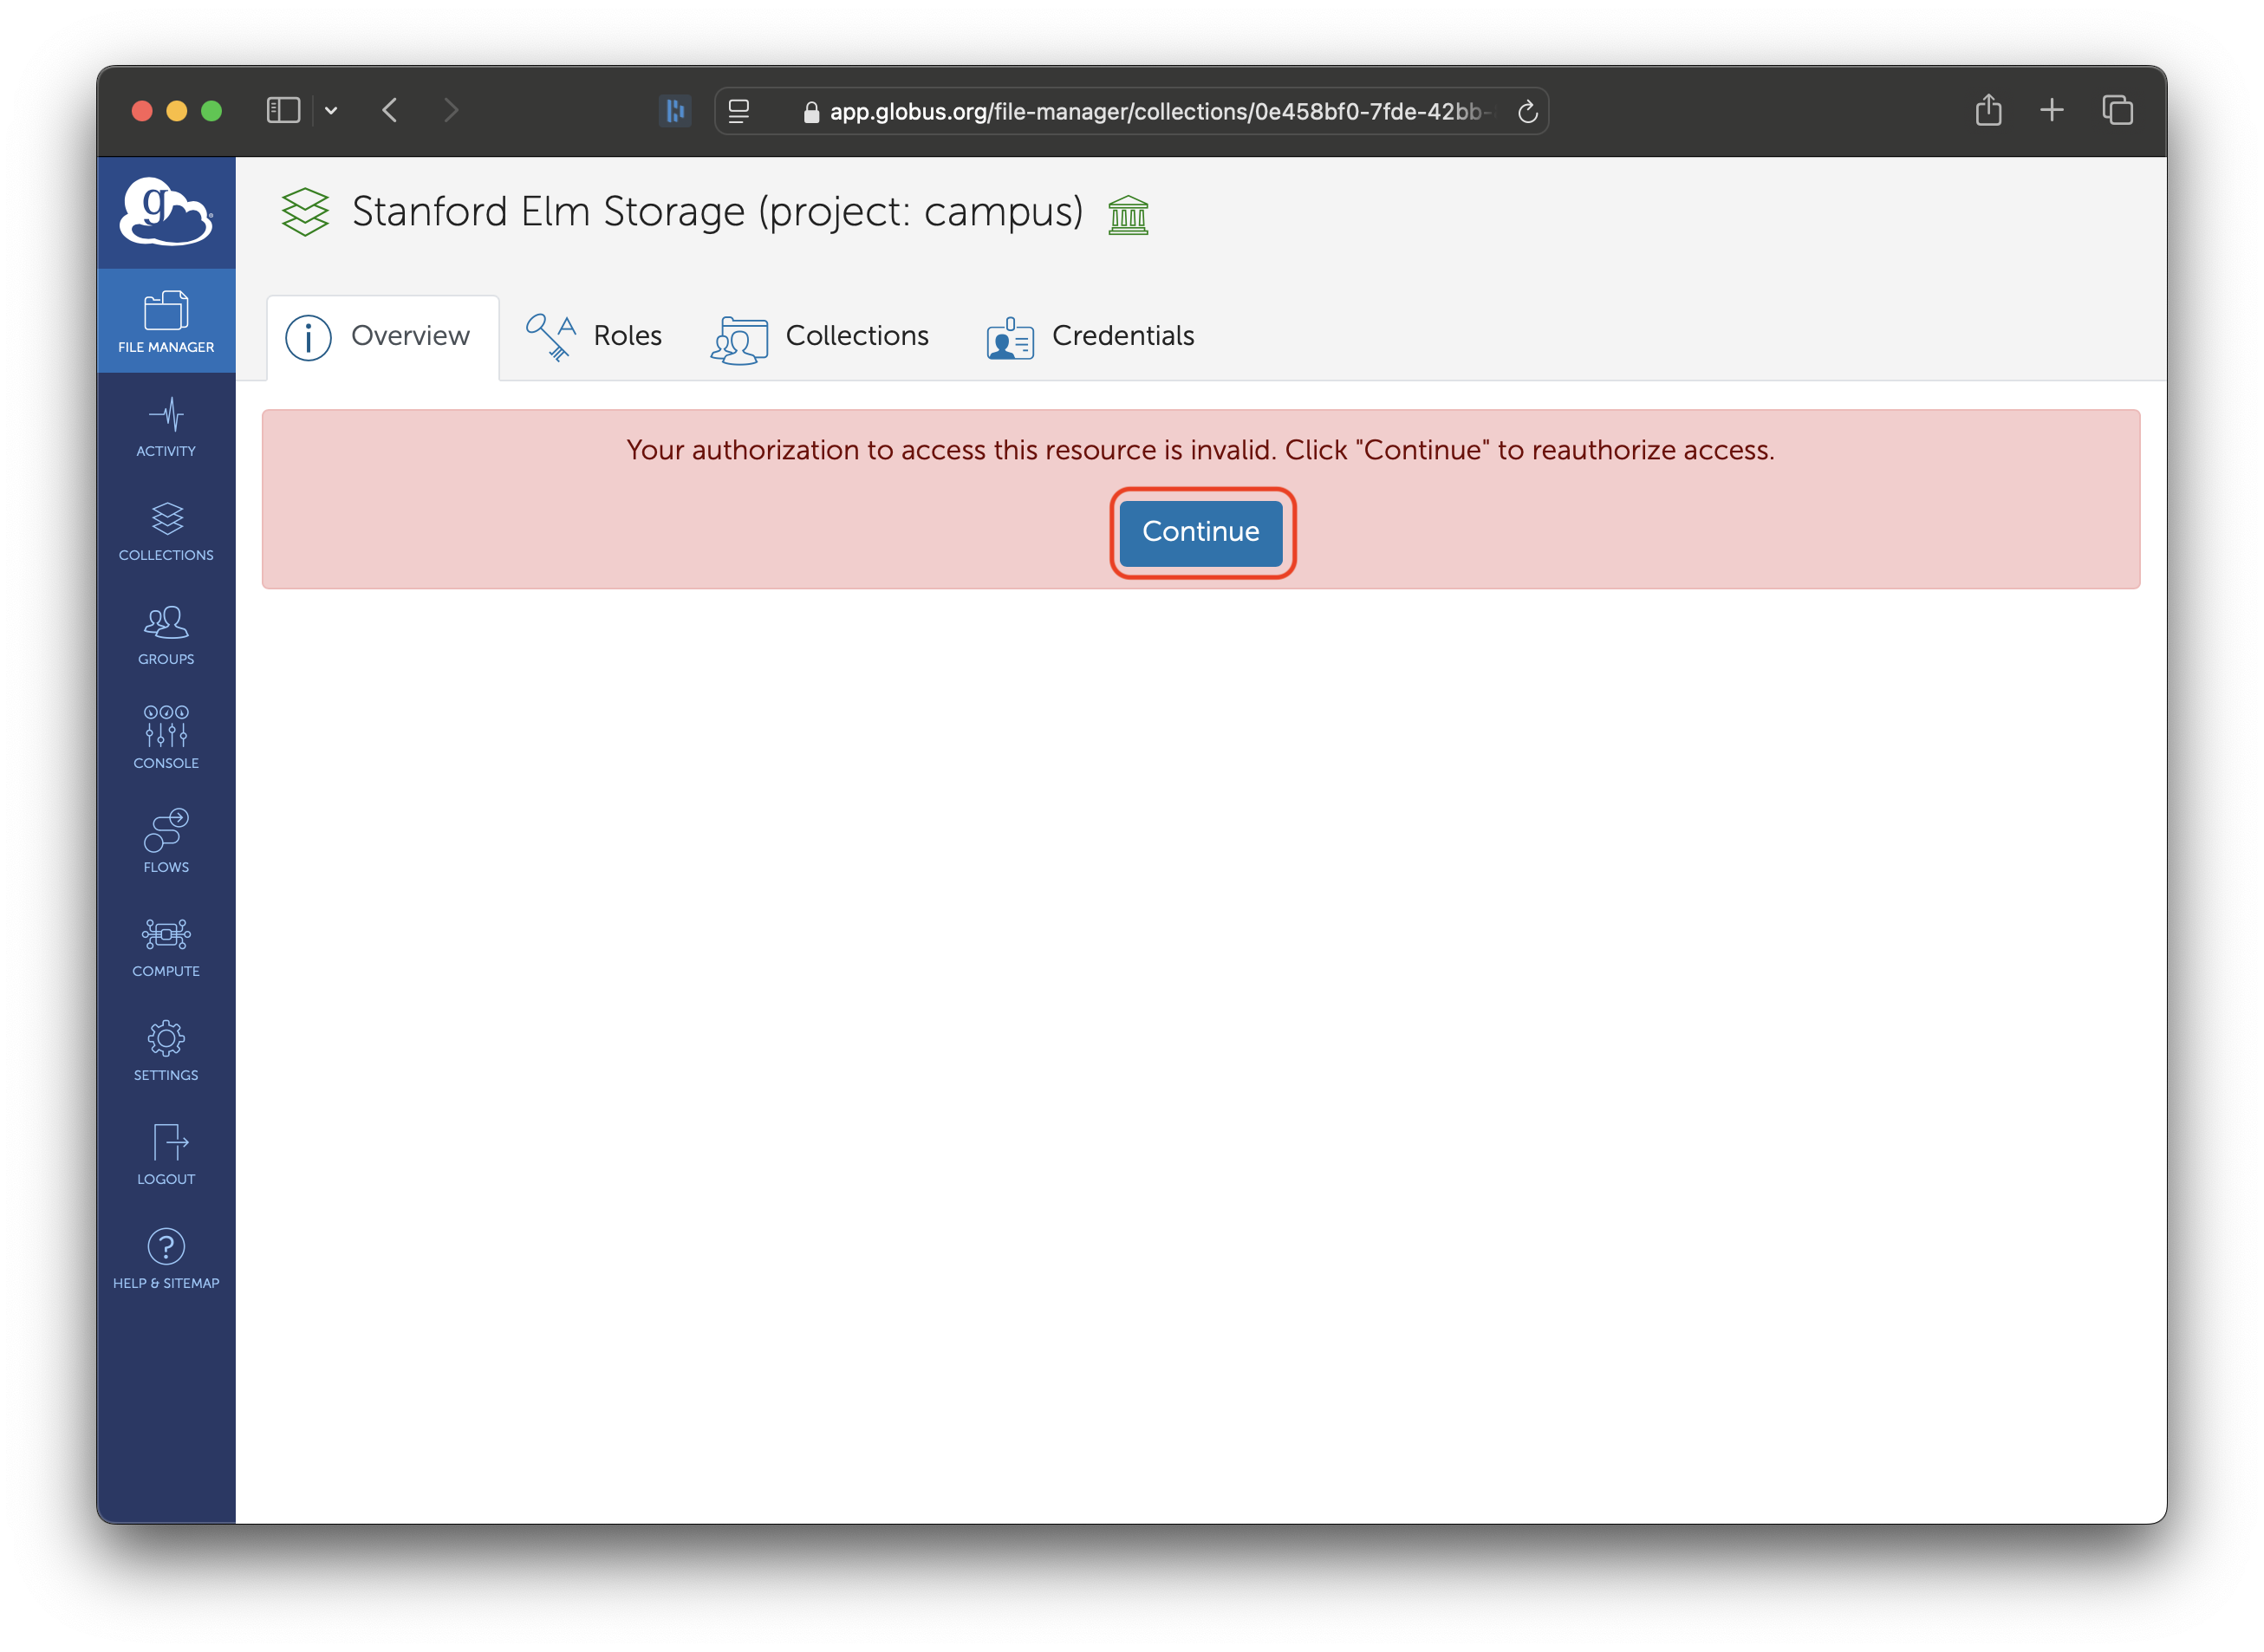
If this is the first time you accessed this collection, you will be asked to give consent for Globus to store your Elm credentials. Click ‘Continue’.
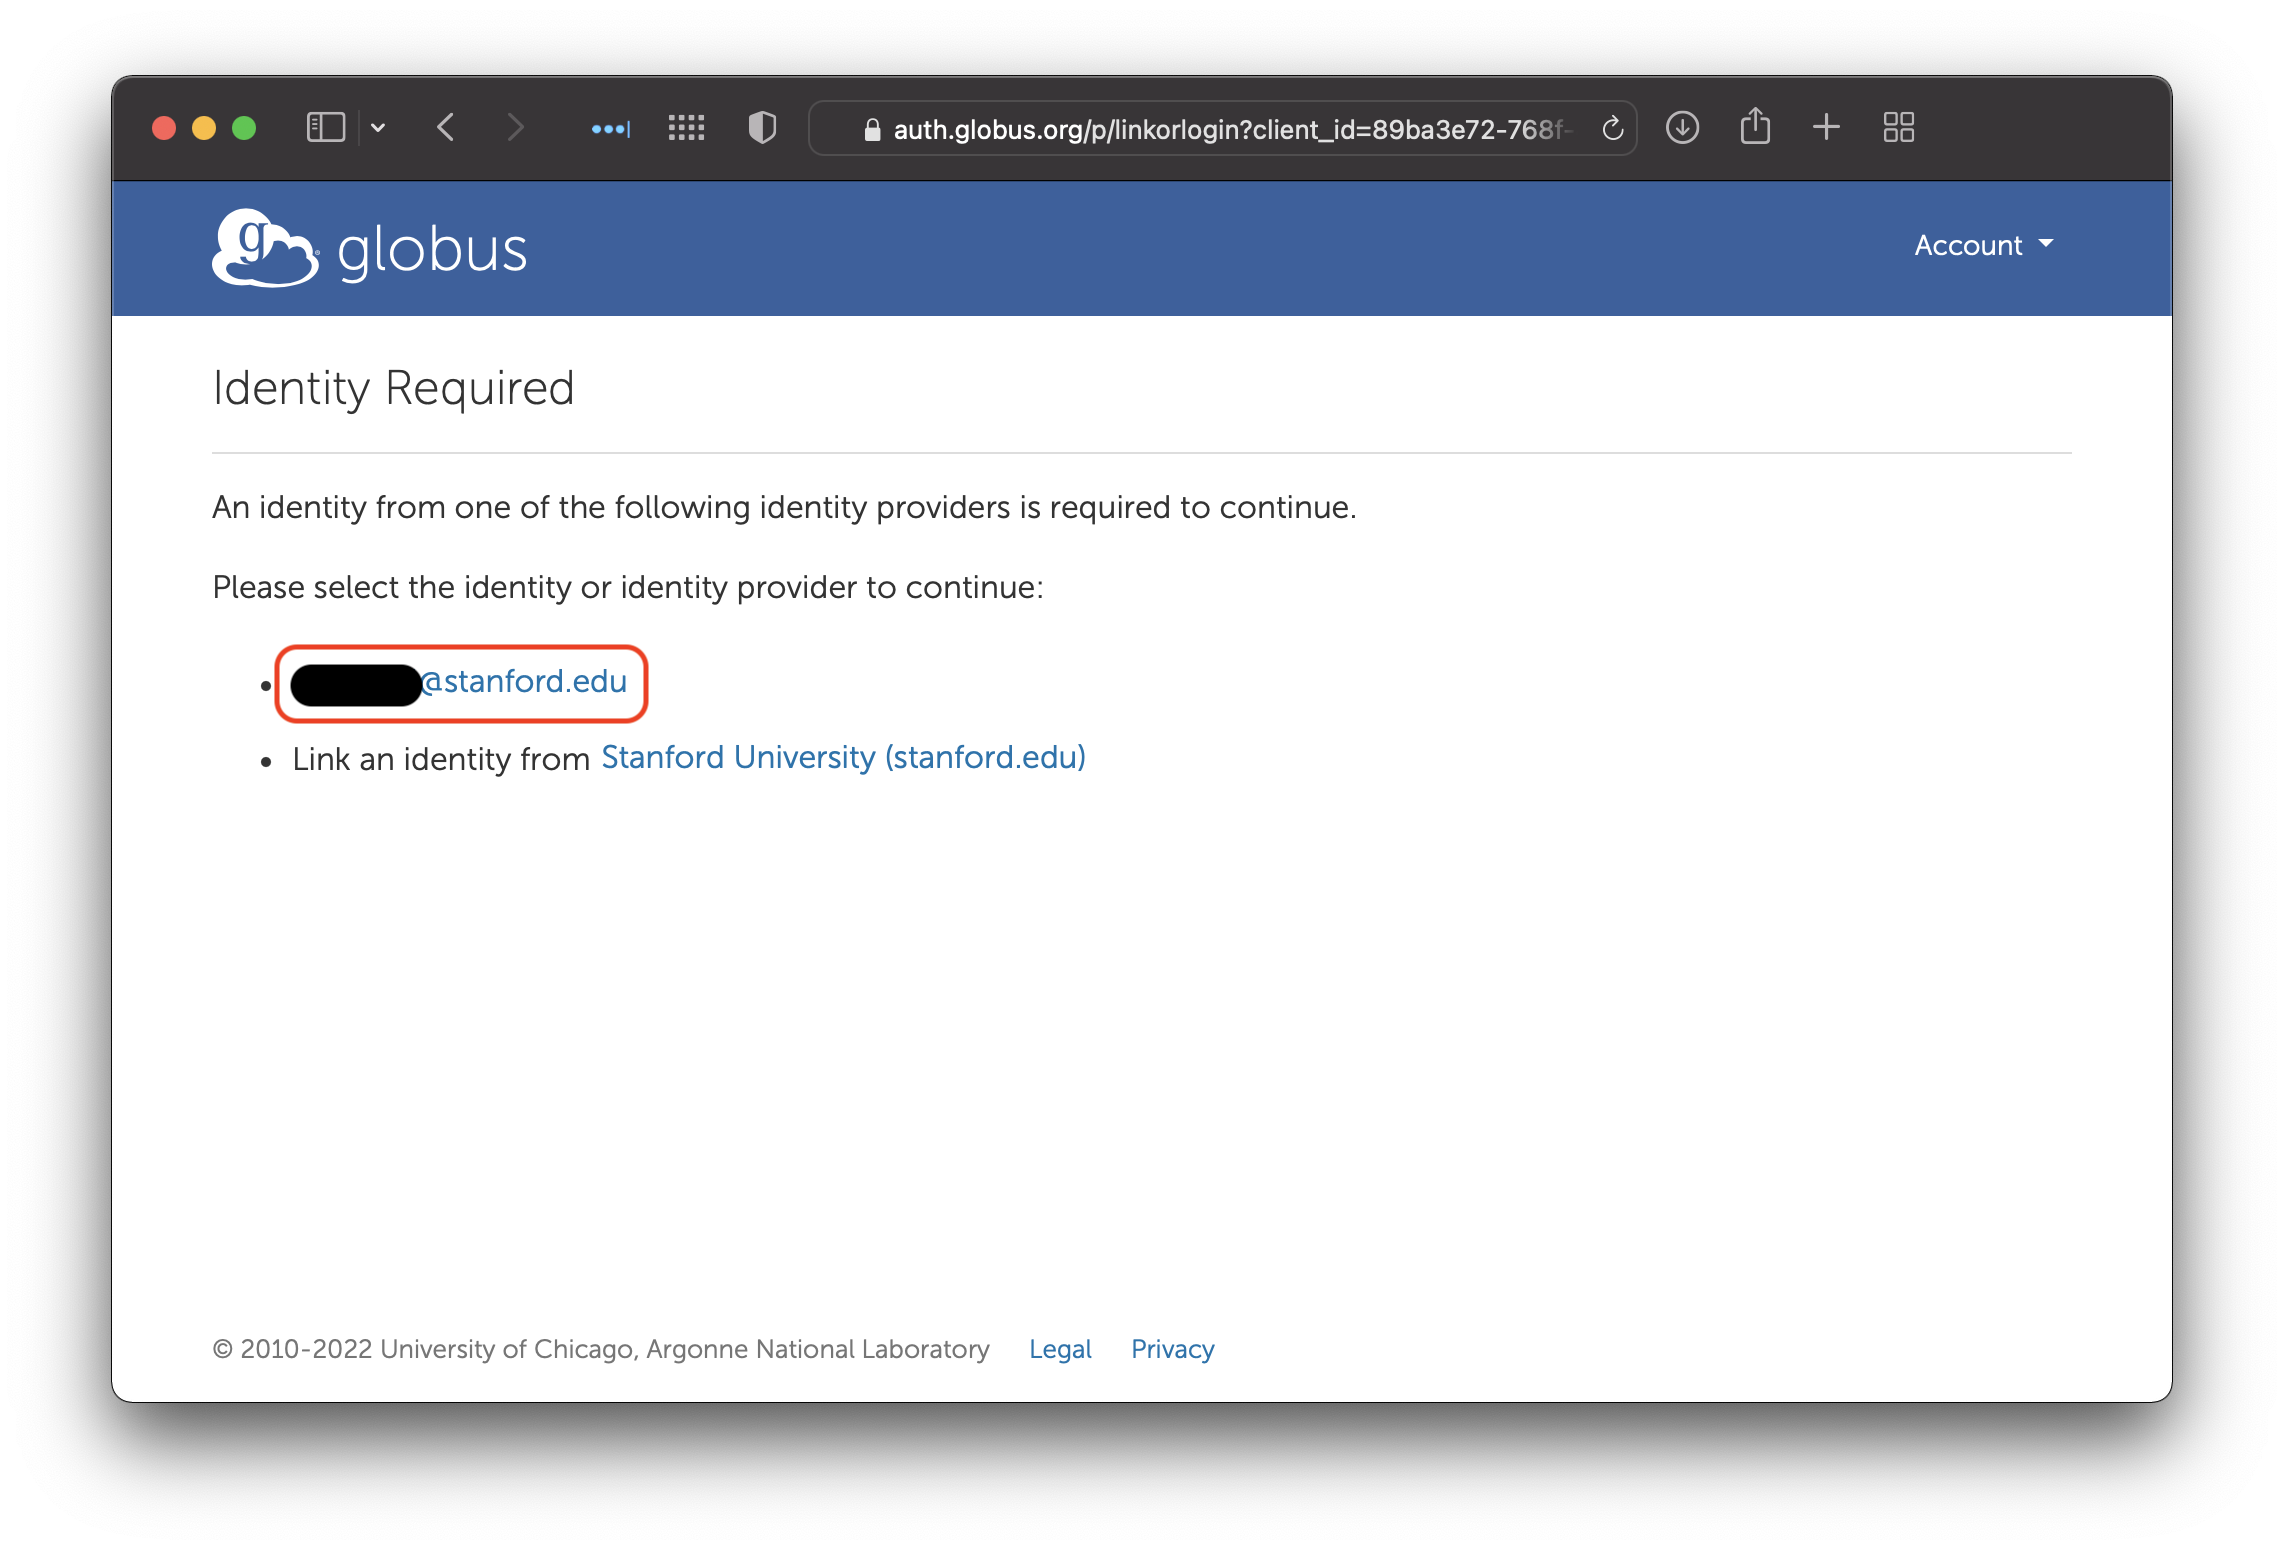
Some institutions allow you to have multiple accounts. Stanford only allows one SUNetID per person, so click on your SUNetID.
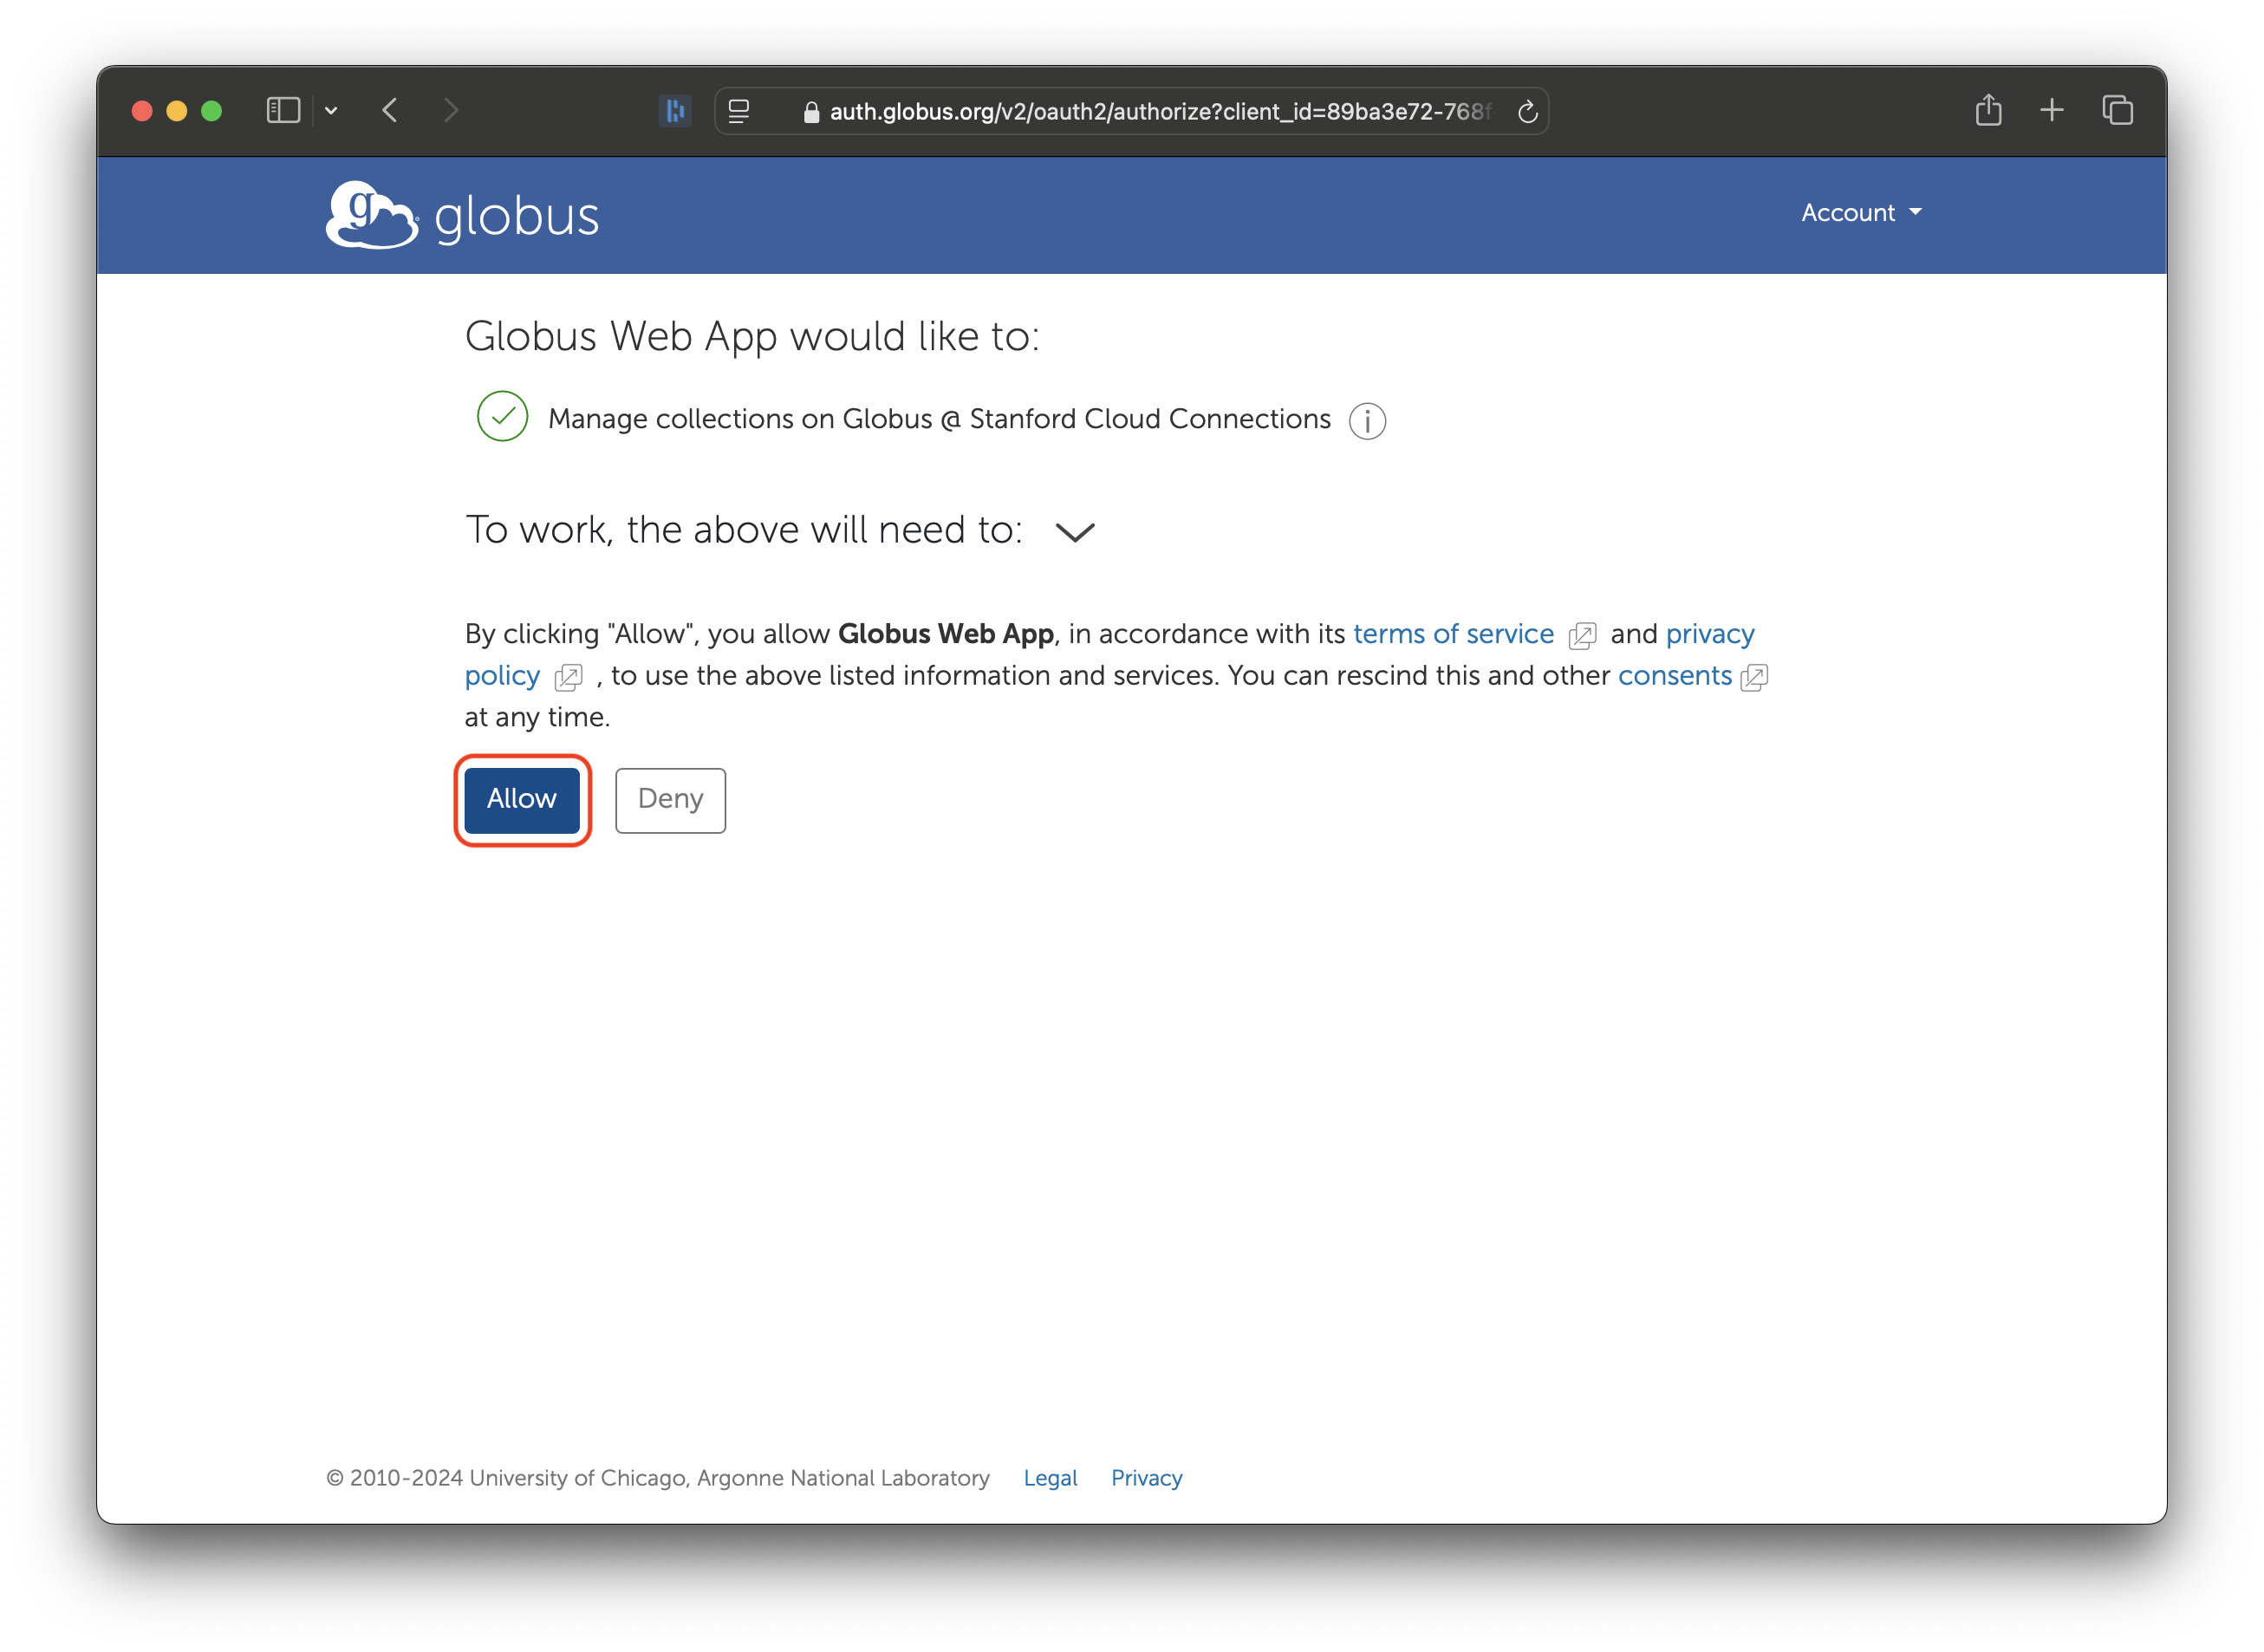
Finally, click on ‘Allow’ to give Globus permission to store your Elm credentials.
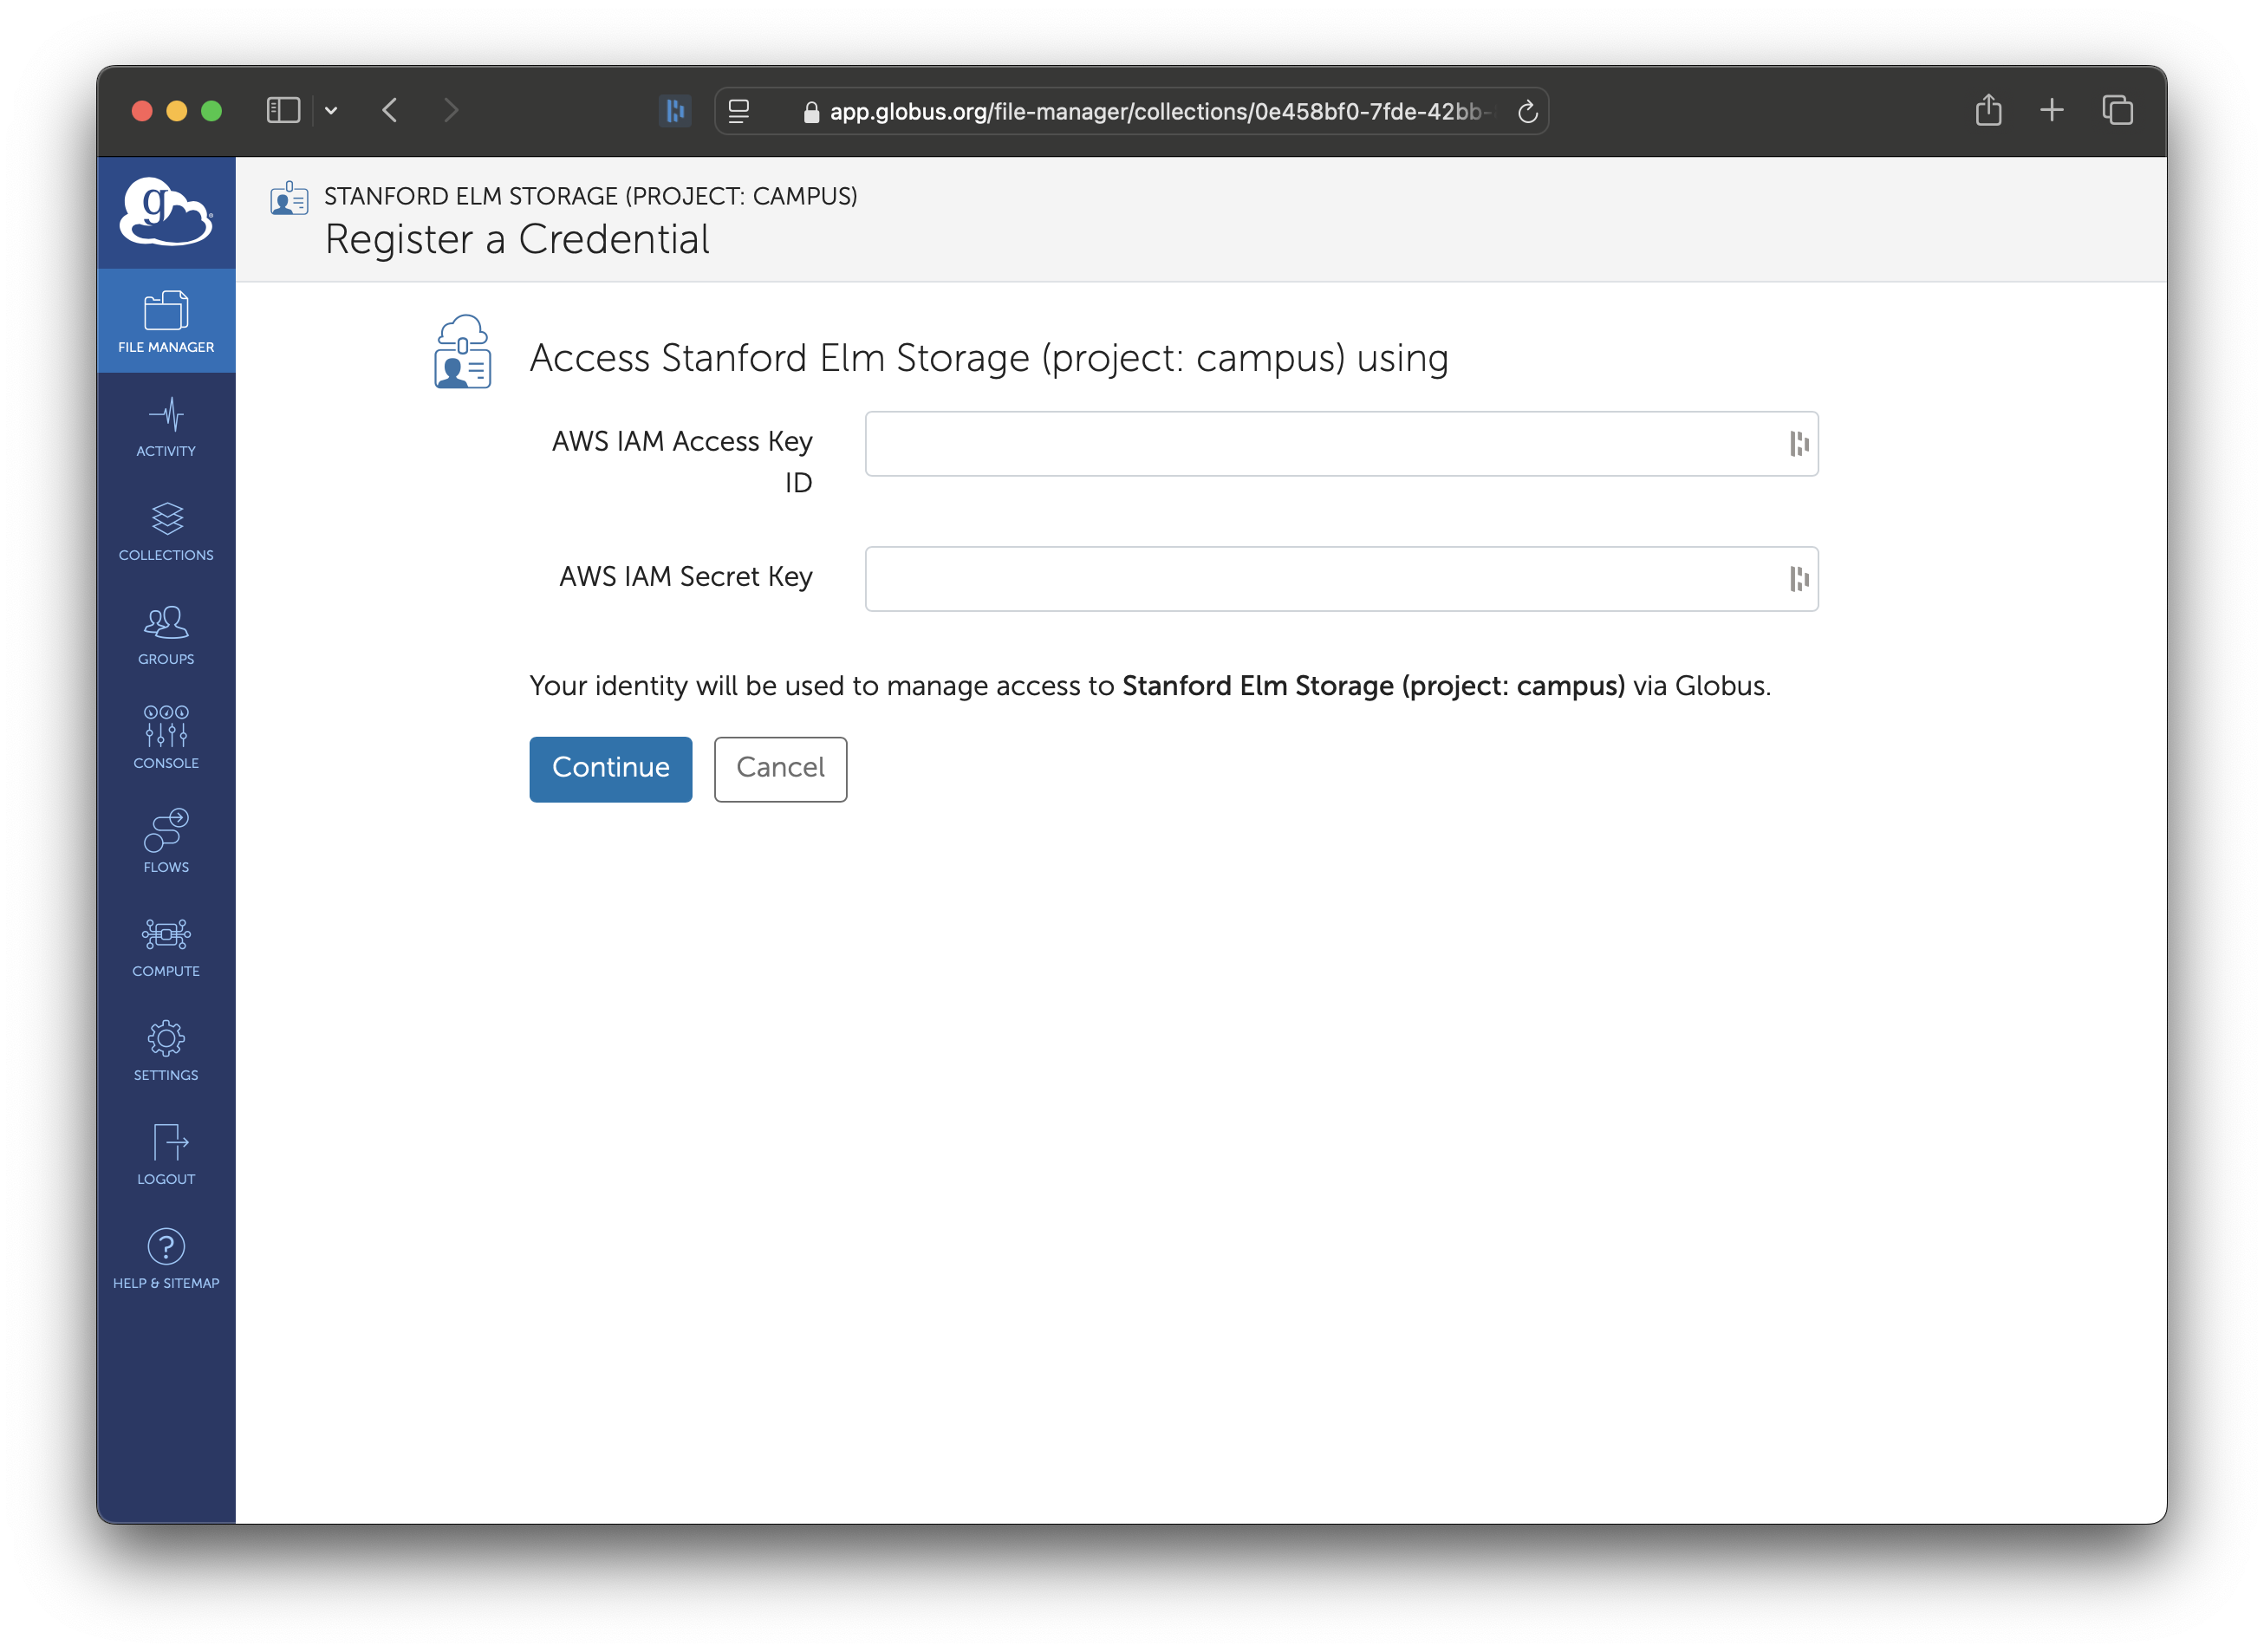
Once consent is granted, you will be asked to enter your Elm credentials. Enter the Access Key and Secret Key from when you created your access key.
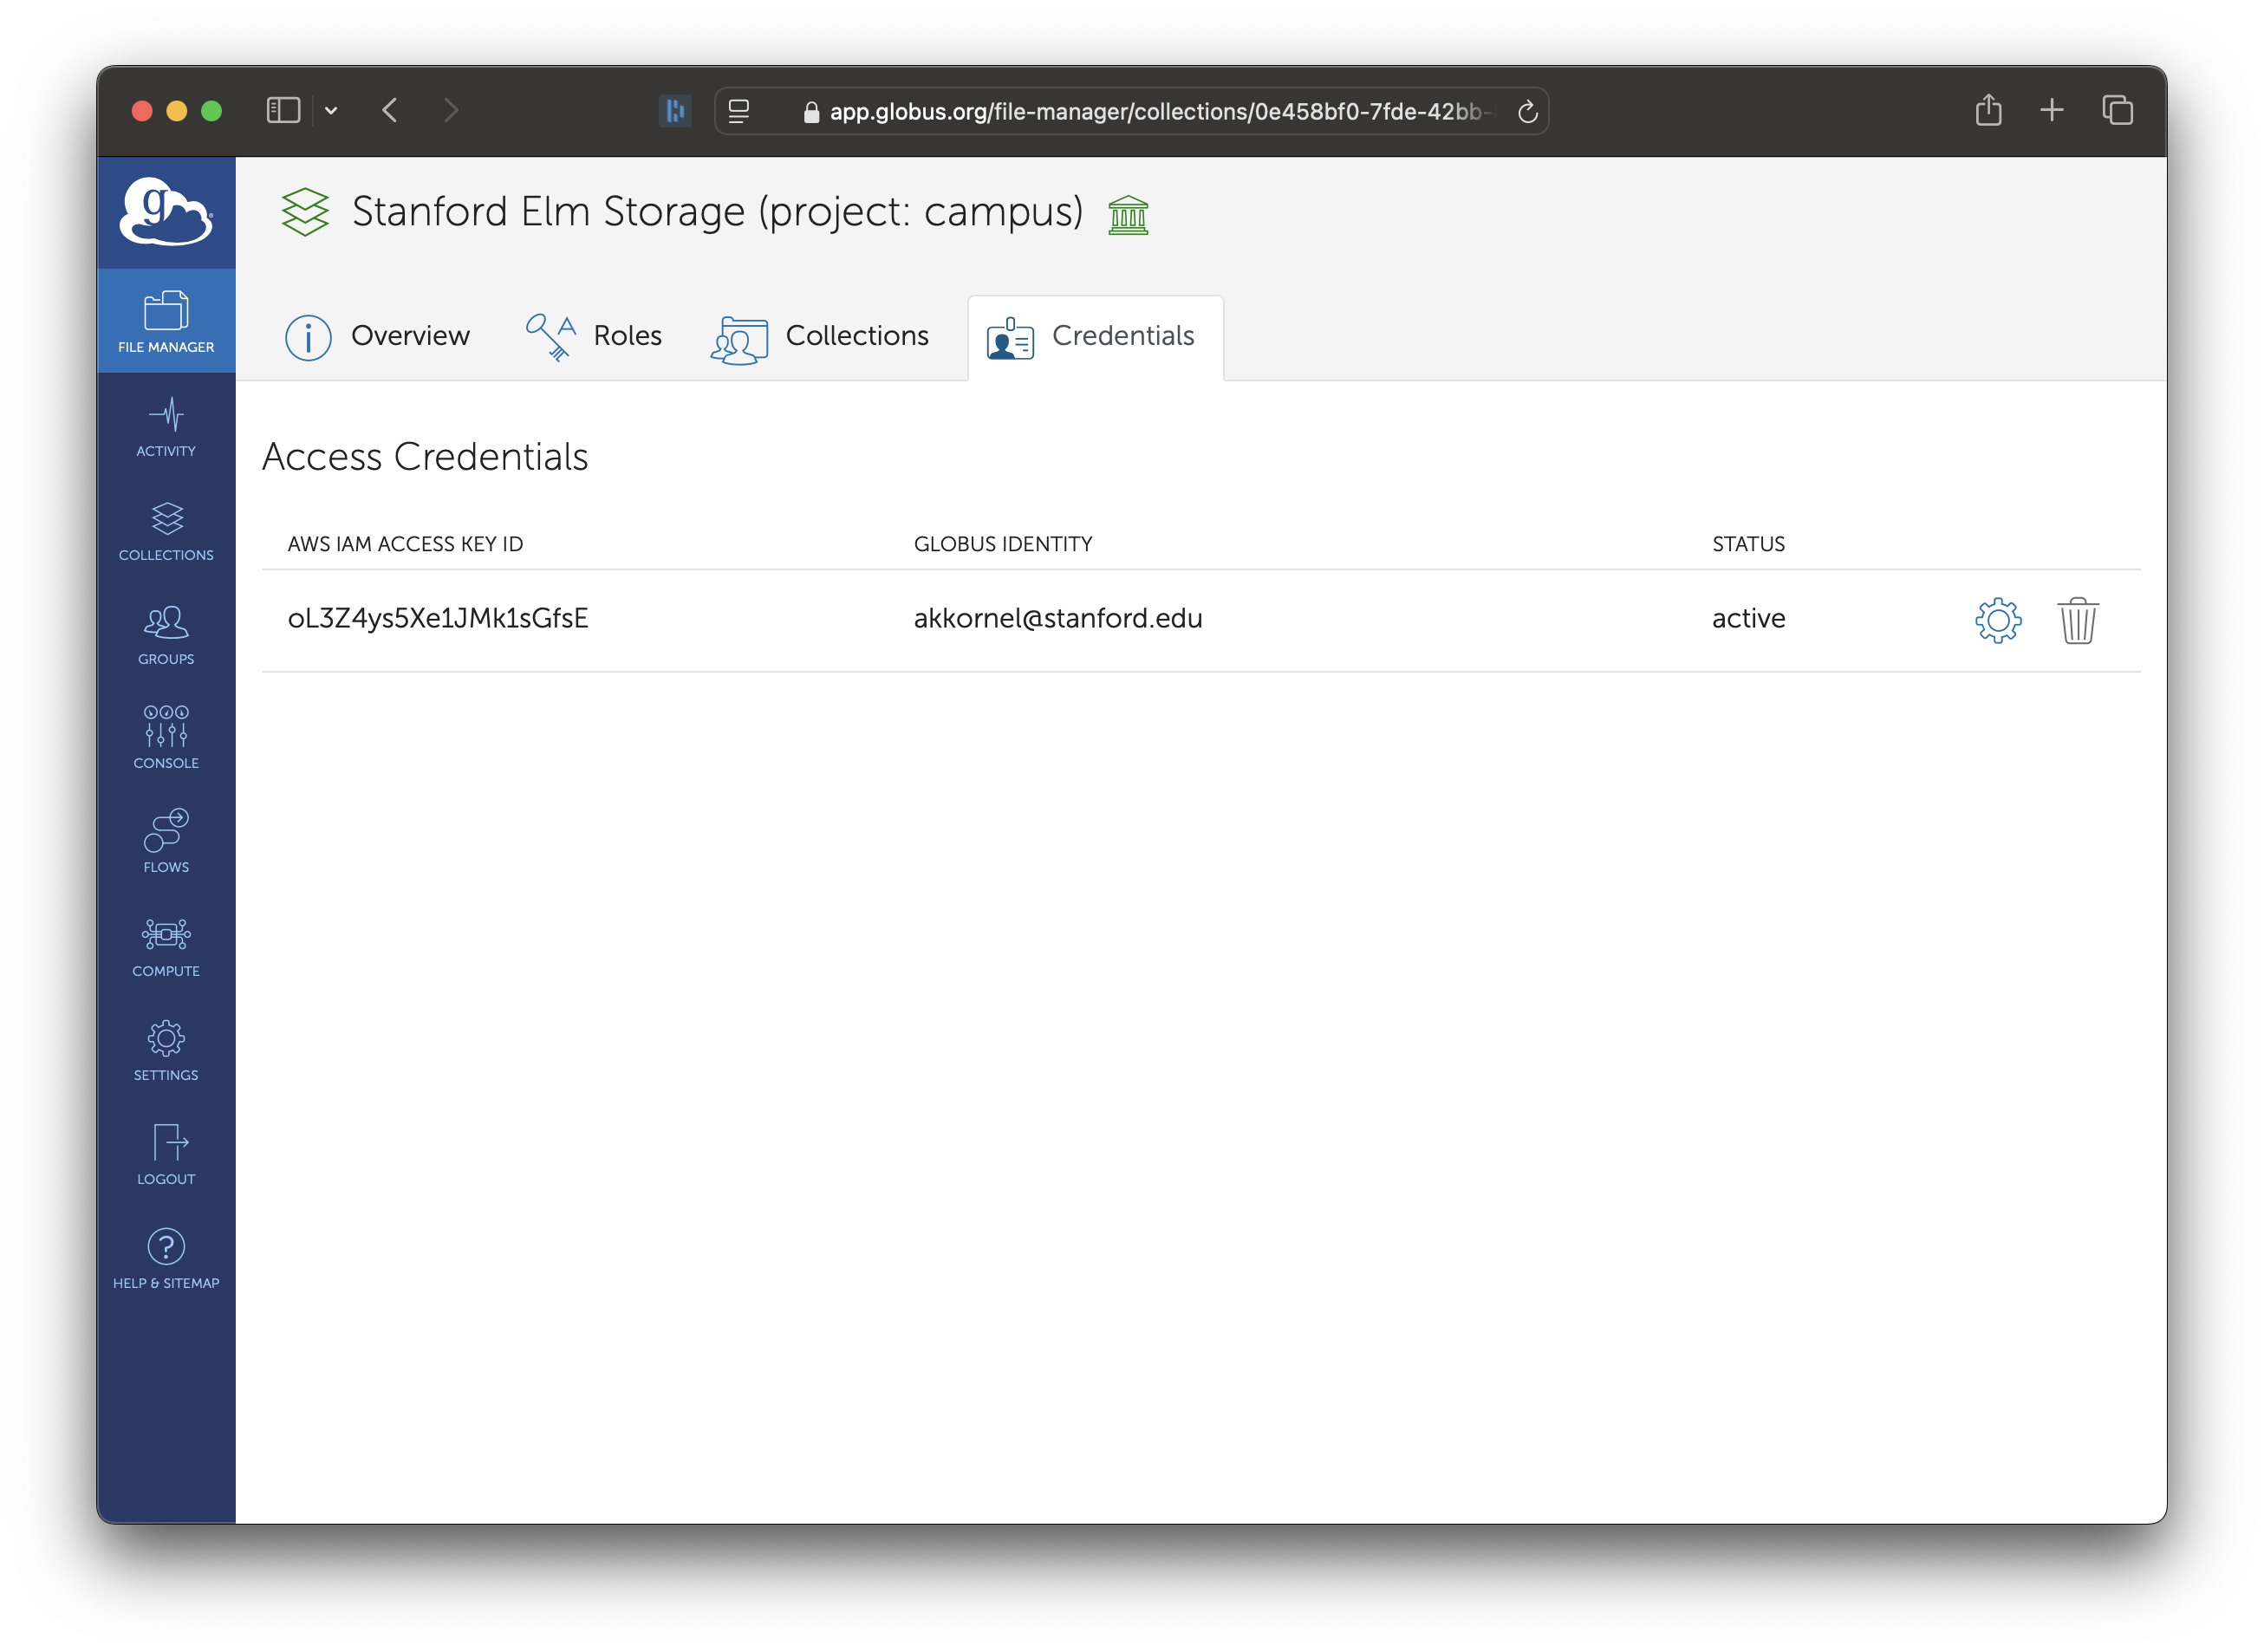
If you go to the Credentials tab after entering an Access Key, you will see the Access Key ID, along with an option to replace the credential (the gear icon) or delete the credential (the trashcan icon).
You should now proceed to accessing the collection!
Accessing Files on Elm
With Elm Access Key loaded and permissions granted, you may now proceed to access your data on Elm through Globus!
Using the link at the top of the page, access the Elm collection. You might be asked to log in; if so, log in through Stanford University.
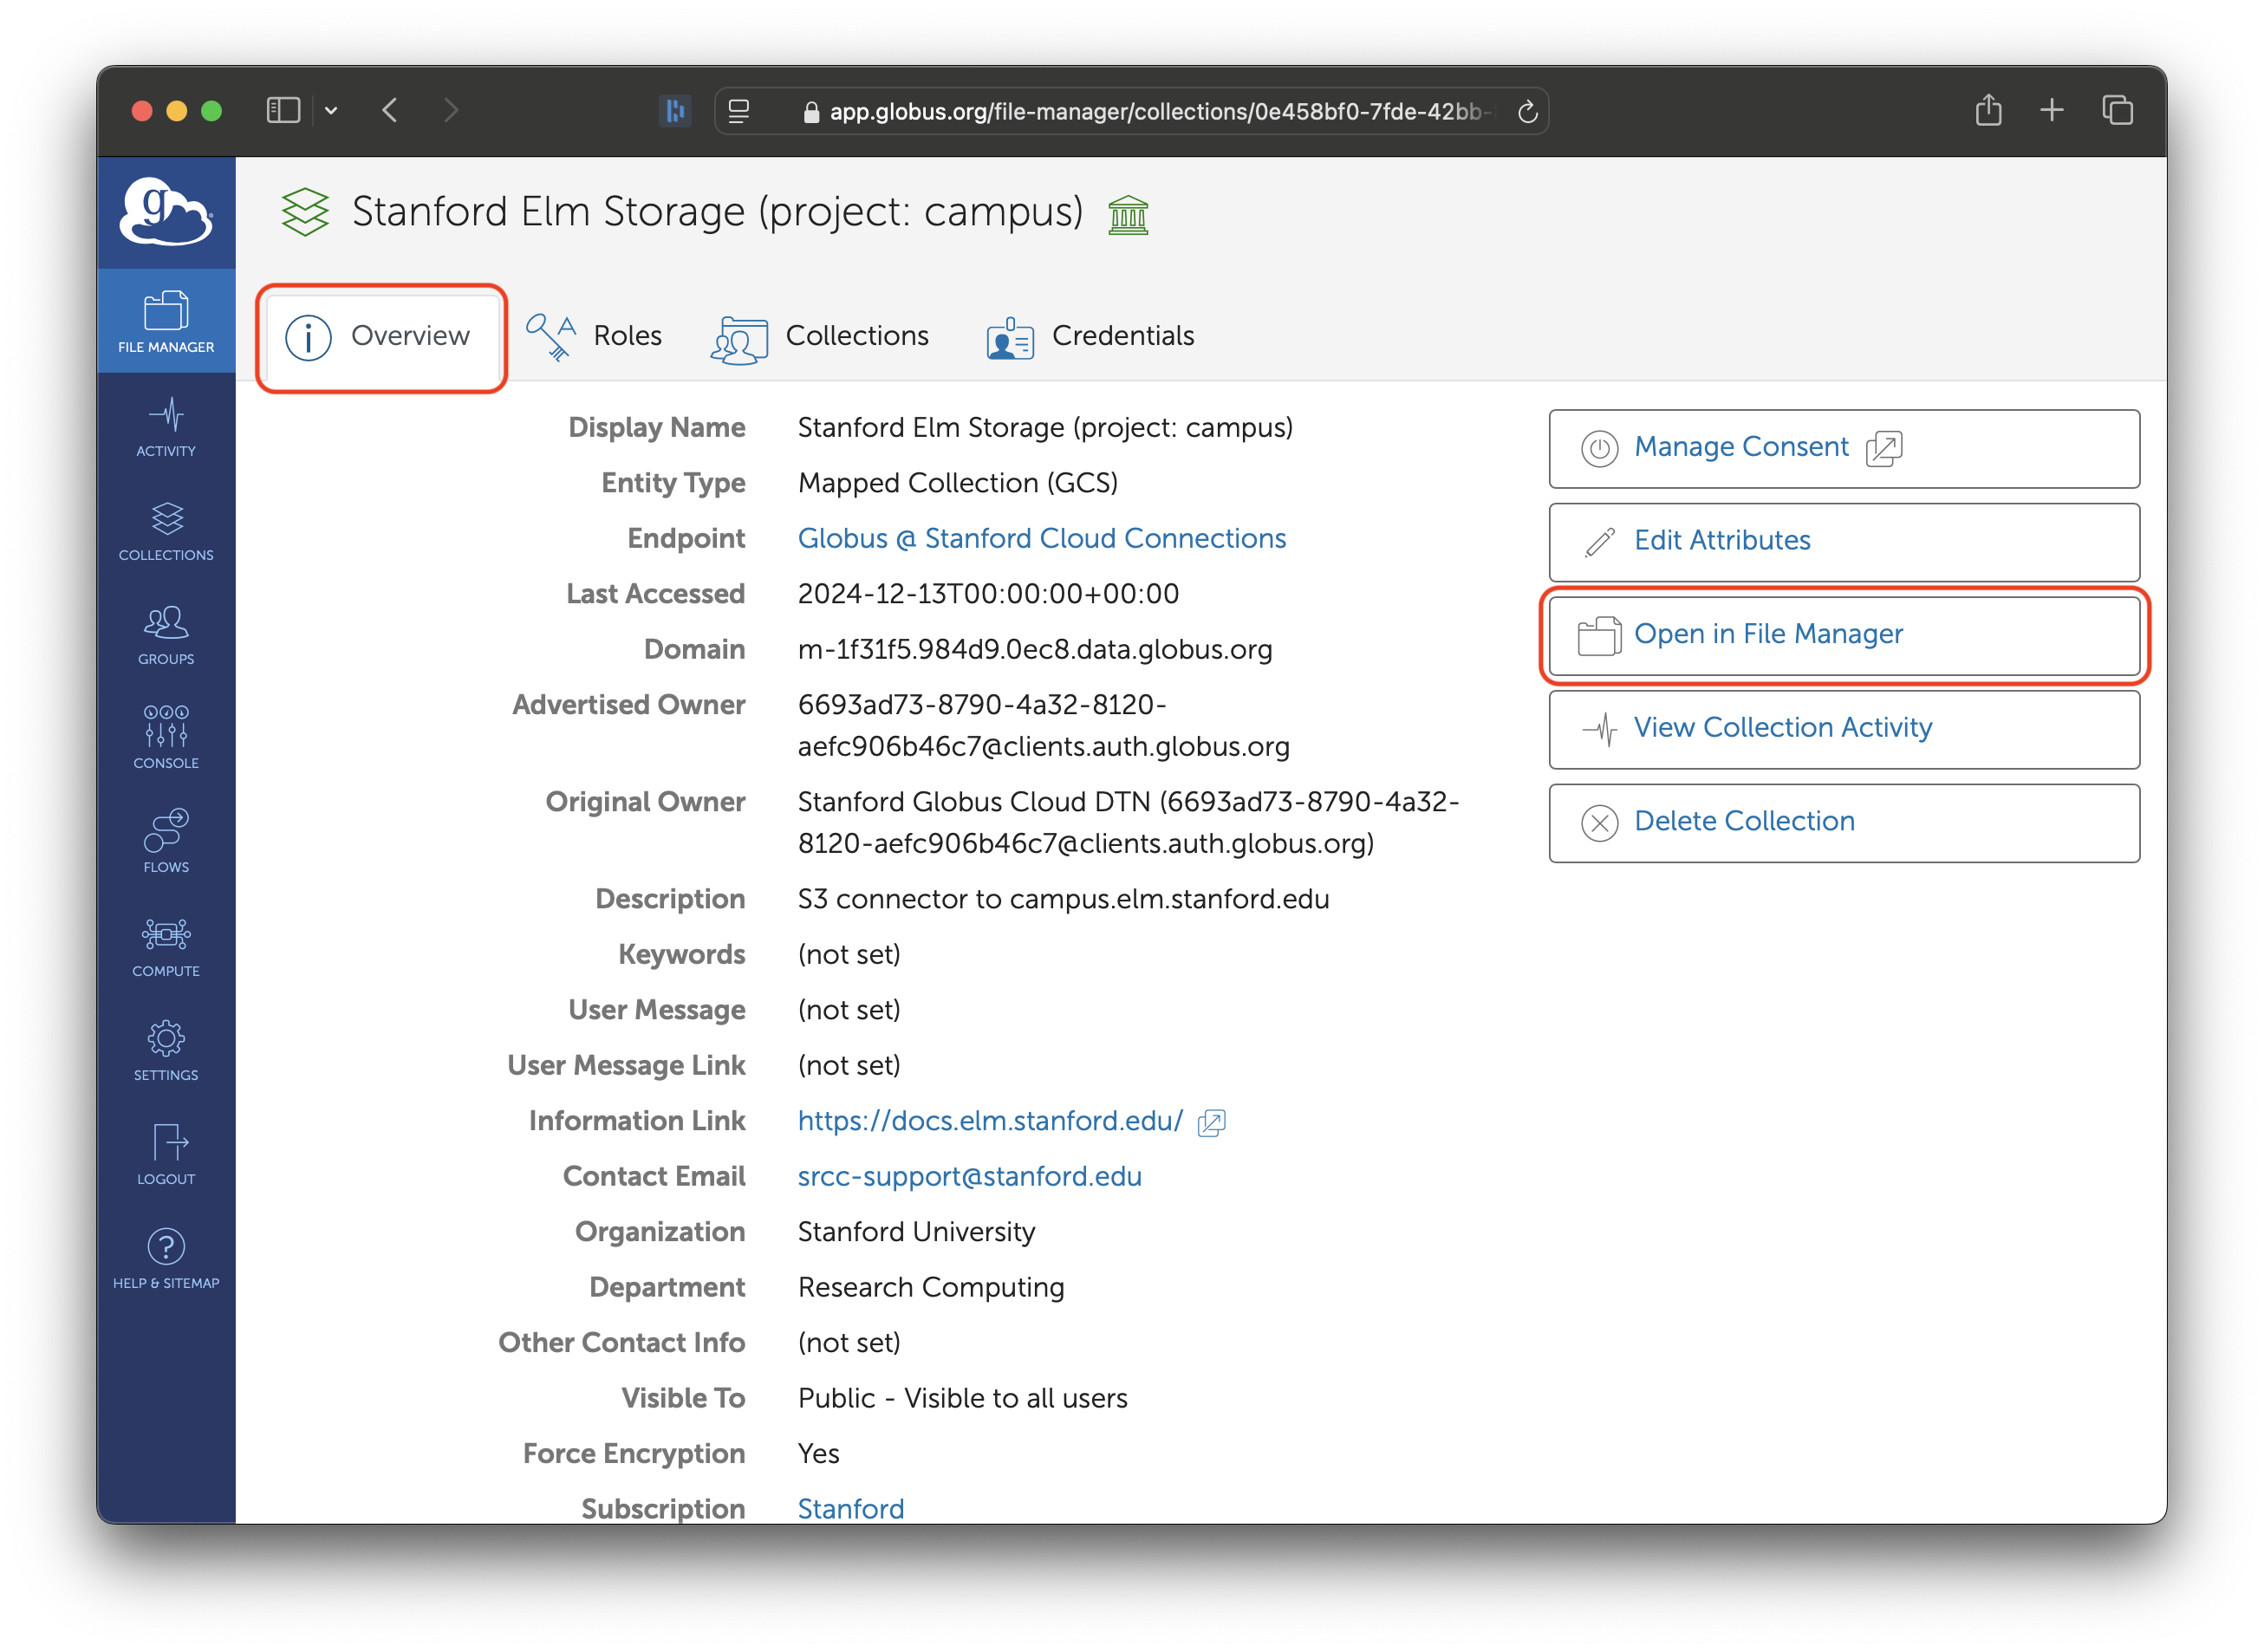
Click on the “Open in File Manager” button. That will take you to the File Manager and connect to Elm.
First-Time Access
The first time you access the Elm collection, you will be asked for consent.
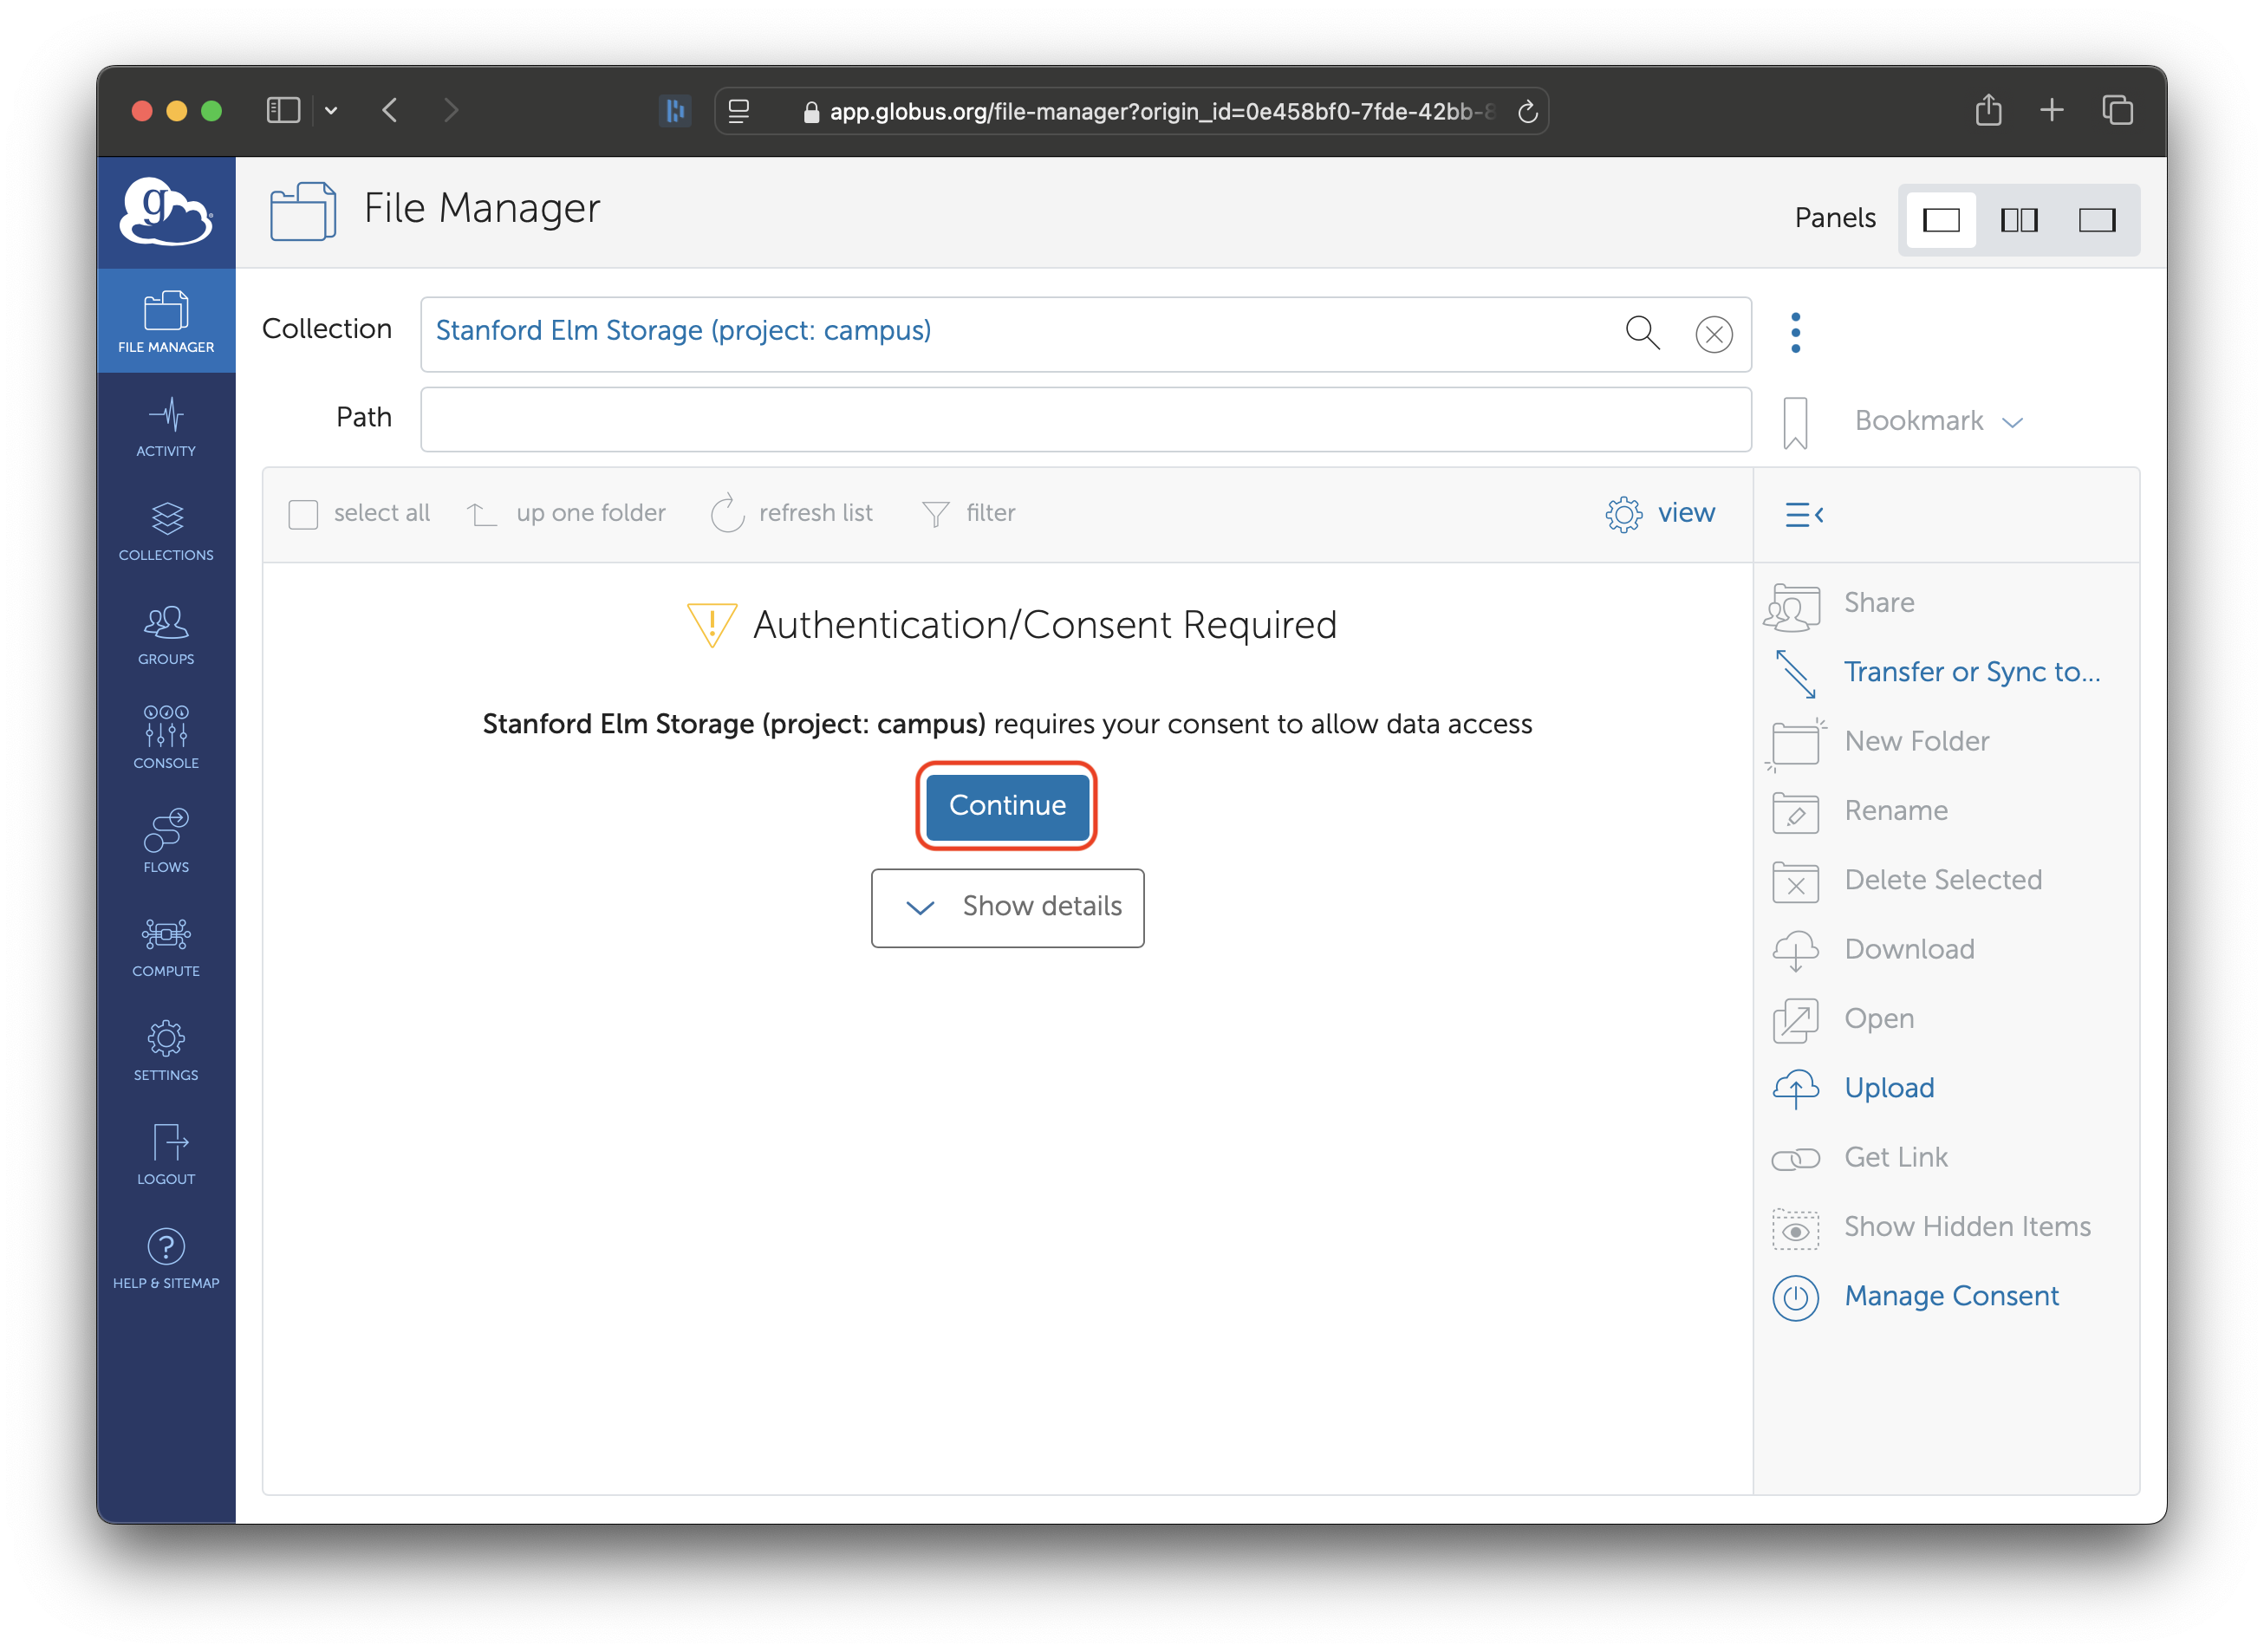
When you first loaded your credentials, you gave Globus consent to store those credentials for you. Now, you are giving Globus consent to actually use those credentials to talk to Elm. Click the “Continue” button.
Some institutions allow you to have multiple accounts. Stanford only allows one SUNetID per person, so click on your SUNetID.
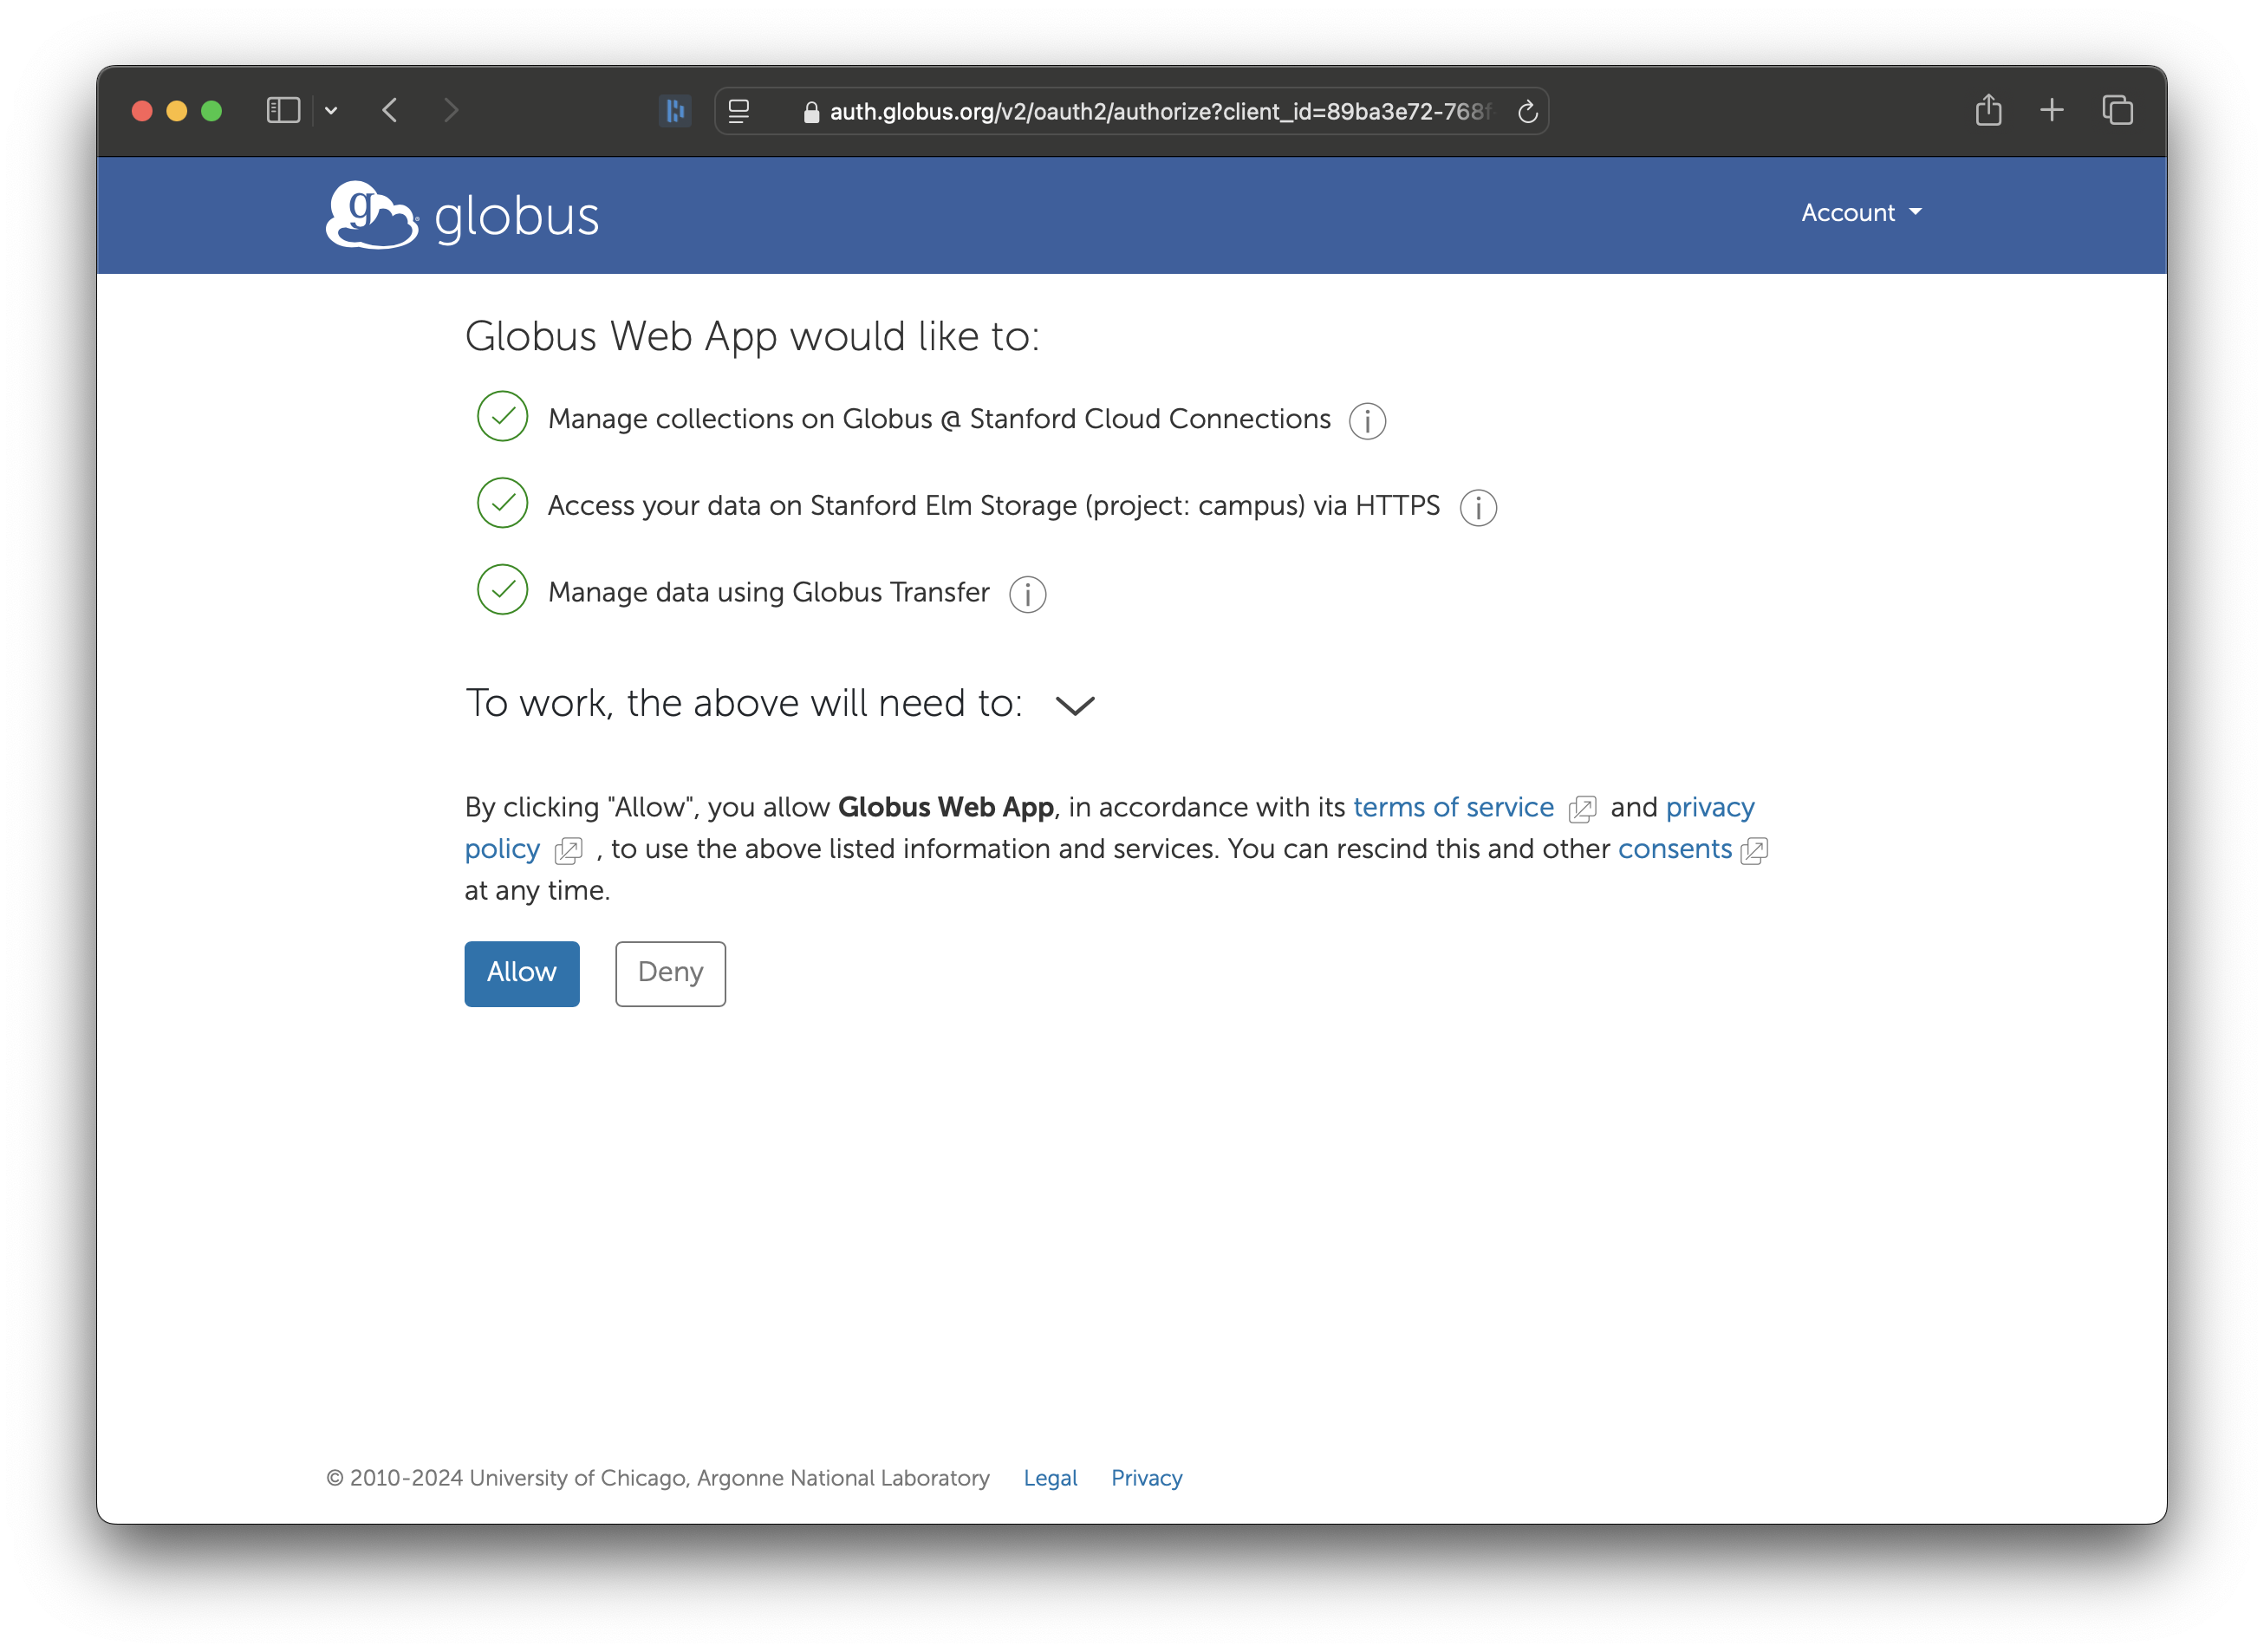
Finally, click on ‘Allow’ to give Globus permission to use your AWS IAM User credentials to access Elm.
Subsequent Accesses
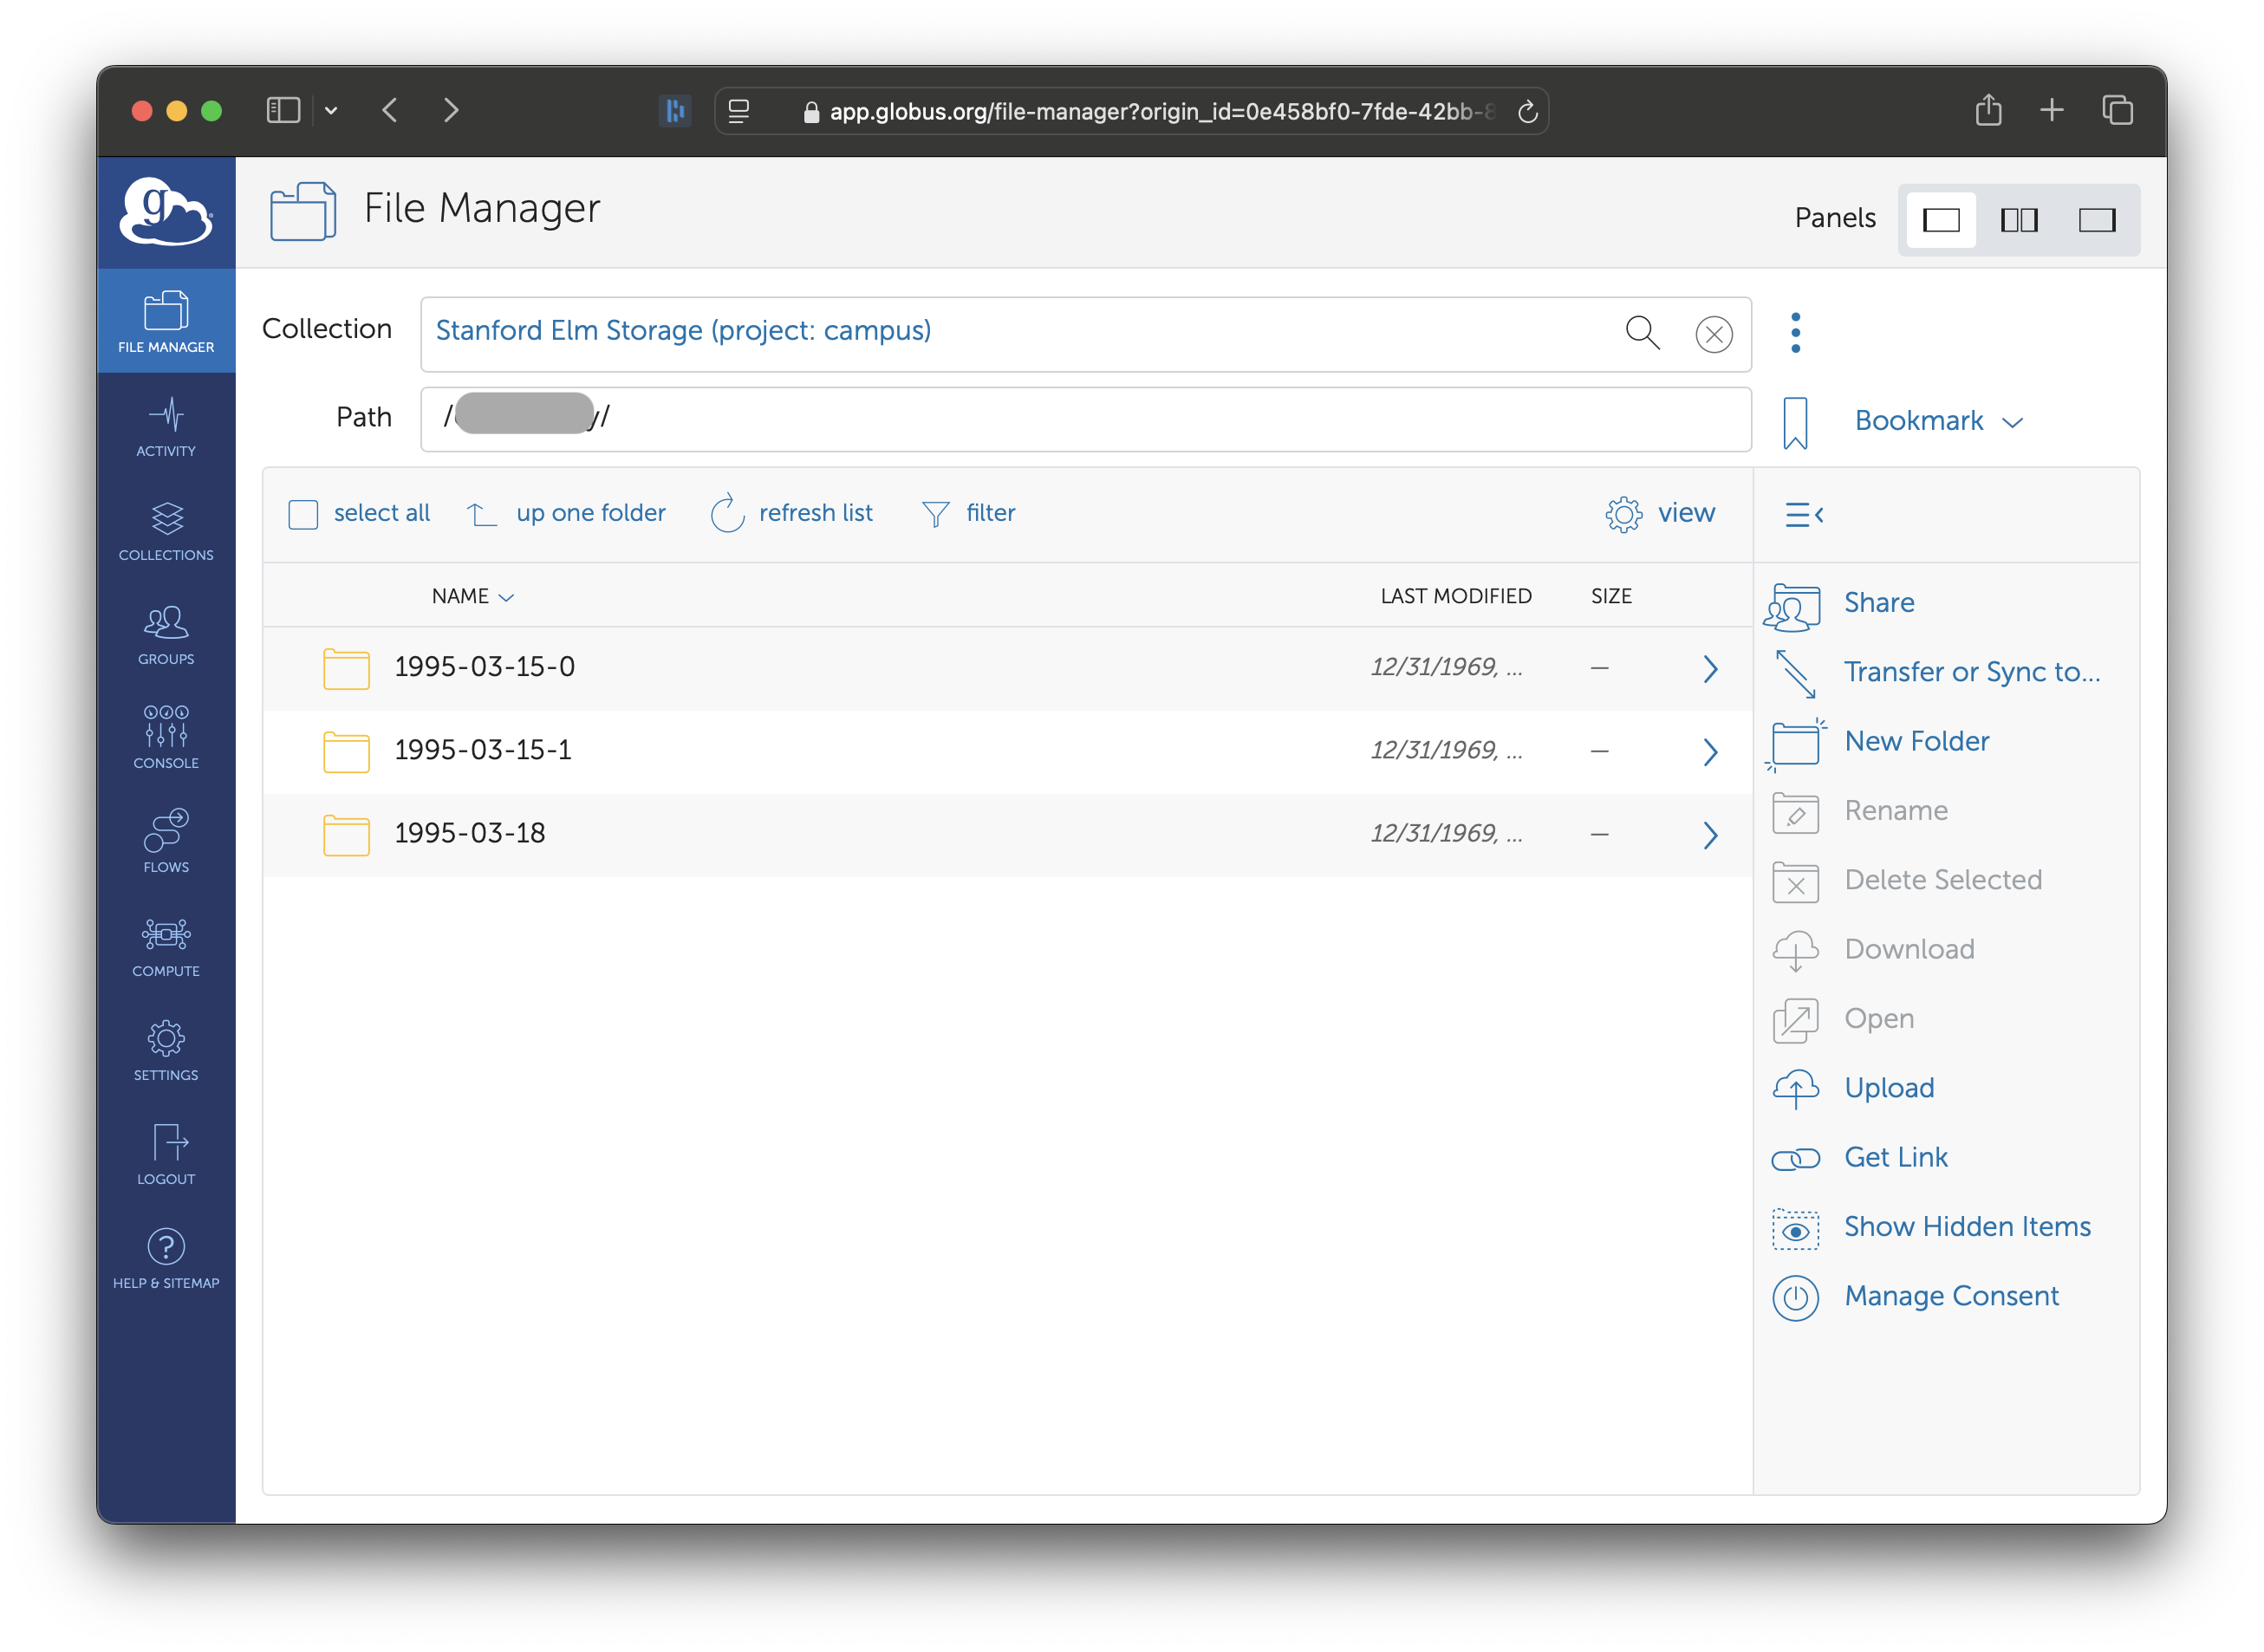
When you access the S3 collection—assuming you have previously provided consent—you should be greeted with a list of the buckets from Elm.
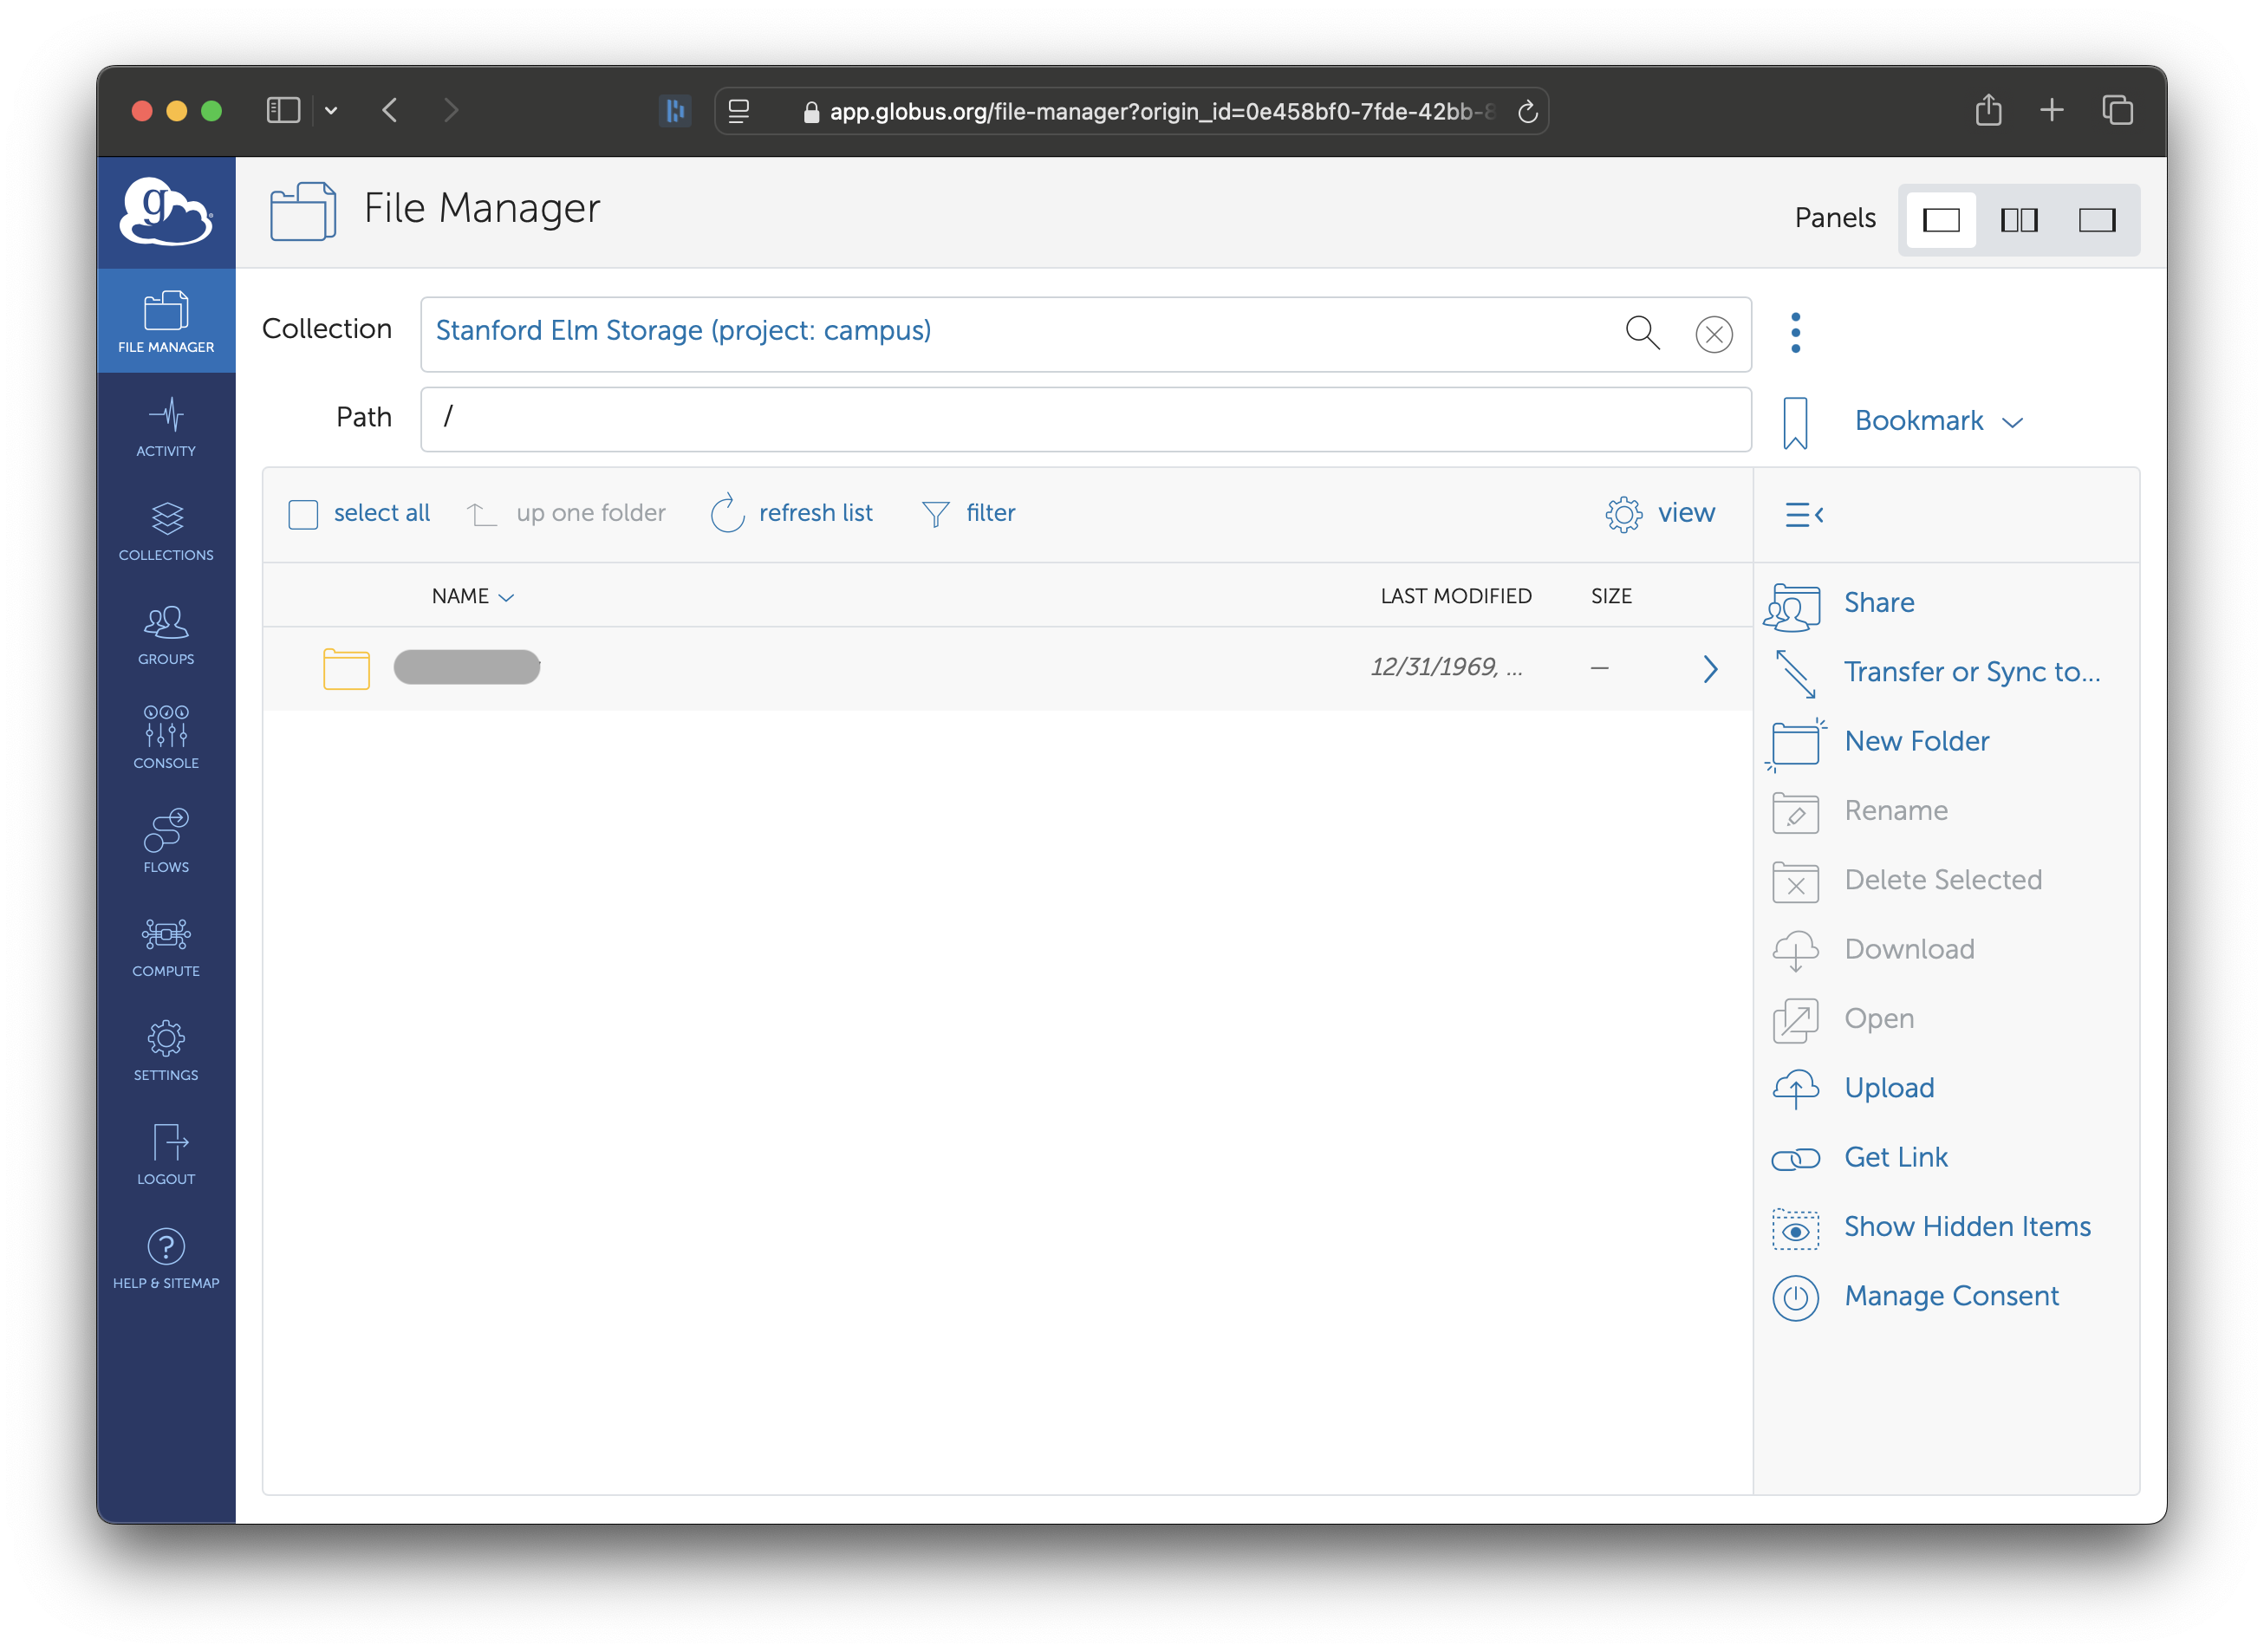
To access one of the buckets—assuming your Access Key has permissions—double-click on the bucket’s name.
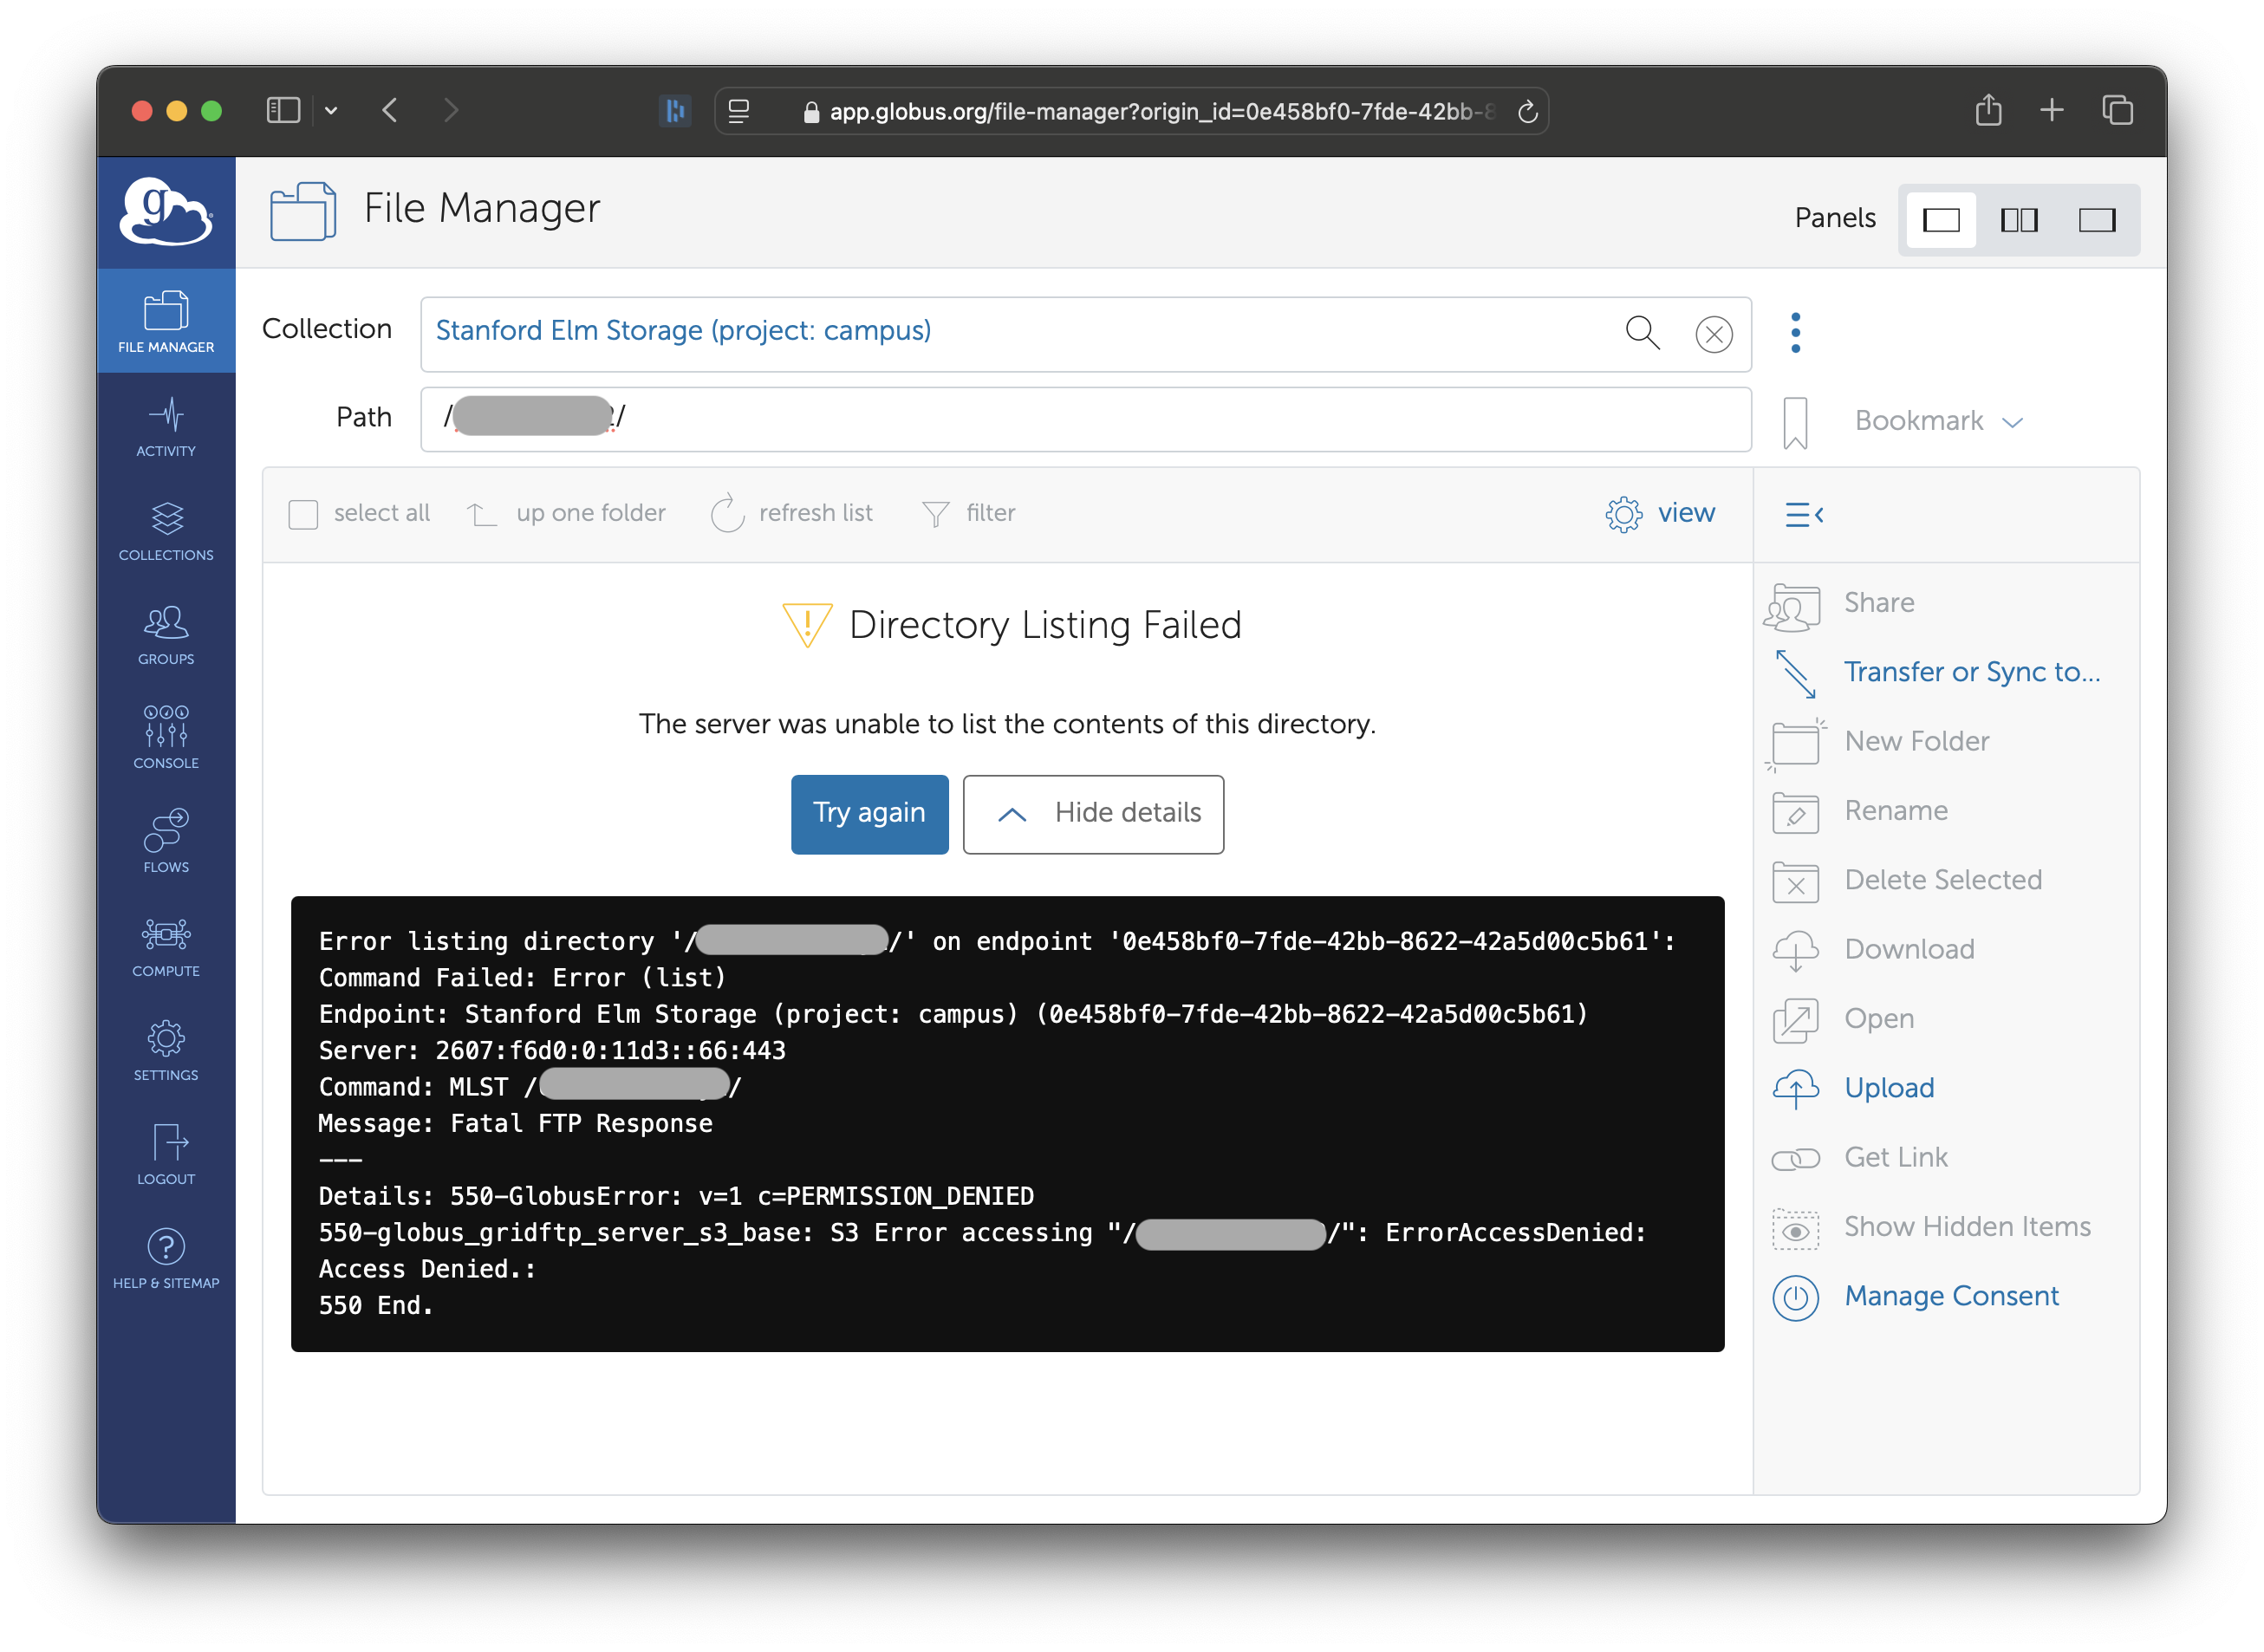
If your Access Key does not have permissions, attempting to list the contents of the bucket will give an error.
Once you have access to a bucket, you can transfer files in and out like any other Globus collection.